
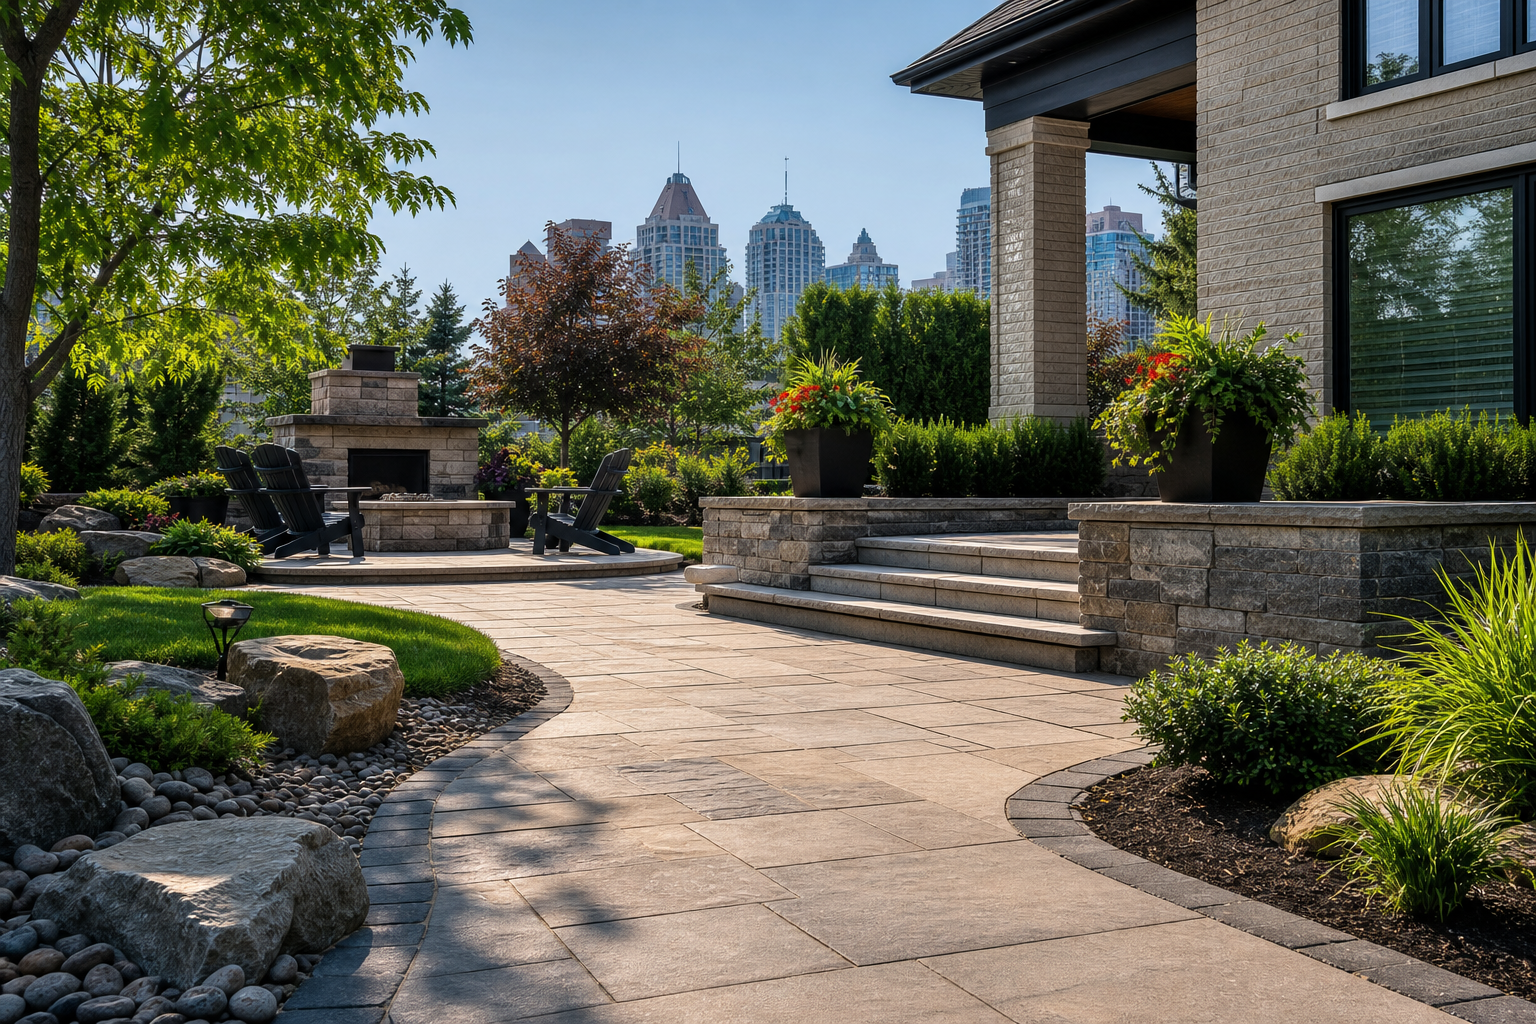
7 hardscape maintenance tips for homeowners in Mississauga and the GTA
Why seasonal hardscape care matters here
These hardscape maintenance tips for homeowners focus on interlocking pavers, natural stone, concrete patios, armour stone and retaining walls. Southern Ontario’s repeated freeze and thaw cycles accelerate joint erosion, surface staining, and base movement; seasonal clearing and inspection reduce those risks. Routine work—sweeping, joint topping, gentle pressure washing and grading checks—keeps small issues from becoming structural repairs. For local, season-aware guidance on freeze-thaw effects and fall preparation, see the Fall Landscaping & Outdoor Maintenance Guide.
Seasonal frequency at a glance
- Spring: inspect for winter damage, sweep, re-sand joints and check drainage.
- Summer: routine sweeping, spot-clean stains, and use low-pressure washing as needed.
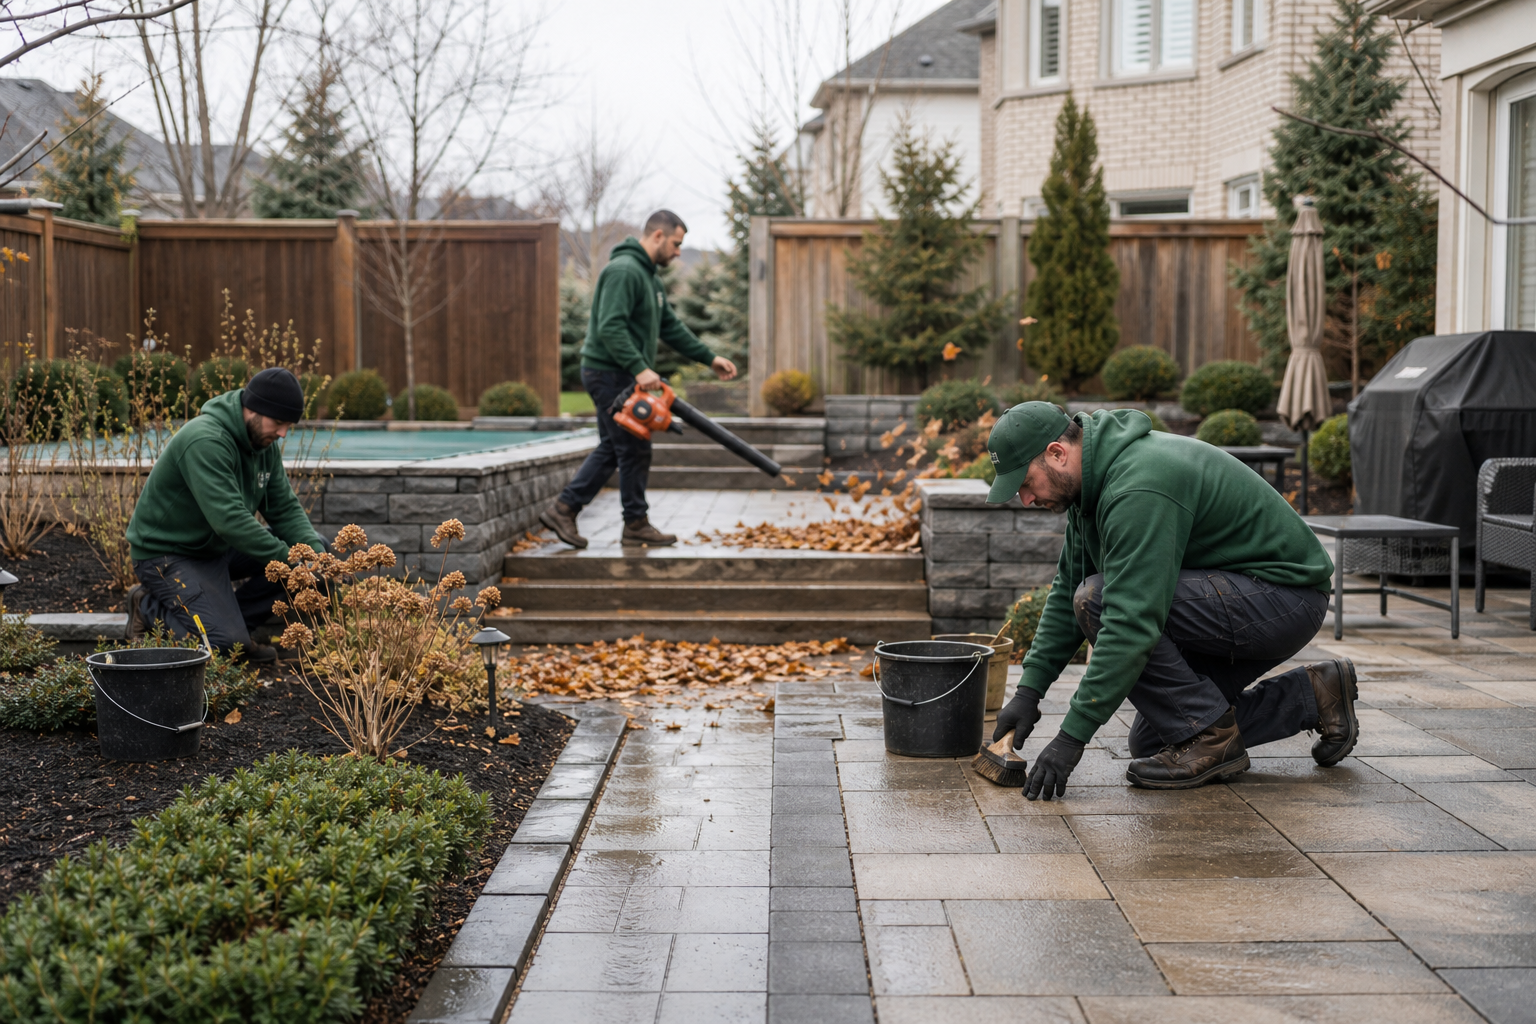
- Fall: deep clean, clear debris before freeze, and confirm proper grading.
- Winter: avoid harmful de-icers, monitor for heave and schedule repairs in spring.
Practical tools and supplies to keep on hand
- Stiff-bristled broom or push broom and a leaf blower.
- Plastic shovel for snow and a rubber mallet for minor realignment.
- Adjustable pressure washer with a fan nozzle and a garden hose.
- Polymeric joint sand and regular kiln-dried sand for touch-ups.
- pH-neutral stone cleaner, degreaser for oil, and a rust remover approved for masonry.
- Edging stakes and a small plate compactor rental for larger relevel jobs.
Seven maintenance actions with seasonal steps and decision cues
1. Keep surfaces clear: sweep, remove debris, and control moss and weeds
Why it matters: Leaves and organic debris trap moisture and feed moss and weeds, which expand joints and retain freeze-thaw water.
DIY steps:
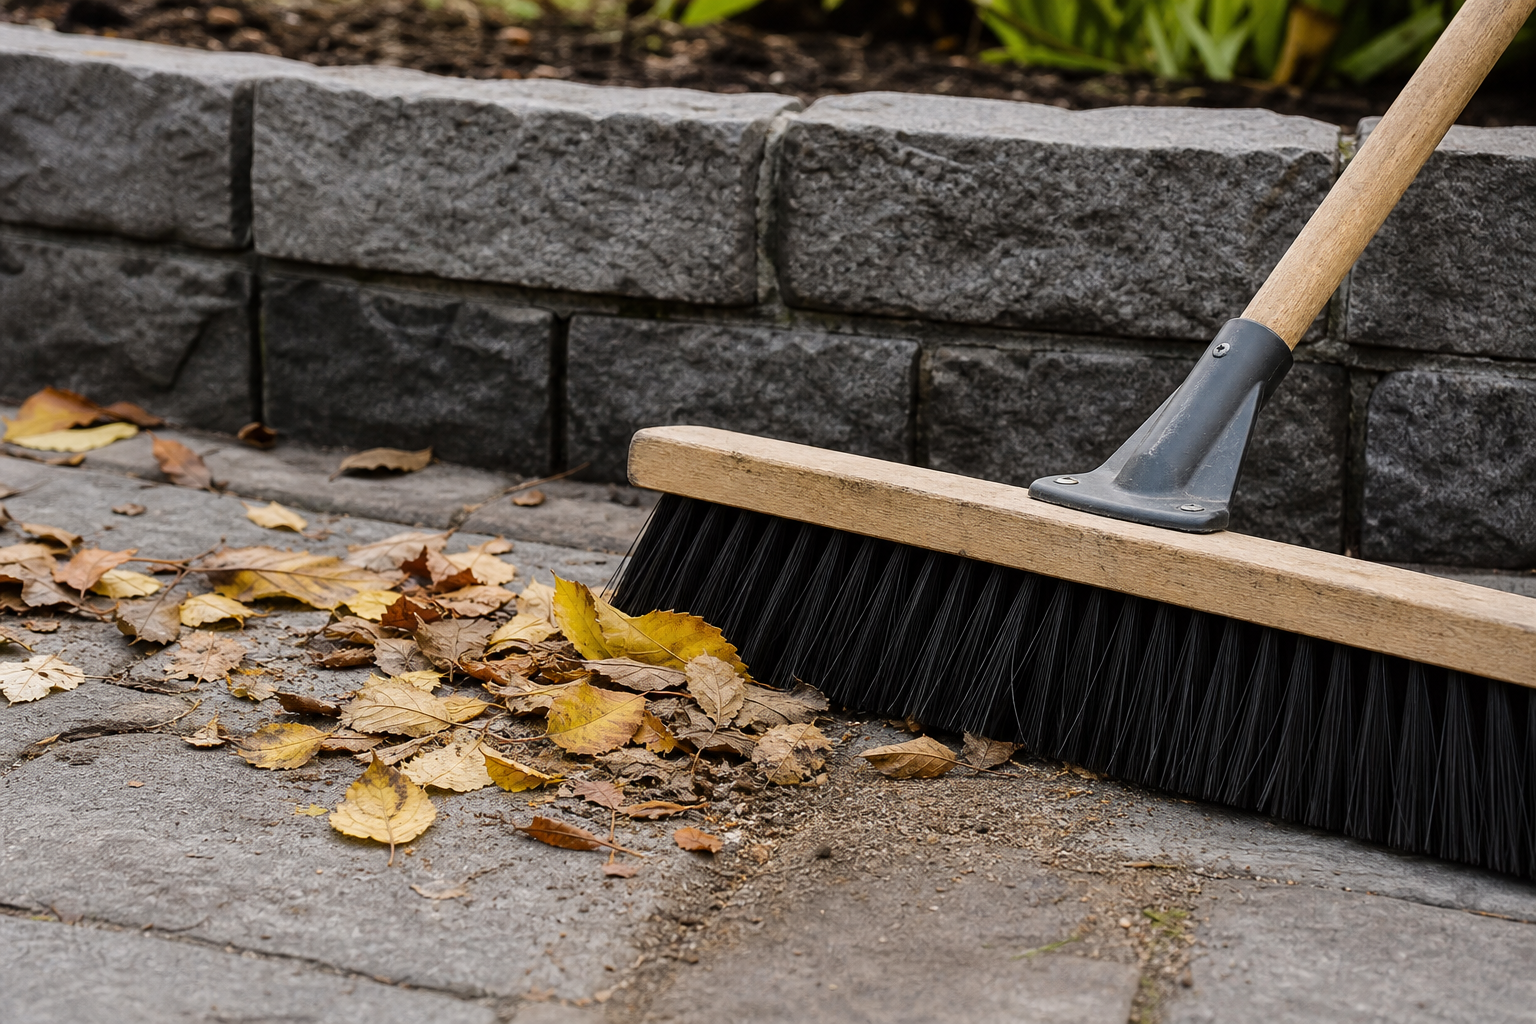
- Sweep weekly during the growing season and after storms. Use a leaf blower for light debris.
- Pull weeds from joints by hand or with a narrow weeding tool, removing roots where possible.
- For moss or algae, scrub with a stiff brush and a diluted pH-neutral cleaner, or use a labeled moss control product and rinse gently.
Inspection cue: repeated weed or moss regrowth in the same joints suggests joint material loss or moisture retention that may need re-sanding or drainage fixes. For a printable action list, see the hardscape maintenance checklist.
2. Pressure wash safely and treat stains without damaging joints
Why it matters: Pressure washing removes salt, grime and organic stains that speed surface wear, but high pressure can erode joints and wash out the base.
Safe method:
- Test on an inconspicuous area first. Use a fan nozzle and keep the wand at least 30 cm from the surface. Start at low pressure and increase only if necessary.
- Keep the spray moving; do not concentrate on one spot for long periods.
- Treat stains before washing: absorb fresh oil with cat litter, apply a degreaser formulated for pavers, then rinse. For rust, use a manufacturer-approved rust remover and follow label instructions.
Material note: porcelain and luxury pavers resist stains better and may need less aggressive cleaners. For material-specific cleaning and product tips, consult paver maintenance recommendations.
3. Re-sand and stabilise joints: polymeric sand versus regular sand
Why it matters: Joint sand prevents lateral movement and weed growth. Regular sand is suitable for light-use paths; polymeric sand hardens and resists washout on driveways and patios when installed correctly.
How to choose and apply:
- Use kiln-dried sand for small touch-ups on low-traffic areas. Brush in and compact.
- Use polymeric sand on driveways, patios and other load-bearing surfaces. Sweep in dry sand, compact, remove excess and activate with a light mist according to manufacturer instructions.
- If joints repeatedly wash out after rain, test a small area with polymeric sand and monitor performance; persistent washout after correct installation indicates base or drainage issues.
Inspection cue: pavers that shift underfoot or tyre indicate joint failure or base movement and may need professional evaluation.
4. Inspect and protect base, grading and drainage against freeze-thaw
Why it matters: Water that pools or soaks the bedding layer freezes and expands, causing heave, cracks and joint loss. Good slope and drainage extend the life of pavers and stone.
DIY checks and small repairs:
- After heavy rain or spring thaw, observe water flow. Aim for a slope of at least 1 to 2 percent away from buildings where practical.
- Clear clogged channel drains and ensure downspouts discharge away from hardscapes.
- To lift a small settled area, remove affected units, add and compact bedding gravel, then re-lay the units. Rent a plate compactor for larger patches.
Inspection cue: repeated settlement in the same area or visible washed-out bedding means the base has been compromised and requires contractor-level reinstallation.
5. Choose and apply sealers selectively: pros, cons and timing
Why it matters: Sealers reduce staining and can slow water penetration, but they alter appearance and do not fix structural problems like poor base or drainage.
Selection and application:
- Penetrating sealers preserve a natural finish and allow vapor movement; film-forming sealers add sheen but may yellow or peel over time.
- Test a small patch first for appearance change. Do not seal areas with known drainage issues until those are fixed.
- In this climate, seal in late spring or summer when surfaces are dry and temperatures are within product recommendations. Typical re-application is every two to five years depending on exposure and traffic.
Inspection cue: poor water beading after sealing, flaking sealer or increased slipperiness are signs to consult product guidance or a professional surface restorer.
6. Maintain retaining walls and armour stone: check movement, drainage and plant growth
Why it matters: Retaining walls hold soil and control slope. Water pressure behind a blocked wall or roots growing into joints accelerate failure and frost heave.
Inspection checklist:
- Look for leaning, bulging, separated joints or cracks in adjacent paving.
- Verify weep holes, drainage membranes and gravel backfill are clear so water can escape.
- Trim roots or avoid planting large trees directly above small walls to reduce lateral pressure.
When to call a professional: visible bulging, horizontal cracks, or persistent ponding behind the wall require engineered assessment and contractor repair. HR Greenroots Landscaping offers on-site evaluations and repair options for wall failures.
7. When to call a pro: decision criteria, common objections and what to expect
Clear decision points:
- Persistent settlement or repeated joint washout after correct re-sanding.
- Major cracking, visible base erosion, or ponding that you cannot correct with slope adjustment.
- Retaining wall bulging, leaning or blocked drainage that risks collapse.
- Large-scale staining or damage that requires professional cleaning or restoration.
Common homeowner concerns and responses:
- Cost: professional repairs prevent greater expense later when base or wall failure requires full reinstallation.
- Permits: large repairs, retaining walls or driveway changes may need municipal approval; contractors typically manage permits and inspections.
- DIY pride: cleaning and small joint topping are suitable DIY tasks, but repeated structural issues indicate the need for contractor tools and excavation.
Professional inspection process: an installer documents surface symptoms, checks slope and drainage, opens units to inspect bedding and compaction, and issues a repair estimate with options from targeted fixes to full reinstallation. For a preparatory checklist before a contractor visit, see the hardscape maintenance checklist.
Frequently asked questions
How often should I pressure wash my paver patio in Mississauga?
Pressure wash annually or every two years for routine upkeep, sooner if you see algae, heavy salt residue or visible staining. Use low-pressure settings with a fan nozzle and avoid holding the wand close to joints to prevent washout.
Will sealing my pavers prevent freeze-thaw damage in Ontario?
Sealers reduce water penetration and staining but will not prevent damage caused by standing water or a poor base. Correct slope and drainage first; sealing is a protective follow-up, not a structural fix.
Can I re-sand paver joints myself after heavy rain washes them out?
Yes for small areas. Clean debris, allow the surface to dry, then refill joints with kiln-dried sand or polymeric sand following product instructions. If joints wash out repeatedly, the base or drainage likely needs professional repair.
What are the signs a retaining wall needs professional repair rather than simple maintenance?
Visible bulging, leaning, open horizontal cracks, separation of units, or persistent water pooling behind the wall are signs that an engineered assessment and contractor repair are required.
Key takeaway and next step
Consistent sweeping, safe pressure washing, timely joint re-sanding, selective sealing and seasonal checks for grading and drainage will keep patios, pavers and stone features performing well in Mississauga and the GTA. Use the hardscape maintenance checklist to plan seasonal tasks and contact a professional when you observe structural signs described above.
HR Greenroots Landscaping offers on-site assessments and repair plans for hardscapes across Mississauga and the GTA. For a printable prep list, visit the hardscape maintenance checklist.
References: Fall Landscaping & Outdoor Maintenance Guide for freeze-thaw preparation and Paver Maintenance Tips for material-specific cleaning and sealing recommendations.


