Armor stone features for front yards (often called “armour stone” in Ontario) are natural, heavy stone elements—steps, low walls, borders, and focal boulders—that manage grade and create curb appeal. From our Mississauga base at 100 Matheson Blvd E unit 202, HR Greenroots Landscaping plans and builds long-lasting stone features that fit your space and routine.
By HR Greenroots Landscaping • Last updated: 2026-06-10
Summary and table of contents
This complete guide explains what armor stone is, why it works up front, and how to design, install, and maintain it for lasting curb appeal. You’ll see 13 practical ideas, a step-by-step process, a comparison table, Mississauga-specific tips, and answers to common questions—so you can move from inspiration to a confident plan.
- What armor stone is and why it solves common front-yard problems
- How it performs through Ontario freeze–thaw cycles and snow clearing
- Thirteen design ideas we actually build for homeowners
- Installation steps with pro tips, tools, and materials
- Comparison: armor stone vs. interlock, timber, and poured concrete
- Maintenance planning that keeps edges crisp and beds tidy
What is armor stone for front yards?
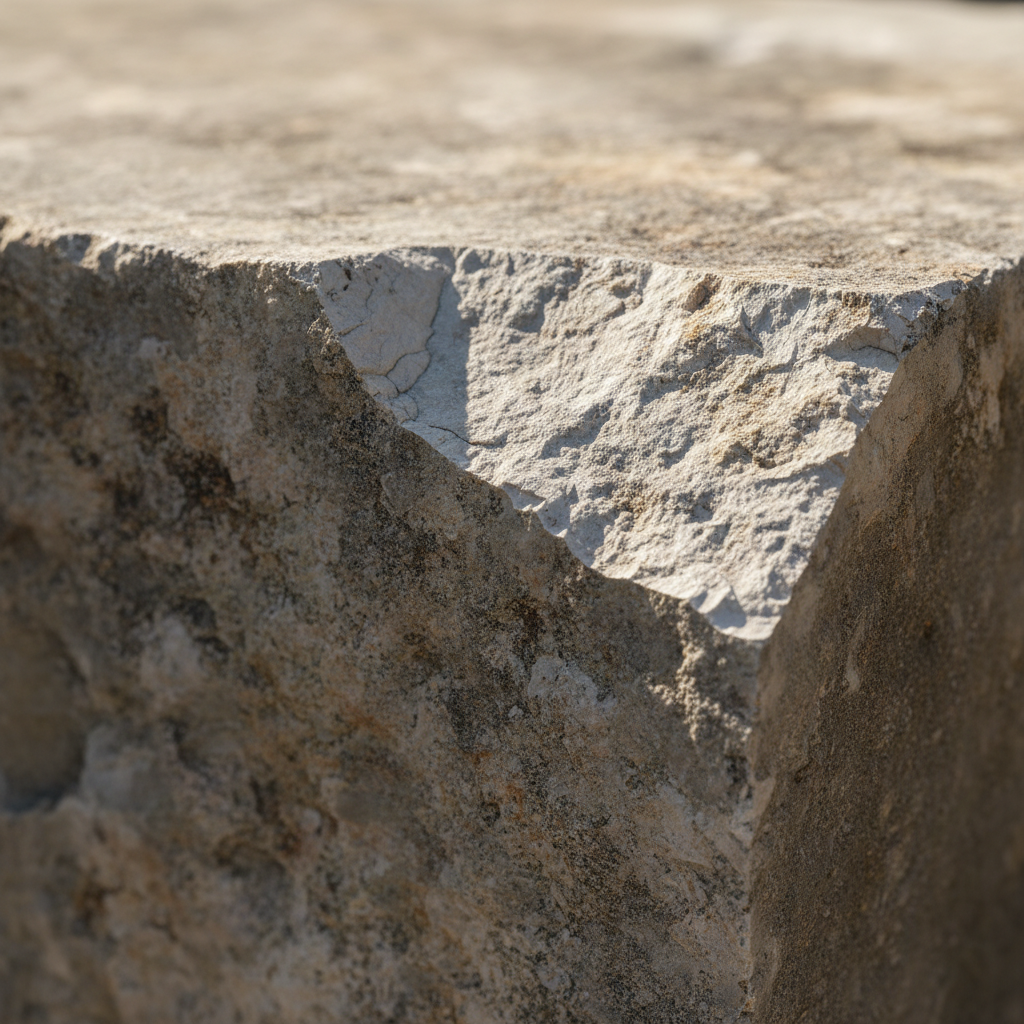
Armor stone is quarried natural stone—commonly limestone or granite—used for steps, low retaining walls, borders, and focal features in front yards. Its mass, rough face, and block geometry create stable, architectural elements that handle foot traffic, snow shovels, and freeze–thaw cycles with minimal maintenance when set on a proper base.
In practical terms, “armor stone” refers to large, flat-topped, rough-faced blocks that stack or sit individually. Typical blocks measure 2–4 feet long and weigh 300–800 pounds each. That weight resists shifting, while a compacted granular base keeps the layout aligned. Most front yards use 1–3 courses for visual balance.
- Common uses: entry steps, raised beds, low gravity walls (18–36 inches), mailbox or number plinths, and boulder clusters.
- Compatible surfaces: interlocking paver landings, concrete walkways, or compacted gravel paths with edge control.
- Materials we pair: native grasses, salt-tolerant shrubs, mulch rings, and lighting tucked between stone faces.
If you’re mapping the overall layout first, our landscape design and build approach aligns armor stone with walkways, beds, and utilities so everything reads as one design.
Why armor stone matters up front
Armor stone features boost curb appeal and solve grade challenges in Mississauga and the Regional Municipality of Peel. Properly designed steps, borders, and low walls guide guests, protect lawn edges from snow and salt, and reduce upkeep—all while creating an entrance that looks intentional from the street.
Front yards work hard. They absorb snow storage, foot traffic, and frequent mowing. Heavy stone elements double as structure and style, shaping slopes and framing beds. Done right, you get safer footing, clearer sightlines, and crisper edges that still look good after winter.
- Function plus form: 36–42 inch walkway widths and 6–7 inch step risers improve safety without looking bulky.
- Lower maintenance: 2–3 inch mulch with defined stone edges reduces weeding and keeps lines clean.
- Winter resilience: Rough faces tolerate shovels; block mass resists heave when set on a compacted base.
When we coordinate stone with pavers and planting depth, the facade reads as one composition. See our front yard transformation ideas for examples that pair stone with planting layers and lighting.
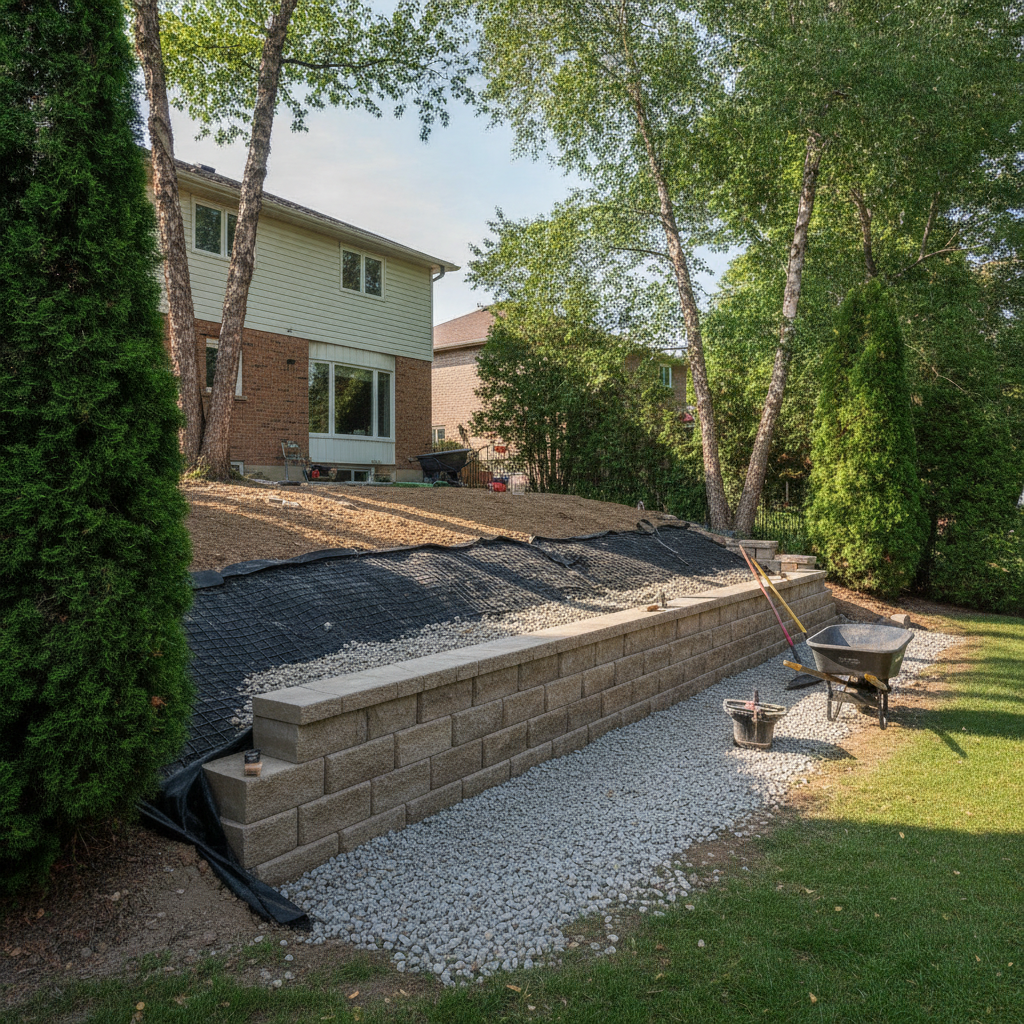
How armor stone works (engineering basics)
Armor stone stays put through mass, interlock, and drainage. A non-woven geotextile separates soil and base. Compacted lifts of 3/4" minus aggregate support blocks. Where soil is retained, drainage stone and weep paths relieve pressure. Consistent step geometry and a slight wall batter enhance safety and longevity.
Here’s the gist. Mass resists movement. Interlock happens when flat faces overlap, and joints are staggered. The base is everything: 8–12 inches of compacted aggregate under steps or low walls prevents settlement. For walls retaining soil, we include a 12–18 inch drainage zone and a safe 1:6 to 1:8 batter (backward lean).
- Subgrade prep: remove topsoil; proof-roll; tamp soft spots until firm.
- Separation layer: non-woven geotextile with 12 inch overlaps to stop fines migrating into base.
- Base lifts: 4 inch layers, compacted with 3–4 passes per lift until a solid, level surface is achieved.
- Drainage: clear weep paths so water has a place to go and won’t build pressure behind stone.
- Edges: tie into paver restraints for clean transitions and long-term alignment.
For layout planning and sequencing, our stone feature installation planning article explains how we stage machines, materials, and compaction so sidewalks remain usable during the build.
Types of armor stone features and approaches (13 ideas)
These 13 front-yard armor stone ideas balance structure, safety, and curb appeal. Each concept adapts to common Mississauga lot sizes and utilities. Choose one anchor move—steps, wall, or border—then layer planting and lighting to finish the composition without creating extra maintenance.
- Deep-tread steps: 14–16 inch treads and 6–7 inch risers for confident footing from sidewalk to door.
- Low gravity wall: 18–30 inches tall with a 1:6 batter and a 12–18 inch drainage zone.
- Split-level walkway edges: staggered blocks define curves and shelter plantings from foot traffic.
- Driveway guard curb: spaced boulders protect paver edges from tires and winter plows.
- Address plinth: a single block as a house-number base with landscape lighting aimed up (no glare).
- Boulder cluster bed: 3–5 stones with native grasses; mulch at 2–3 inches for weed suppression.
- Corner-lot berm: low mound with embedded stones to manage sightlines and create a buffer.
- Bay-window raised bed: one or two courses forming a planting shelf beneath the facade feature.
- Tree-ring stones: irregular blocks around trunks leave a 3–4 inch mulch gap off bark.
- Integrated lighting: low-voltage LEDs tucked in joints; route conduit before backfilling.
- Dry creek swale: armor stones as a bridge over a 2% sloped rock swale to move stormwater.
- Accessible ramp edges: square blocks as ramp guards; keep 36 inches minimum clear width.
- Landing with planters: a stone landing framed by planters that double as snow storage in winter.
For more curb-focused concepts that mix stone with pavers, browse our stone work ideas for curb appeal. We tailor each idea to your grade, utilities, and facade style so it looks like it was always there.
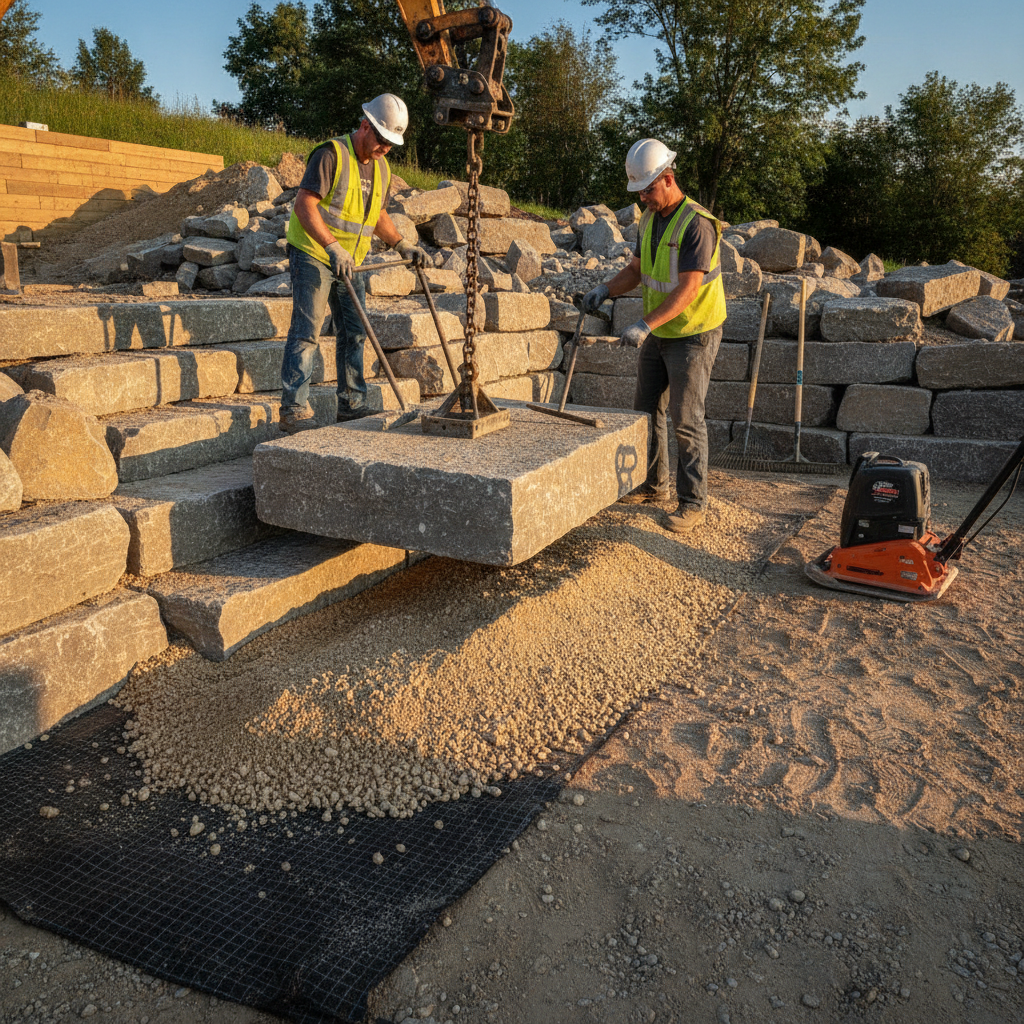
Step-by-step installation (what to expect)
A reliable armor stone install follows a clear sequence: assess site and grades, excavate to subgrade, add geotextile, build a compacted aggregate base in lifts, set stones on a thin bedding layer, add drainage where needed, then finish with backfill, restraints, planting, and cleanup.
- On-site assessment: confirm utilities, measure grades, plan snow storage, and map 2% drainage fall away from structures.
- Excavation: strip topsoil and dig to base thickness (often 8–12 inches below finish grade); proof-roll for soft spots.
- Geotextile: place non-woven fabric with 12 inch overlaps; extend upslope to keep fines out of base.
- Base builds in lifts: 3/4" minus aggregate in 4 inch lifts; compact 3–4 passes per lift to achieve density.
- Bedding layer: 0.5–1 inch of chip stone for final leveling before setting each block.
- Set stones: machine-assist placement; check level, stagger joints, and leave 1/8–1/4 inch reveals for drainage.
- Drainage zone: if retaining soil, add 12–18 inches of clear stone and weep paths to daylight.
- Edge control: tie into paver restraints; backfill and compact in 4 inch layers against the structure.
- Finishes: install lighting, mulch at 2–3 inches, and water-in new plantings; final rake and wash-down.
Want a deeper dive into staging and safety? Our armour stone features article explains equipment footprints and how we keep access paths open during work.
Armor stone vs. other front-yard edge and step options
Armor stone excels where you need mass, texture, and simple maintenance. Interlocking units offer tighter joints and patterns. Treated timber is lighter but shorter-lived. Poured concrete forms monolithic shapes but can crack and look plain without overlays or scoring.
Feature Armor Stone Interlock Units Treated Timber Poured Concrete Look & texture Natural, rough-faced Patterned, modular Warm, linear Monolithic, plain Typical base 8–12 in 3/4" minus 6–10 in 3/4" minus Compacted fill Engineered subbase Freeze–thaw Excellent on proper base Excellent on proper base Fair; prone to warp Good; cracks need control Edge definition Bold, sculptural lines Crisp joints & borders Straight but softer Clean but uniform Typical lifespan Long; minimal upkeep Long; joint care Moderate Long; crack controlIf you’re leaning toward patterns or larger paved areas, explore our front yard transformation ideas that combine stone with coordinated design-build.
Best practices and mistakes to avoid
Successful armor stone installs follow a few non-negotiables: solid base, drainage, consistent geometry, and protected edges. Skipping geotextile, setting on topsoil, mismatched risers, and ignoring downspout flow are the mistakes that create settling, wobble, and messy joints.
Best practices
- Compact base in 4 inch lifts; verify with a plate compactor “bounce test.”
- Target 6–7 inch risers and 14–16 inch treads for comfortable steps.
- Keep 1:6 to 1:8 batter on walls; add 12–18 inches of drainage stone behind soil.
- Route low-voltage lighting before backfill; leave slack for adjustments.
- Mulch to 2–3 inches; hold 3–4 inches off trunks and stems.
Common mistakes
- Skipping geotextile—base will clog and settle.
- Setting blocks on native topsoil—expect rocking and tilt.
- Ignoring downspouts—surface water undercuts edges and joints.
- Inconsistent risers—trip hazards and awkward gait.
- Over-packing beds—plants suffer; leave breathable root zones.
For a planning checklist that pairs design with sequencing, see our installation planning guide. For seasonal upkeep habits, our maintenance planning tips align with Ontario weather.
For additional regional context on hardscape readiness and layout thinking, review this hardscaping considerations overview and a walkway planning guide that discusses site prep sequencing.
Tools, materials, and planning resources
You’ll need compactors, pry bars, and a skid steer or mini-excavator for safe stone placement. Non-woven geotextile, 3/4" minus aggregate, and clear drainage stone make up the build. A planning packet with grades, utilities, and plant lists keeps the project on schedule and code-compliant.
Essential tools
- Plate compactor, hand tamper, and a smart level or laser for control.
- Skid steer or mini-excavator with forks/chains; pry bars and wedges.
- Chisels and a saw with a stone-rated blade for minor adjustments.
Core materials
- Non-woven geotextile; 12 inch overlaps for separation.
- 3/4" minus aggregate for base; 4 inch lifts, compacted thoroughly.
- Clear stone for drainage zones; chip stone for bedding (1/2–1 inch).
Helpful reads
- Step-by-step thinking for paver areas adjacent to stone: interlocking patio build.
- Pre-build site checks that reduce rework: patio and walkway advice.
If you prefer one team to manage design and execution, our design-build process integrates stone, interlock, planting, and lighting under one plan and schedule.
Mississauga case studies and examples
These quick front-yard snapshots show how armor stone solves common challenges: grade changes, messy edges, and bland entries. Each build pairs strong base prep with clean edge control and planting depth—hallmarks of our work in Mississauga neighborhoods.
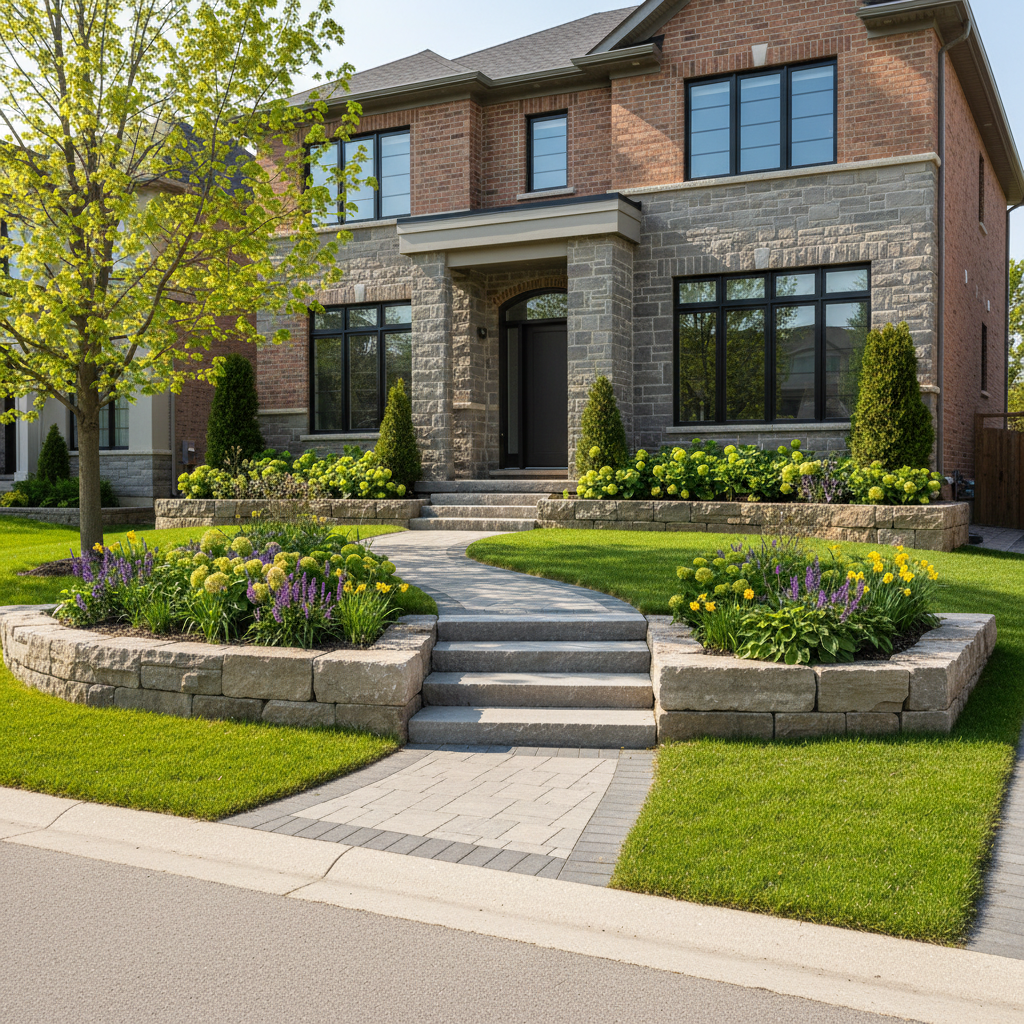
Split-entry steps + landing
- Two armor stone steps (6.5 inch risers) into a 60 inch paver landing framed by a single stone course.
- Mulch at 2–3 inches; native grasses reduce weekly trimming along edges.
- Night lighting tucked between stones eliminates glare toward the street.
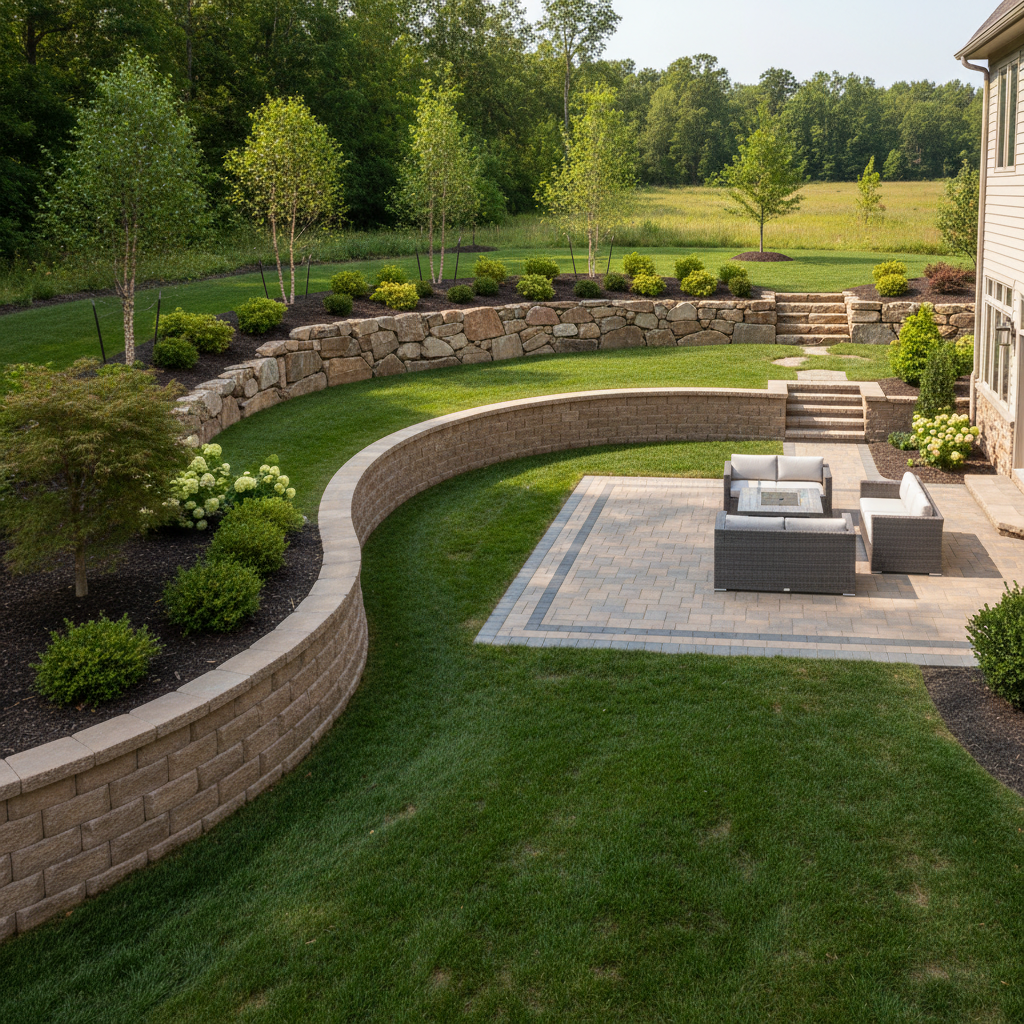
Low wall to organize slope
- 24 inch wall with a 1:6 batter creates a level mowing strip and safer footing.
- 12–18 inch drainage zone behind wall; weep path to daylight protects against heave.
- Paired with curb-focused planting layers for four-season interest.
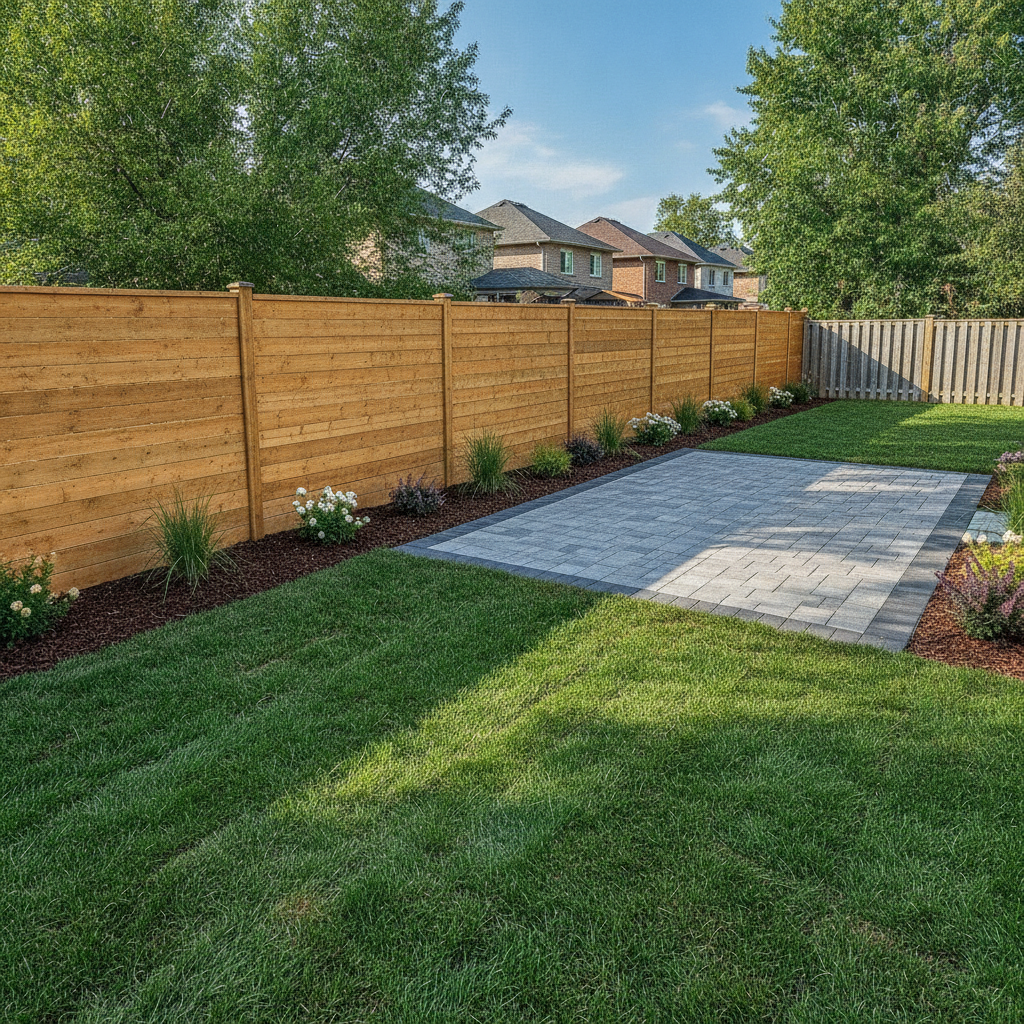
Driveway edge protection
- Staggered boulders 3–4 feet apart form a guard curb that resists winter plows.
- Edge restraint ties into pavers for a consistent line at the car door zone.
- Integrated with our stone curb appeal tactics to keep paint and pavers safe.
Thinking about next steps? Book an on-site consultation. We’ll right-size a plan across stone, interlock, and planting, then schedule work to meet your timeline.
Maintenance and seasonal care
Armor stone is low-maintenance when installed correctly. Keep joints clear, direct downspouts away, refresh mulch annually, and check lighting runs every fall. In winter, use plastic shovels on landings, avoid de-icers on limestone, and plan snow storage so piles don’t block drainage paths.
- Spring: inspect joints, rake mulch to 2–3 inches, confirm weep paths remain open.
- Summer: trim grasses clear of edges; verify lighting timers and connectors.
- Fall: leaf cleanup before freeze; pull lighting runs for inspection.
- Winter: plastic shovels on steps; store snow where melt can drain away from stonework.
Local considerations for Mississauga
- Near Saigon Park, spring melt and foot traffic are higher—ensure 2% walkway fall and clear weep paths.
- Schedule heavy installs before the first hard frost for denser compaction across Peel’s clay pockets.
- Frontages near Lambton College see more pedestrians—favor 42 inch walkways and brighter, shielded lighting.
Frequently asked questions
Homeowners ask about permits, winter performance, and pairing armor stone with pavers and planting. These concise answers address what most Mississauga properties need to plan confidently without surprises during installation or the first winter cycle.
Is armor stone the same as “armour stone”?
Yes. “Armor stone” is the American spelling, while “armour stone” is the common Ontario term. Both refer to large, quarried blocks (often limestone or granite) used for steps, low walls, borders, and accents around front yards.
Do I need a permit for a low front-yard wall?
Many municipalities allow low gravity walls under a set height without a building permit, but rules vary. We confirm requirements during the on-site assessment and design layout to stay within local guidelines where practical.
How does armor stone handle winter in Mississauga?
When stones sit on a compacted aggregate base with geotextile and proper drainage, movement is minimal. We also plan snow storage, avoid aggressive de-icers on limestone, and protect paver interfaces with restraints for clean edges after thaw.
Can armor stone blend with interlocking pavers?
Absolutely. Stone steps and borders frame paver landings and walks nicely. The key is shared base prep, aligned elevations, and edge restraints that tie both systems together for durability and straight lines over time.
What maintenance does armor stone need?
Very little. Keep joints free of soil, refresh mulch once a year, and check lighting connectors every fall. Redirect downspouts away from stonework and use plastic shovels on steps during winter to avoid surface scuffs.
Key takeaways
Front-yard armor stone delivers structure, safety, and a confident first impression. With compacted base, drainage, and clean edges, these features ride through winter and reduce weekly upkeep. Start with one anchor move—steps, wall, or border—then finish with planting and lighting.
- Armor stone solves grade and circulation while boosting curb appeal.
- Base, drainage, and geometry (6–7 inch risers) make or break performance.
- Pair with pavers, mulch, and native plants for crisp, low-care results.
- Plan snow storage and downspouts up front to protect edges and joints.
Conclusion and next steps
If your front yard needs safer steps, tidier edges, or a stronger first impression, armor stone is a proven solution. We integrate stone with interlock and planting under one build plan, so you get durable results without coordination headaches.
- Browse our tactical stone curb appeal ideas.
- See how we schedule and phase builds in our installation planning guide.
- Prefer a one-team approach? Start with our design-build overview and book an on-site consultation.
Ready to talk layouts? Connect with HR Greenroots Landscaping in Mississauga to map a front-yard plan that fits your facade, slope, and routine.