A Practical Guide to Driveway Extension for More Parking
Running out of room on your driveway is a common pain point—especially when households add a new vehicle, welcome frequent guests, or want a clearer path for deliveries. A well-planned driveway extension can solve the squeeze without creating new problems like puddling, heaving, or awkward turns. This guide walks through smart planning, material choices, drainage and base preparation, and a clear build sequence so you can create more parking that lasts.
Start with a clear plan
Before you pick materials or book equipment, step back and define what “more parking” really means for your property. A few minutes with a tape measure and notepad will help you avoid scope creep and mismatched expectations later.
- Identify your parking goal: one full vehicle, two vehicles side-by-side, or overflow space for guests.
- Measure constraints: width of the lot, distance to property lines, existing landscape beds, steps, and utilities.
- Consider circulation: can doors fully open, can you walk past vehicles safely, and is there a clear path to the entry?
- Think long-term: snow storage, trash bin staging, future deliveries, or EV charger reach.
Important: Rules for setbacks, curb cuts, and lot coverage vary widely by jurisdiction and even by neighborhood. This guide offers general information only—verify all requirements with your local authority before you design or build.
Choose a layout that fits
The best layout balances vehicle space, safe movement, and curb appeal. Use these common patterns as a starting point:
- Side-by-side widen: Expands the driveway along one edge for an extra parking lane. Efficient for daily use and door clearance.
- Ribbon or twin strips: Two stabilized wheel paths with a planted or graveled center. Reduces hardscape area while adding function.
- Bump-out or parking bay: A localized pad near the street or garage to remove a “tandem shuffle.”
- Turnout or hammerhead: A short T-shaped extension to make reversing and turning easier on narrow lots.
Sketch the turning paths and door swing arcs to be sure everything clears without constant maneuvering. For full-size vehicles, many homeowners find that adding 8–10 feet of width makes daily use more comfortable; measure your actual vehicles to confirm.
Compare materials by performance
Each surface has trade-offs in durability, maintenance, and look. Choose based on soil conditions, freeze–thaw cycles in your region, desired aesthetics, and your tolerance for maintenance.
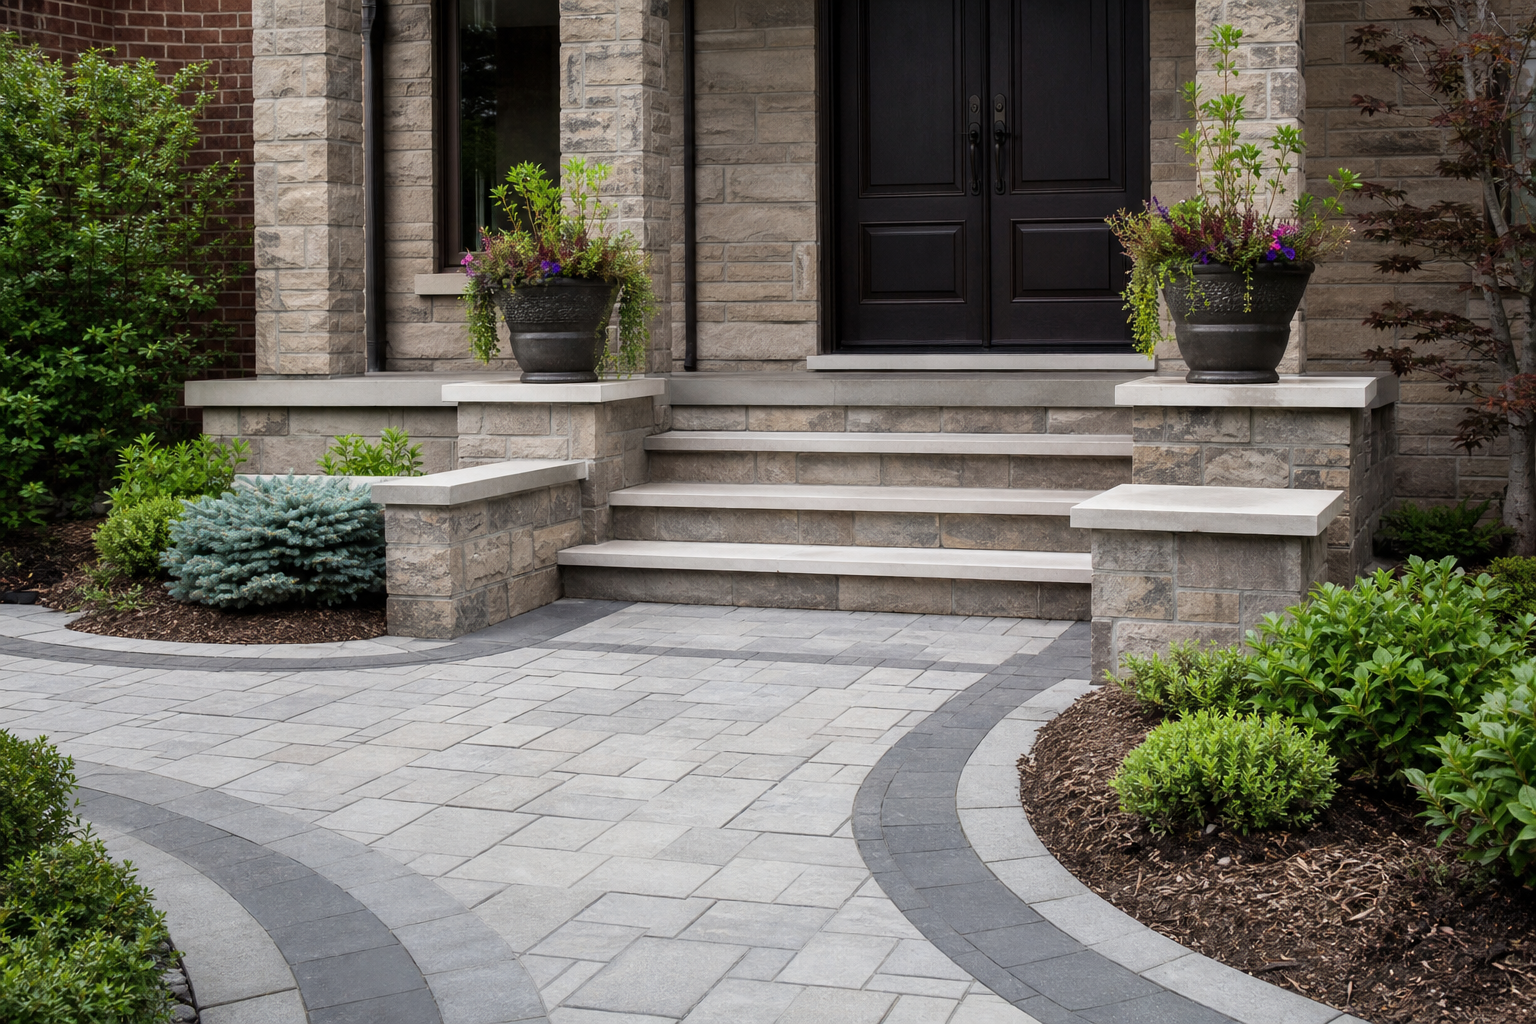
- Interlocking pavers: Modular units over a compacted aggregate base with joint sand. Pros: repairable by section, strong edges, visual patterns. Consider polymeric joint sand and solid edge restraint for longevity.
- Asphalt: A hot-mix surface over an aggregate base. Pros: unified look, relatively fast installation. Consider proper thickness, well-compacted base, and careful edges to reduce crumbling.
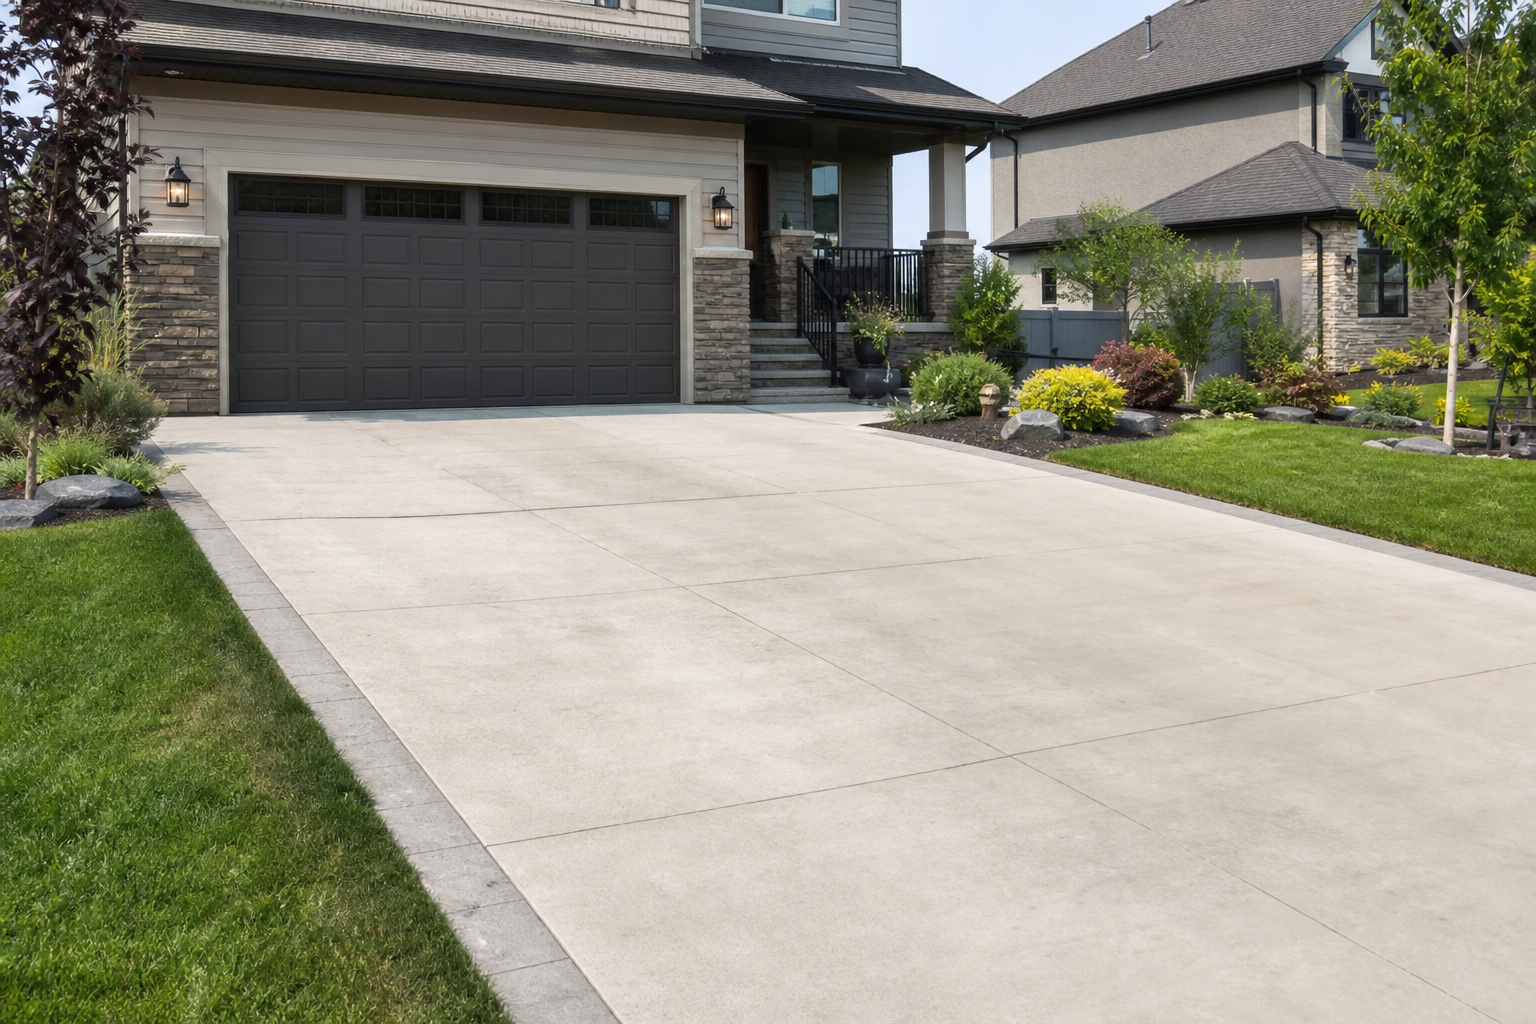
- Concrete: Poured slab with control joints. Pros: clean lines and high compressive strength. Consider control-joint layout, curing, and drainage; edges benefit from thickening or a border treatment.
- Permeable pavers or open-grid systems: Allow infiltration to reduce runoff. Pros: stormwater-friendly in suitable soils. Consider specialized base gradation and maintenance of voids to keep flow paths open.
Whichever surface you select, the base and drainage design do most of the heavy lifting. A strong foundation prevents settling, heaving, and surface failure.
Drainage and grading essentials
Water management should be decided at the planning stage, not after the surface goes down. Aim to protect the house foundation, keep water off the walking paths, and prevent ice-prone puddles.
- Direct runoff away from structures: Slope the surface so water moves toward the street, swale, or approved drainage point.
- Mind transitions: Where new and old surfaces meet, maintain continuous slope so water doesn’t trap at the seam.
- Consider surface permeability: Permeable systems need the right open-graded base and an outlet path; traditional surfaces need positive slope.
- Plan downspout terminations: Don’t discharge onto the driveway extension; redirect to landscaped areas or approved drains.
Local codes and stormwater rules vary. Confirm acceptable discharge locations and any requirements for permeable systems with your local authority before finalizing the plan.
Build a reliable base
A driveway is only as strong as what’s beneath it. Invest the most care in excavation depth, soil stabilization, base material, and compaction.
- Mark utilities: Arrange for underground utility locating before you dig. Never assume lines aren’t there.
- Excavate to proper depth: Depth depends on soil type, climate, and surface material. Remove organic matter and soft soils until you reach firm subgrade.
- Set elevations and edge control: Establish string lines or laser references for slope. Install paver edge restraints or formwork where required.
Compaction testing tools vary from hand tampers to plate compactors and rollers. Multiple passes per lift are better than trying to compact a deep layer all at once.
Tie into the existing driveway
Where new meets old, details matter. A sloppy seam can collect water or telegraph cracks.
- For asphalt: Saw-cut the existing edge to a clean, straight line. Create a tack coat and proper overlap so the joint bonds well.
- For concrete: Saw-cut to form a clean construction joint. Align control joints to continue the pattern across old and new.
- For interlocking pavers: Use a pattern and elevation that interlocks visually. Consider a soldier-course border to create a neat transition.
Keep the height of the extension flush with the original surface or use a gentle taper to avoid tripping and to keep plow blades from catching in winter.
Edge restraint and borders
Open edges are where driveways tend to fail first. Strong edges also sharpen the visual finish.
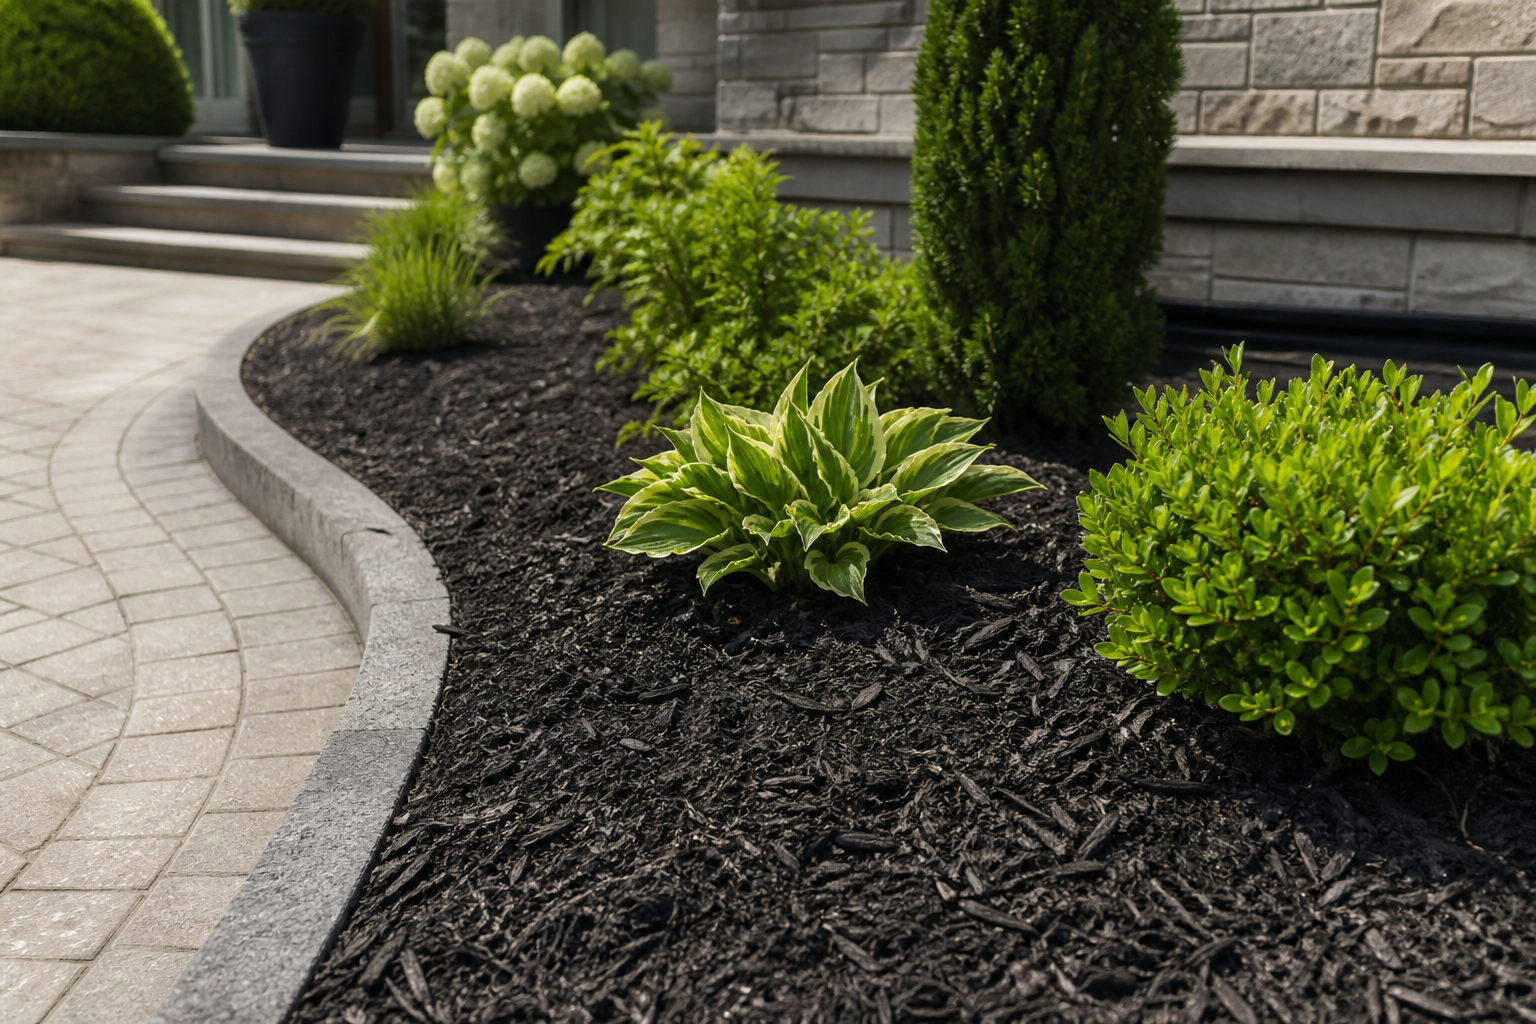
- Pavers: Install continuous edge restraints—spiked and anchored on a well-compacted base. Consider a contrasting border course for added strength and a finished look.
- Asphalt: Support edges with compacted base extending beyond the mat; some sites benefit from concrete or stone edging to prevent edge raveling.
- Concrete: Thicken slab edges or add a border band. Proper jointing reduces random cracking.
- Gravel: Steel, stone, or concrete curbing keeps rock contained and reduces rut migration into adjacent beds or lawn.
Practical widths, turning, and safety
Comfortable daily use reduces frustration and fender scrapes.
- Walking clearance: Allow space to open doors and step out on a stable surface—especially next to steps or planting beds.
- Turning radii: Sketch a turning path from the street to each stall. Tight inside corners often benefit from a small curved flare.
- Night visibility: Low, shielded lighting at edges and steps helps prevent trips without creating glare.
- Snow and debris management: Leave room to push snow or stage bins so parked vehicles aren’t blocked.
Step-by-step construction sequence
- Confirm requirements: Verify local rules for driveway width, curb cuts, and materials. Obtain any required permissions before mobilizing.
- Measure and mark: Lay out the extension with paint and string lines. Confirm slopes with a level.
- Utility locate: Schedule utility marking and keep marks visible throughout excavation.
- Excavate: Remove sod, organics, and soft soils to the design depth. Dispose of spoils responsibly.
- Subgrade prep: Shape the subgrade to approximate final slope. Install geotextile if soil conditions warrant.
- Base installation: Place aggregate in compacted lifts, checking slope frequently.
- Edge setups: Install edge restraints, forms, or curbing per the chosen material.
- Surface installation:
- Pavers: Screed a bedding layer, place units, cut to fit, compact, and sweep joint sand.
- Asphalt: Place hot mix at specified thickness, compact to finish grade.
- Concrete: Place, strike off, float, edge, add control joints, and cure properly.
- Gravel: Place top layer, compact, and shape the crown or slope.
- Seams and cleanup: Create smooth transitions, tidy edges, and restore adjacent lawn or beds.
- Final checks: Hose-test suspect areas, confirm door swings, and review snow pathing and bin staging.
Avoid common pitfalls
- Skipping the utility locate: Striking a buried line is dangerous and costly. Always locate first.
- Underbuilt base: Too little base or poor compaction leads to ruts, heaving, and early failure.
- Flat or back-sloped surfaces: Standing water damages surfaces and creates ice hazards.
- Weak edges: Unsupported edges crumble and spread; always plan for restraint.
- Mismatched elevations: A lip at the seam invites trips and water traps.
- Ignoring long-term maintenance: Budget time for sealing (as applicable), joint sand refresh, or gravel top-ups.
Maintenance for longevity
Simple upkeep helps your new space perform better for years.
- Pavers: Sweep sand back into joints as needed; spot-relevel if settlement appears; keep edges tight.
- Asphalt: Address cracks promptly; consider periodic sealing based on product guidance and climate.
- Concrete: Keep de-icing chemicals in check; seal joints if needed; avoid heavy point loads near edges.
- Gravel: Rake out ruts; add surface stone periodically; maintain edging.
FAQ: Driveway extension for more parking
Do I need permission to extend my driveway?
Many jurisdictions regulate driveway width, curb cuts, surface type, and stormwater management. Because rules differ widely, verify requirements with your local authority before you design, demolish, or build. This guide provides general information only and is not a substitute for local regulations or professional advice.
What’s the best material for a driveway extension?
“Best” depends on your goals and site conditions. Interlocking pavers are modular and repairable; asphalt provides a continuous surface; concrete offers crisp lines and compressive strength; gravel is budget-friendly; and permeable systems help with runoff where appropriate. Choose based on soil, climate, drainage plan, and maintenance preferences.
How thick should the base be?
Base thickness depends on soil strength, climate, and surface material. Rather than aiming for a one-size-fits-all number, prioritize removing soft soils, using appropriate aggregate, and compacting in lifts until the base is firm and stable. Consult local standards or a qualified professional for site-specific guidance.
Can I add on without replacing the whole driveway?
Yes. Many successful projects tie a new section into an existing driveway. Pay special attention to the joint: saw-cut to a clean edge, align elevations and slopes, and use appropriate bonding or restraint details for your chosen surface.
How do I prevent puddles where old and new meet?
Plan the seam early. Match slopes across the joint, avoid creating a flat spot, and test with water before final compaction or curing. If necessary, adjust base elevations to maintain positive drainage away from structures.
Next steps
A practical next step
To discuss the options that apply to your situation, contact HR Greenroots Landscaping and request the relevant details before moving forward.