Fence installation materials include the posts, rails, panels, fasteners, footings, and hardware that make a fence stand straight and last. In Mississauga’s freeze–thaw climate, material choice and base prep decide whether a fence stays true for years or leans by spring. HR Greenroots Landscaping designs and installs fences as part of coordinated landscape build projects.
By HR Greenroots Landscaping • Last updated: 2026-04-27
Above-Fold Hook + Table of Contents
Pick fence installation materials by matching structure to climate, soil, and use. Choose rot-resistant posts, corrosion-proof hardware, and footings set below frost depth. Plan gates, privacy, and maintenance from day one. The right material set prevents leaning, sagging, and loose boards in Ontario’s freeze–thaw cycles.
If your fence has to provide privacy, frame a pool, or secure a side yard, the bill of materials drives performance. Use this guide to plan confidently—and avoid rework.
- What are fence installation materials?
- Why materials matter in the GTA
- How materials work together
- Types of fences and approaches
- Best practices that prevent failure
- Tools and resources we trust
- Mini case studies from Mississauga
- FAQ
- Key takeaways and next steps
Overview
A durable fence uses compatible materials from post tip to gate latch. Expect pressure-treated or metal posts, gravel plus concrete footings below frost, weather-rated fasteners, and panels suited to wind and privacy. Integrating grading, drainage, and edge control keeps the installation stable season after season.
We treat fences as structural elements within a larger landscape. When the base, drainage, and gating plan align, the whole yard circulates better and maintenance gets easier.
What Is “Fence Installation Materials”?
Fence installation materials are the structural and finishing components required to build a long-lasting fence: posts, rails, panels or pickets, footings, gravel, concrete, brackets, fasteners, gate frames, hinges, and latches. Selecting materials for climate, soil, and use prevents leaning, rot, and corrosion.
Think of a fence as a system. Every item—from the bottom of the footing to the top cap—must resist moisture, frost movement, and wind. In our Mississauga projects, we pair the following elements deliberately so the fence works with the yard, not against it.
Core components you’ll specify
- Posts: Pressure-treated wood (PT), steel, aluminum, or vinyl sleeves around structural posts.
- Rails and stringers: Dimensional PT lumber or metal rails that tie posts and panels together.
- Panels/pickets: Wood boards, vinyl panels, composite boards, aluminum/steel ornamental sections, or chain link fabric.
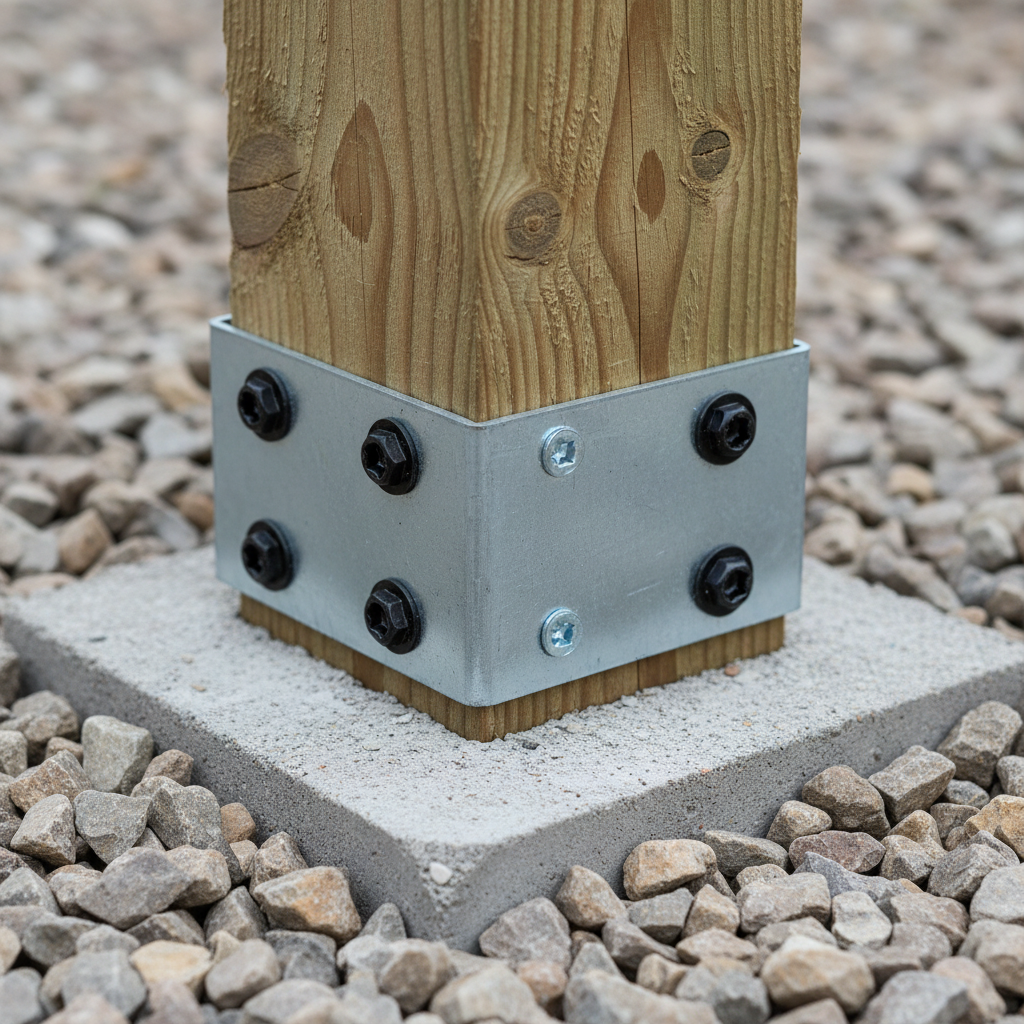
- Footings: Compacted gravel base plus concrete, set below local frost depth (often 42 inches in Southern Ontario soils).
- Hardware: Exterior-rated screws, galvanized or stainless brackets, and adjustable hinges and latches.
- Gate structure: Framed, braced, and hung with anti-sag hardware; posts often upsized.
- Protective finishes: Sealers, stains, or powder coating resisting UV and moisture.
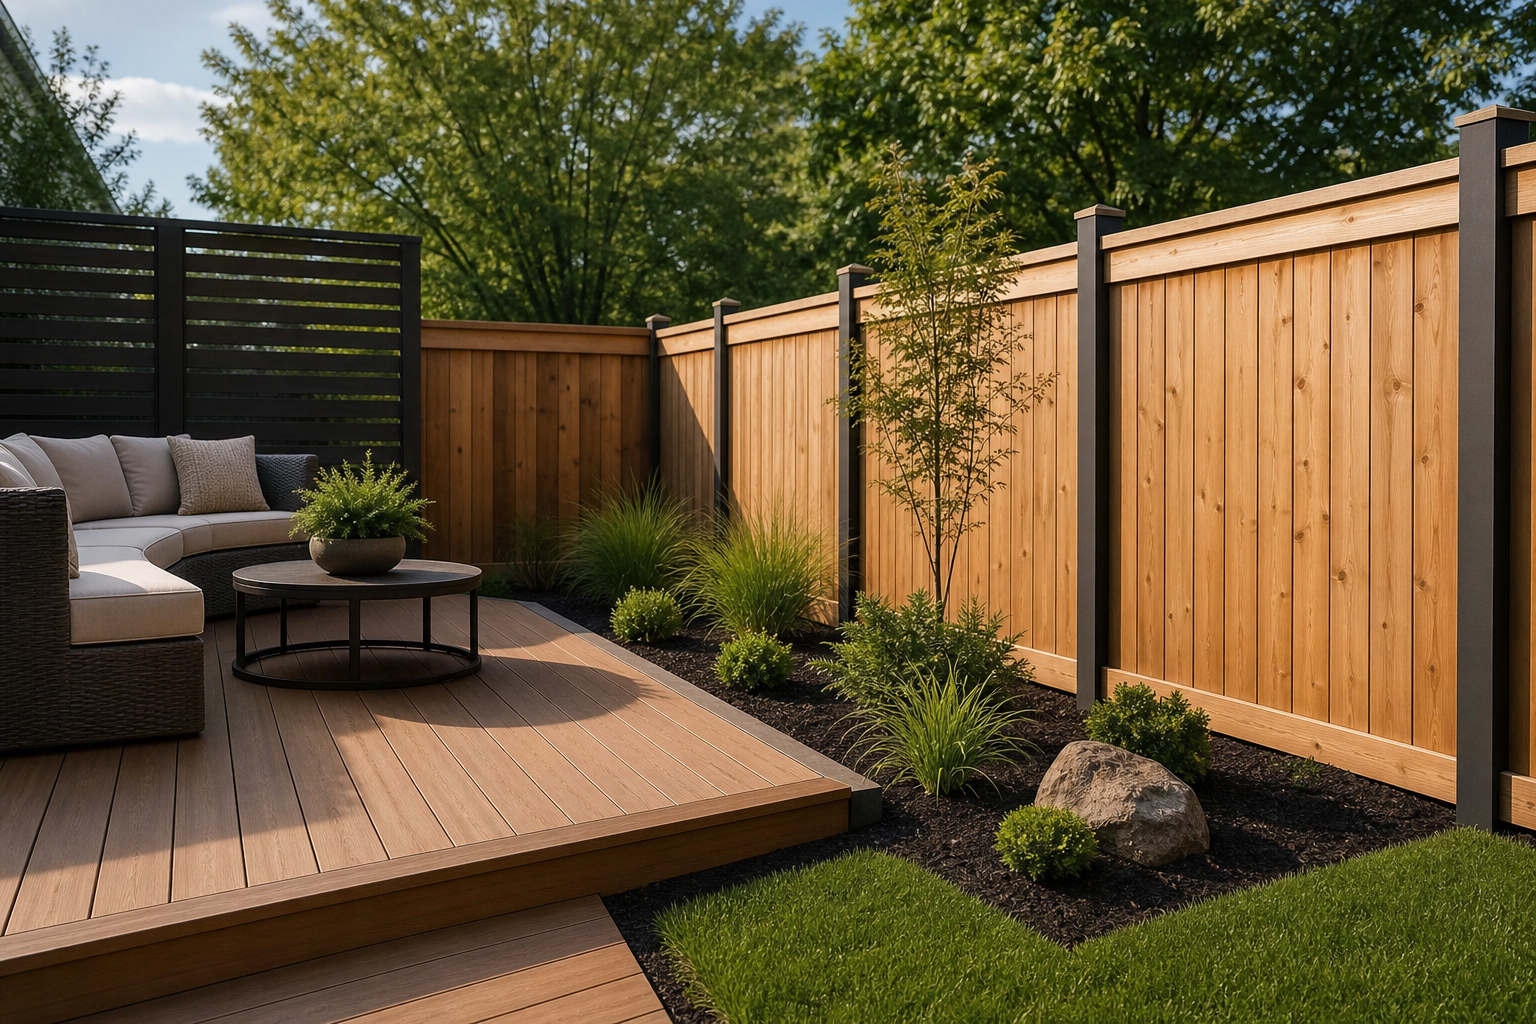
When clients ask about fence installation materials, they’re usually deciding between wood and vinyl first. We validate that choice against wind exposure, privacy needs, and nearby hardscapes like interlocking patios and pool surrounds.
Why Materials Matter in the GTA Climate
Materials determine whether your fence resists frost heave, wind, and moisture. Posts sized for load, concrete set below frost, and corrosion-resistant hardware reduce movement. Matching panel type to privacy and wind exposure prevents racking and sagging across seasons.
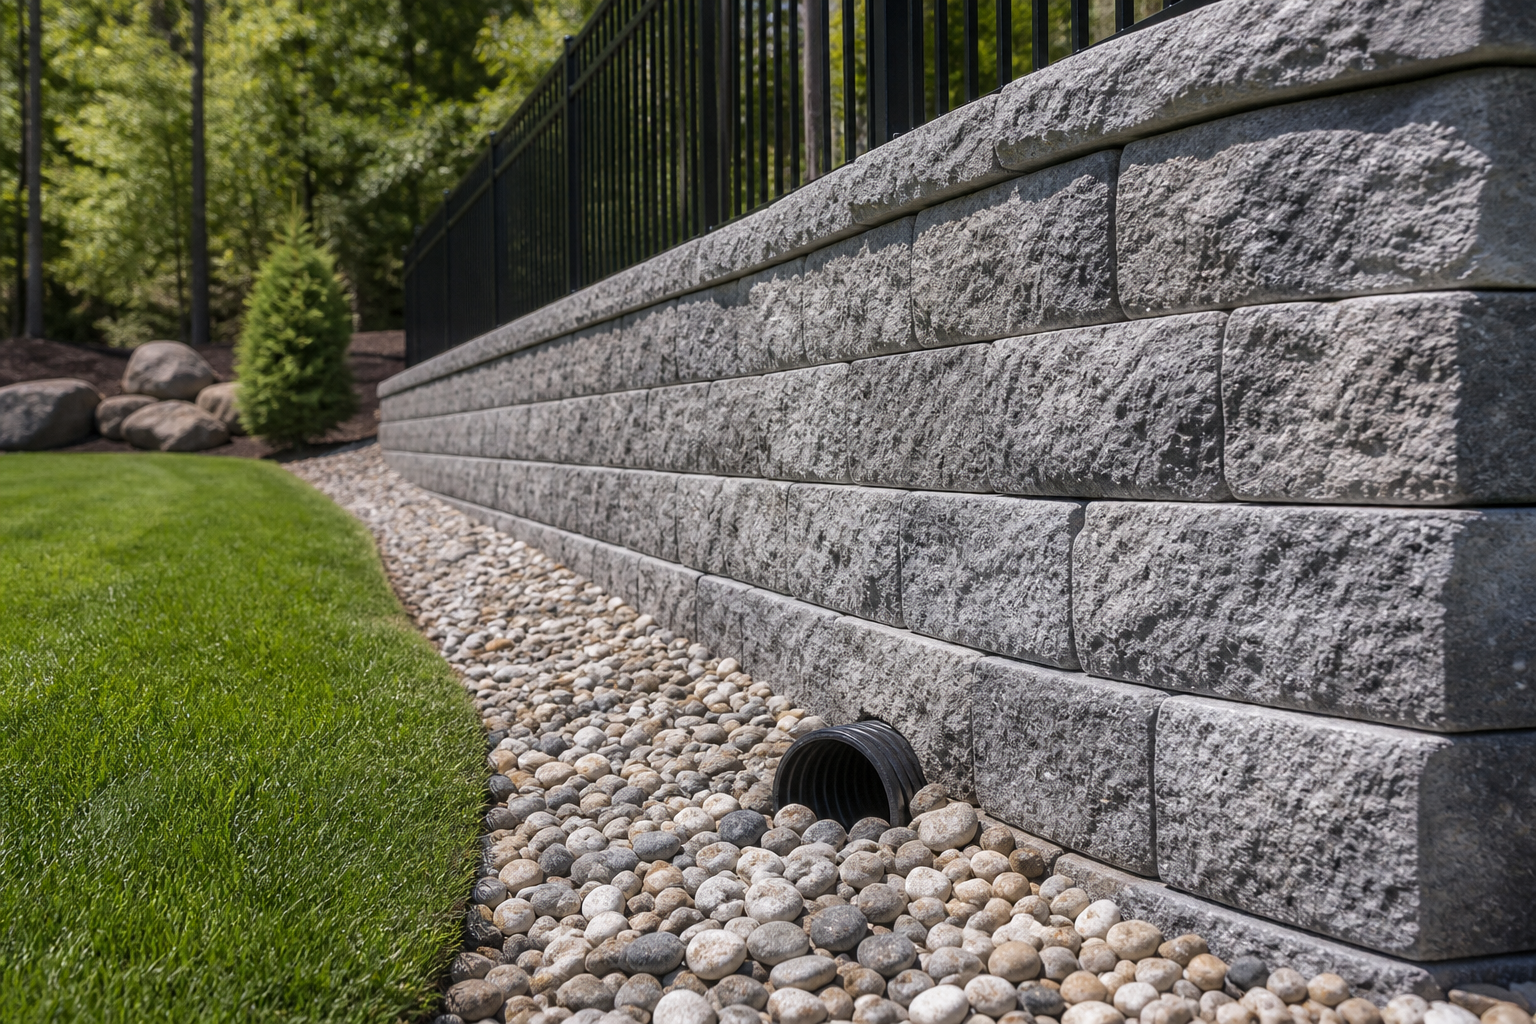
Mississauga and the broader GTA see repeated freeze–thaw cycles and spring saturation. That means footings move if drainage is poor, untreated wood swells, and thin hardware corrodes. We plan fences with the same rigor we apply to interlocking base prep and retaining walls—because the same forces apply.
- Frost and footings: Freeze–thaw cycles can lift shallow posts. Setting footings below frost and bedding in well-compacted gravel reduces uplift.
- Water management: Routed downspouts and graded swales limit ponding at posts; surface water is a common failure trigger.
- Wind loads: Solid privacy runs act like sails. We use more robust posts and reduce panel width to manage racking.
- Maintenance cycles: Sealing wood every 2–3 years and checking hardware seasonally extends service life substantially.
In our experience, fences sharing a border with interlocking pavers benefit from unified edge control. We detail joint sand, edging, and fence footings so neither undermines the other over time.
How Fence Materials Work Together
A fence is a load path. Posts transfer wind and gate loads into footings, while rails tie panels to posts. Gravel improves drainage; concrete locks depth. Exterior-grade hardware keeps connections tight. Sized correctly, the system resists heave and sagging for years.
Choose components that complement one another and the site. Below is a practical breakdown we use when scoping materials for homeowners and property managers.
Start from the ground up
- Excavation and bore diameters: Typical post holes run 8–12 inches wide; gate posts may require 12–18 inches.
- Frost depth: We target below frost depth (often ~42 inches locally) to minimize heave.
- Drainage layer: 4–6 inches of compacted ¾-inch crushed stone under posts promotes drainage.
- Concrete: High-early or standard mix, crowned at the surface for runoff; avoid air pockets around posts.
Then tie the structure together
- Rails/stringers: Two rails for 4–5 ft fences; three rails for 6–8 ft privacy runs stabilize panels.
- Fasteners: Exterior-rated screws hold better than nails; we use coated or stainless where chemicals or salt are present.
- Brackets and ties: Galvanized or powder-coated connectors prevent rust creep at critical joints.
Finish with the right panel and gate plan
- Panel width: Narrower panels reduce wind load per section, lowering racking risk.
- Gate reinforcement: Diagonal bracing, anti-sag kits, and upsized hinge posts keep gates square.
- Clearances: 1–2 inches of ground clearance prevents wicking and binding in snow.
Fences fail where the system is weakest. We eliminate those weak links during design—not after installation—so the landscape functions as one piece.
Types of Fence Materials and Approaches
Common fence systems include pressure-treated wood, vinyl, composite, aluminum and steel ornamental, and chain link. Each balances privacy, durability, and maintenance differently. Match material to wind exposure, style, and upkeep preferences, then size posts and hardware appropriately.
Below we compare popular options we build across Mississauga and the GTA. Use it to align looks, privacy, and longevity with how you use the yard.
Material snapshots
- Pressure-treated wood: Classic privacy with flexible styles. Requires sealing cycles and careful detailing at ground contact.
- Vinyl (PVC): Low maintenance, colorfast panels; resilient to moisture. Needs structural posts and proper reinforcement at gates.
- Composite boards: Wood-plastic blends offer premium look and reduced maintenance; heavier panels need robust framing.
- Aluminum ornamental: Sleek, corrosion-resistant; excellent around pools and frontages; not for full privacy.
- Steel ornamental: Stronger than aluminum; powder coating protects; heavier hardware required at gates.
- Chain link: Economical boundary control; privacy achievable with slats; ideal for side yards and utility zones.
Quick comparison table
Material Durability Privacy Maintenance GTA Climate Fit Notes Pressure-treated wood High with upkeep Full Seal/stain 2–3 yrs Good if sealed Detail footings; avoid ground contact wicking Vinyl (PVC) High Full Low Excellent Reinforce gates; watch thermal expansion gaps Composite Very high Full Low Excellent Heavier; requires stout posts and hinges Aluminum High None Very low Excellent Great near pools; minimal visual mass Steel Very high None Low Excellent Strongest rails; powder coat key Chain link High Low (add slats) Very low Good Reliable side-yard and utility perimeterFor mixed-use lots—say, a private backyard plus an open front—we often blend materials: composite or vinyl for backyard privacy, aluminum along the front, and chain link along a side run concealed with planting.
Best Practices That Prevent Fence Failure
Set posts below frost, compact subgrade, and crown concrete for runoff. Use exterior-rated hardware and brace gates with upsized posts. Break long privacy runs with control joints or narrower bays to reduce wind load and racking.
We bring the same edge-control discipline from sod and interlocking projects to fences. It’s the difference between a fence that looks straight for a season and one that stays aligned for a decade.
Design and layout
- Right-of-way checks: Confirm property lines and easements before staking.
- Bay sizing: Keep panels in the 6–8 ft range; use center posts to control wind load.
- Gate placement: Place on the high side when possible; add clearance for winter heave.
Footings and posts
- Depth and bell: Below frost with a slight bell at the base helps resist uplift.
- Gravel first: 4–6 inches of compacted gravel beneath posts aids drainage and stability.
- Concrete finish: Slope the top away from posts so water sheds—small detail, big life gain.
Connections and finishes
- Fasteners: Prefer coated or stainless screws; avoid interior-grade hardware anywhere outdoors.
- Sealing wood: First seal once dry, typically within the first warm season, then every 2–3 years.
- Thermal gaps: For vinyl and composite, leave expansion gaps to prevent buckling.
A fence is a visible test of craftsmanship. Clean posts, true lines, and consistent fastener patterns signal quality—and make maintenance simpler later.
Tools and Resources We Trust
Use pro-grade layout tools, augers, and compactors; specify exterior-grade hardware and mixes suited to your soil. Reference practical install guides and structural tips to align design with durability. The right tools and references reduce callbacks.
Our teams standardize tools and references so every crew builds the same way, across driveways, walkways, and fences.
- Layout and prep: String lines, laser levels, and marking paint keep runs straight and elevations consistent.
- Excavation: Two-person augers or skid-steer augers for depth; hand shovels to clean sidewalls.
- Compaction: Plate compactor for gravel pads, hand tampers for tight spots.
- Hardware: Galvanized brackets, coated screws, and adjustable hinges/latches for long-term alignment.
- Concrete: Mixes appropriate for setting posts with good workability and cure strength.
Practical reading we like includes a structural take on reinforcement sizes and boundary layout tips. For example, see this overview of 10M rebar uses for context when you need added rigidity in high-load spots. For base prep thinking, compare with hardscaping contractor advice that emphasizes compaction and drainage. For regional home project planning context, this local home upgrade article shows how contractors coordinate around utilities and site constraints.
Mini Case Studies: Mississauga Projects
Successful fences start with site-aware planning. These brief examples show how pairing the right materials with grading, interlock, and planting creates durable, low-maintenance boundaries that fit Ontario properties.
We’ve installed fences as part of broader landscape upgrades—tying together sod, interlocking, and storage—all across Mississauga and the GTA.
Backyard privacy with interlock tie-in
- Challenge: A family needed privacy along a new patio and pool surround.
- Approach: Vinyl privacy panels with reinforced gate posts; footings placed beyond the interlocking base with shared drainage paths.
- Result: Straight runs and quiet backyard. No heave at the fence/paver interface through winter.
Side-yard utility with planting screen
- Challenge: A narrow side yard with utility meters needed secure access.
- Approach: Chain link run for access, concealed with layered shrubs; anti-sag gate kit for frequent use.
- Result: Clear access path and low-visibility boundary that blends into planting.
Composite upgrade for long-term upkeep
- Challenge: Homeowners wanted full privacy without frequent staining.
- Approach: Composite boards on stout PT posts, stainless fasteners, and expanded hinge posts at a double gate.
- Result: Premium look with simplified maintenance; fence lines stayed true after heavy spring rains.
Local considerations for Mississauga
- Plan below frost: Target footing depths that account for Southern Ontario frost lines and keep drainage swales unblocked along the fence.
- Schedule smartly: Spring and early fall installs reduce heat expansion issues for vinyl and improve concrete curing conditions.
- Coordinate projects: When adding interlocking or sod, align edging and post locations to share drainage and avoid weak spots.
How to Choose Fence Installation Materials
Start with privacy and style, then validate against wind exposure, soil drainage, and maintenance goals. Size posts and hardware for height and gate count. Align footing depth to frost, and choose panels that match how you’ll use the space year-round.
Here’s a quick decision framework we use during on-site consultations across landscaping GTA projects.
- Define use: Privacy, pool safety, pet security, or visual boundary?
- Map site forces: Wind corridors, saturated soils, downspout outlets, and traffic patterns.
- Pick the system: Wood, vinyl, composite, aluminum/steel, or chain link—based on upkeep appetite and look.
- Right-size structure: Post size, rail count, and hardware grade adjust with height and gate count.
- Plan the interfaces: Tie into patios, walkways, driveways, and planting with proper clearances.
- Finalize finishes: Sealants, stains, caps, and powder coats to handle UV and moisture.
We revisit these steps at stake-out to lock dimensions and avoid surprises before any hole is dug.
Installation Steps and On-Site Checklists
Survey, stake, and call locates. Excavate below frost, add compacted gravel, then set posts plumb in concrete. Install rails and panels, brace and hang gates, and seal wood as needed. Finish with grade corrections and cleanup.
A well-run install reads like a clean punch list. Here’s how our crews execute.
Pre-build
- Confirm property lines, setbacks, and utility locates.
- Stake the layout with string lines for true runs and square corners.
- Stage materials by bay to minimize handling and confusion.
Build sequence
- Auger holes to depth; clean sidewalls; add gravel layer; tamp.
- Set corner/end posts first; ensure plumb; concrete and brace.
- Install line posts; maintain bay spacing; crown concrete tops.
- Add rails; fasten panels or pickets; keep consistent reveals.
- Hang gates with anti-sag hardware; confirm swing and clearances.
Closeout
- Seal/stain wood after appropriate dry time.
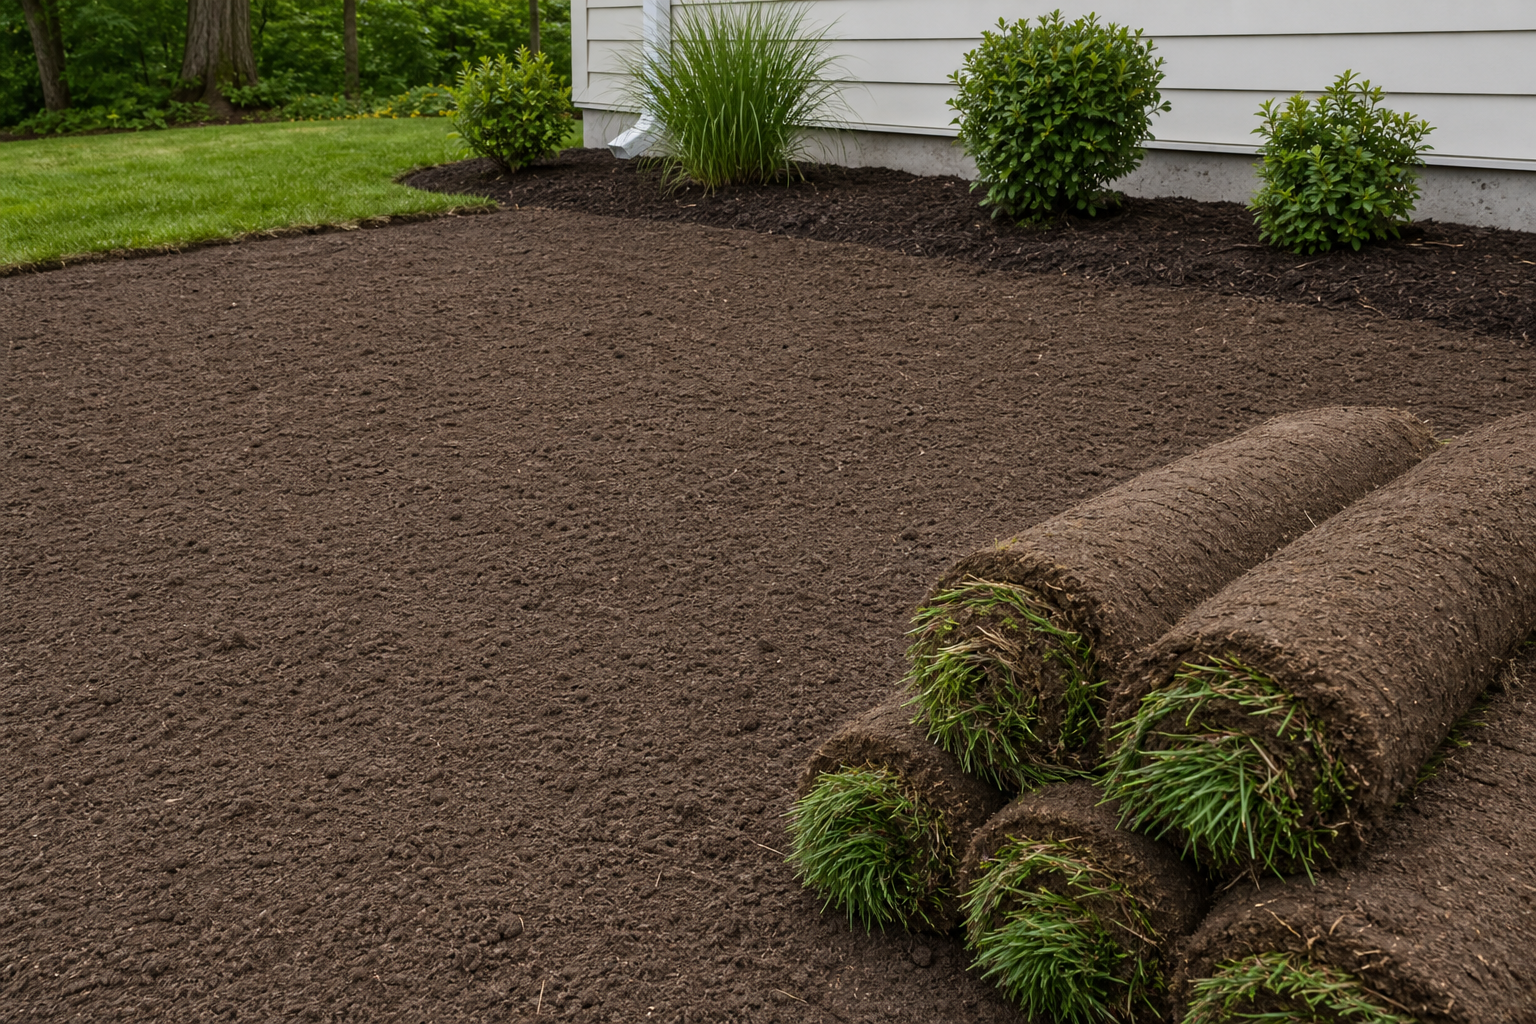
- Rake and re-grade disturbed soil; restore sod or mulch edges.
- Final walkthrough to confirm latches, caps, and finishes.
That’s the difference between “installed” and “integrated.” A fence should enhance how the entire landscape works.
Where This Fits in a Full Landscape Plan
Treat the fence as one layer in a coordinated design-build. Align it with interlocking, sod, planting beds, sheds, and grading so movement, privacy, and storage work together. Integration simplifies maintenance and elevates curb appeal.
Fences rarely stand alone in our projects. We blend them into the broader plan so circulation is smooth and upkeep drops.
For deeper planning, see how we structure projects in our landscape design and build overview, and how perimeter choices influence privacy in fence privacy options. If you’re refreshing turf around new footings, our sod installation guide explains base prep and grading that pair well with fence lines. For a broader services snapshot, review our landscaping services in Mississauga, and when you’re ready to plan a new perimeter, visit our fence installation service page.
Frequently Asked Questions
Homeowners ask about posts, footings, winter movement, and maintenance cycles. Here are concise answers our crews give during on-site consultations in Mississauga and the GTA.
What are the most durable fence installation materials for Ontario winters?
Vinyl, composite boards on stout posts, and aluminum or steel ornamental systems handle moisture and freeze–thaw well. For wood privacy, pressure-treated posts set below frost with exterior-grade fasteners remain reliable when sealed on a regular schedule.
How deep should fence posts be set in Mississauga?
Posts should be set below local frost depth with 4–6 inches of compacted gravel at the base and concrete crowned at the top for runoff. Depth varies by soil, fence height, and gate loads, but targeting below frost minimizes heave and leaning.
Are screws better than nails for fence panels?
Yes. Exterior-rated screws resist pullout and hold alignment better through seasonal movement than nails. Use coated or stainless screws near chemicals, salt, or constant moisture to reduce corrosion at critical joints.
What’s the best way to prevent a sagging gate?
Upsize the hinge and latch posts, add diagonal bracing, and use an adjustable anti-sag kit. Confirm ground clearance and hang the gate on the high side when possible so seasonal movement won’t bind the swing path.
Can I mix materials in one yard?
Absolutely. Many properties use privacy material for the backyard, aluminum along frontages for openness, and chain link down utility sides. When planned with grading and planting, mixed systems look intentional and simplify maintenance.
Key Takeaways and Next Steps
Choose fence installation materials as a system: frost-proof footings, weather-rated hardware, and panels that match privacy and wind. Coordinate with interlocking, sod, and planting to control water and movement. A system-first fence stays straight longer and is easier to maintain.
- Key decision: Start with privacy and style, then validate against wind, soil, and upkeep.
- Structural musts: Below-frost footings, compacted gravel, and corrosion-proof fasteners.
- Gate focus: Upsize posts and add anti-sag hardware from day one.
- Integrate: Align fence lines with patios, walkways, and beds for drainage and access.
Ready to plan your perimeter? Book a friendly on-site consultation in Mississauga. We’ll scope materials, confirm stake-out, and integrate your fence with the rest of your landscape.
Considering a broader upgrade? Our team coordinates fences with interlocking, sod, sheds, and planting so the space works as one. Start with a quick conversation on-site in Mississauga.