Garden shed planning mistakes are avoidable errors in siting, sizing, foundation choice, drainage, access, and permitting that lead to leaks, rot, and wasted space. In Mississauga, smart planning aligns setbacks, grading, and pathways so the shed works with your yard. Done right, your shed stays dry, lasts longer, and serves real storage and workflow needs.
By HR Greenroots Landscaping — Mississauga landscape design-build
Last updated: July 5, 2026
Summary
Avoid garden shed headaches by planning location, base, drainage, and access together. In Mississauga, respect property setbacks, pitch water away, choose a compacted gravel or paver base, and connect the shed with durable walkways. Integrate fencing and landscape design to protect sightlines and simplify long-term maintenance.
This complete guide blends field-tested practices from our Mississauga projects with homeowner-friendly steps. Use it to avoid rework and to align your shed with paths, fences, sod areas, and planting beds for a cohesive yard.
- Understand what shed planning covers and why mistakes compound.
- Follow a step-by-step planning workflow used by professional crews.
- Compare foundation options and drainage methods.
- Spot 15 common garden shed planning mistakes before they cost you time.
- Apply local tips for Mississauga climate, access, and regulations.
For deeper placement and setup insights, see our internal perspective in this garden shed planning and installation tips article, then circle back to this guide for the full picture.
What is garden shed planning?
Garden shed planning is the coordinated process of siting, sizing, permitting, and engineering a dry, durable outbuilding that fits your daily use. It balances setbacks, foundation, drainage, access, and landscape integration so the shed stays dry, accessible, and visually cohesive with paths, lawns, and beds.
At HR Greenroots Landscaping, we treat shed planning like any small structure: it needs a stable base, clear water paths, and circulation that works year-round. A shed is not just a box; it’s part of your landscape design and should serve your storage and workflow priorities.
- Scope: Site evaluation, setbacks, size, door orientation, base type, drainage, power needs, and pathway tie-ins.
- Success factors: Dry floor, straight walls, consistent doors, and clean access in all seasons.
- Integration: Align with fences, retaining walls, sod edges, and mulched beds for low upkeep.
When your plan connects these pieces, you avoid the cascade effect—one weak decision (like a poor base) leads to doors binding, panels twisting, and moisture creeping in.
Why shed planning mistakes matter
Shed planning mistakes shorten the lifespan of the structure and raise maintenance. Water intrusion, frost heave, and poor access cause door failures, rot, and constant patching. Fixing foundational errors later is disruptive; planning right protects your investment and your weekend time.
We’ve seen how small missteps stack up: a base that’s 1–2 inches out of level twists the frame; downspouts aimed at the pad saturate soil; a door that swings into a slope grinds on grade. Good planning prevents compounding damage and preserves curb appeal.
- Moisture risk: Trapped water accelerates rot, mold, and fastener corrosion.
- Structural creep: Frost heave lifts corners. Doors rack. Seams open.
- Usability loss: Narrow, muddy approaches reduce storage access.
- Visual impact: Crooked lines stand out against clean interlock or sod.
Here’s the thing: it costs more hours to correct a tilting shed than to compact a proper base, set drainage, and align approaches on day one.
How shed planning works: step-by-step
Plan your shed in this order: define use and size, verify setbacks, select a high-and-dry location, choose a foundation, set drainage paths, map access walkways, and confirm fence and gate clearances. This sequence prevents rework and ensures the structure, pathways, and landscape operate as one system.
- Define purpose and size. List what you’ll store and how you’ll move items. Bike widths, mower handles, and seasonal totes drive door placement and shed depth.
- Confirm setbacks and permissions. Check local rules for accessory structures and ensure no utilities cross your chosen spot. We help clients scope this within our landscape design and build process.
- Choose a high-and-dry location. Avoid low pockets. Favor natural falls or create subtle grades to drain water away from the pad.
- Select foundation. For most sheds, we recommend a compacted granular base 4–6 inches thick with edge control. Interlocking slabs or a concrete pad are alternatives.
- Plan drainage. Map where water goes in heavy rain. Include swales, river rock borders, or leader extensions to protect the pad.
- Design access. Connect the house to the shed with a durable surface. Our shed placement guide explains sightlines and circulation.
- Coordinate fences and gates. Ensure swing arcs clear paths. If adding privacy, see lessons from our fence installation mistakes article.
- Finalize planting and edges. Sod, mulch, and bed lines should protect the structure and make trimming simple.
Follow this workflow and you’ll lock in the key decisions before ground is broken, which keeps timelines predictable and edges crisp.
Types of shed foundations (and when to use them)
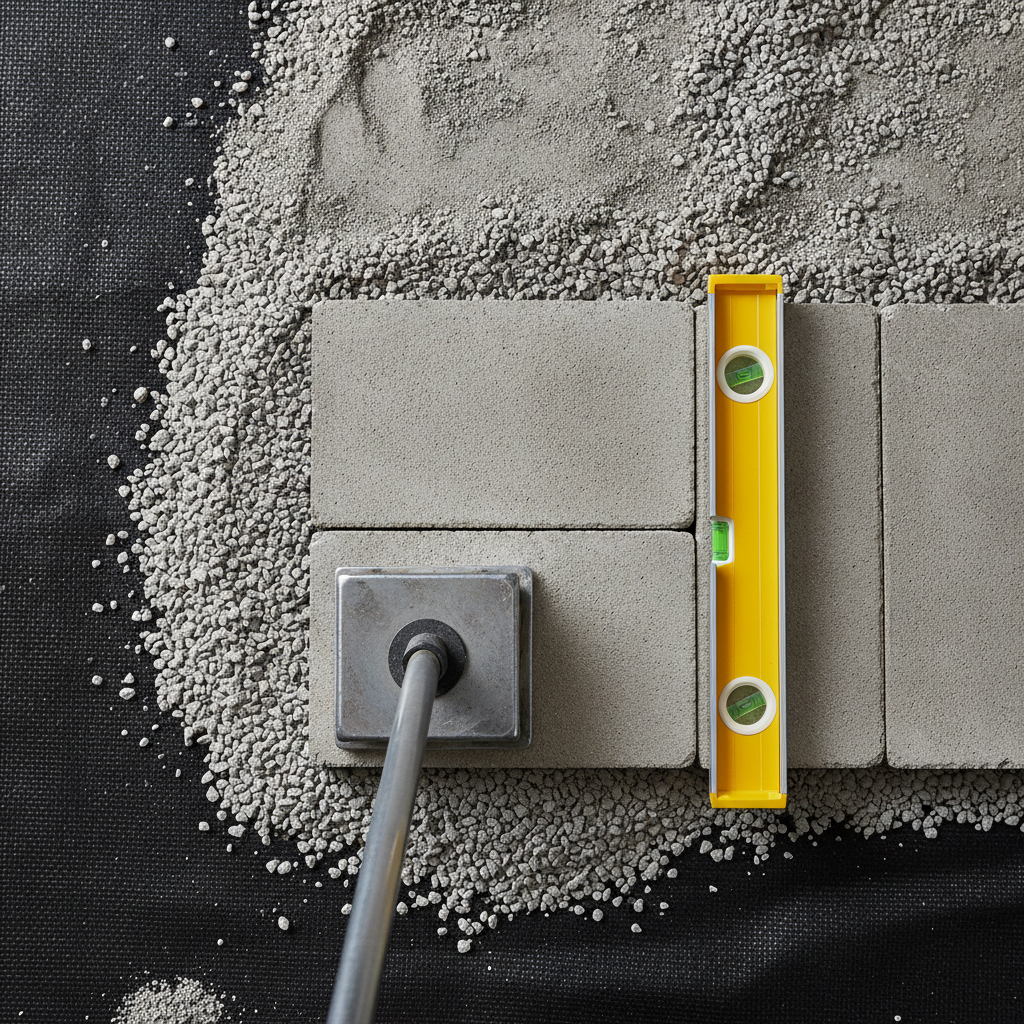
Most backyard sheds perform best on a compacted gravel or paver base with geotextile underlayment and clean edge restraint. Concrete slabs suit heavy workshops. Timber skids are fast but demand vigilant drainage. Choose the base that matches load, soil, and desired maintenance.
Below is a practical comparison to match foundations to use cases we see across Mississauga properties.
Foundation Best For Pros Watch-outs Compacted gravel pad General storage sheds Fast install, drains well, easy to level, frost-tolerant Needs proper edging and 4–6" compacted depth to resist migration Paver slab over gravel Neat finish, light-to-medium loads Clean look matches interlocking paths; replaceable units Requires tight bedding and edge restraint for stability Concrete slab Workshops, heavy equipment Very stable, smooth floor, long service life Permanent; needs formwork, control joints, and drainage planning Timber skids on gravel Small pre-fab sheds, quick installs Low excavation, movable Close attention to airflow and moisture; periodic re-levelingIn our experience, a granular base with geotextile fabric avoids mixing of soil and stone and keeps the pad stable through freeze-thaw. When a slab is selected, we still contour surrounding grades to push surface water away.
15 garden shed planning mistakes to avoid
The biggest shed planning mistakes are low siting, undersized bases, no edge restraint, poor drainage, tight door clearances, and ignoring setbacks. Each one compounds. Solve them up front with a level, compacted base, clear water paths, smart door orientation, and verified property lines.
- Placing the shed in a low spot. Water collects, saturates the base, and accelerates rot. Favor high ground or regrade to create shedding slopes.
- Skipping geotextile underlayment. Without fabric, soil pumps into gravel under load and during freeze-thaw, causing settlement.
- Too-thin base. Less than 4 inches of compacted aggregate invites movement. We target 4–6 inches for typical backyard loads.
- No edge restraint. Gravel or paver edges creep. Use aluminum, concrete, or well-set soldier rows to lock borders.
- Ignoring downspouts. Roof runoff aimed at the pad overwhelms drainage. Extend leaders or add river rock swales.
- Door swings into grade. A rising slope will catch the door. Rotate the shed or carve a landing so the swing clears.
- Forgetting wheel widths. Mowers, bins, and wheelbarrows need straight, firm approaches 30–36 inches wide to roll easily.
- Undersizing the shed. Seasonal gear expands. Plan shelf depths and aisle space before you buy.
- Blocking ventilation. Tight plantings trap moisture around walls. Keep a breathable gap and use mulch for splash control.
- Skipping pathway planning. Grass approaches turn to mud. Interlocking pavers or stepping pads maintain clean access year-round.
- Not checking fences and gates. A 42-inch gate is common; confirm your largest item clears. If not, adjust the route or the gate.
- Building too close to property lines. Setbacks matter. Verify distances from lot lines and from existing structures before staking.
- Setting the floor flush with grade. A slight step up (1–2 inches over surrounding grade) helps keep wind-driven rain out.
- Overlooking lighting or power. If you’ll plug tools in, plan a safe conduit route before hardscapes go down.
- Neglecting long-term maintenance. Unprotected edges and narrow mower strips add chores. Define clean edges and mower-friendly radii.
None of these are hard to fix on paper. They are frustrating to fix after the shed arrives.
Best practices for siting, drainage, and access
Aim for high-and-dry siting, positive drainage in two directions, and hard-surface access 30–36 inches wide. Protect bases with edge restraint and a breathable mulch border. Tie in fences and retaining walls so grades step down naturally away from the shed.
Site and grading
- High spot bias: Start where grades fall away from the shed on at least two sides.
- Micro-slope targets: We often grade 1–2% away from the pad to move surface water gently.
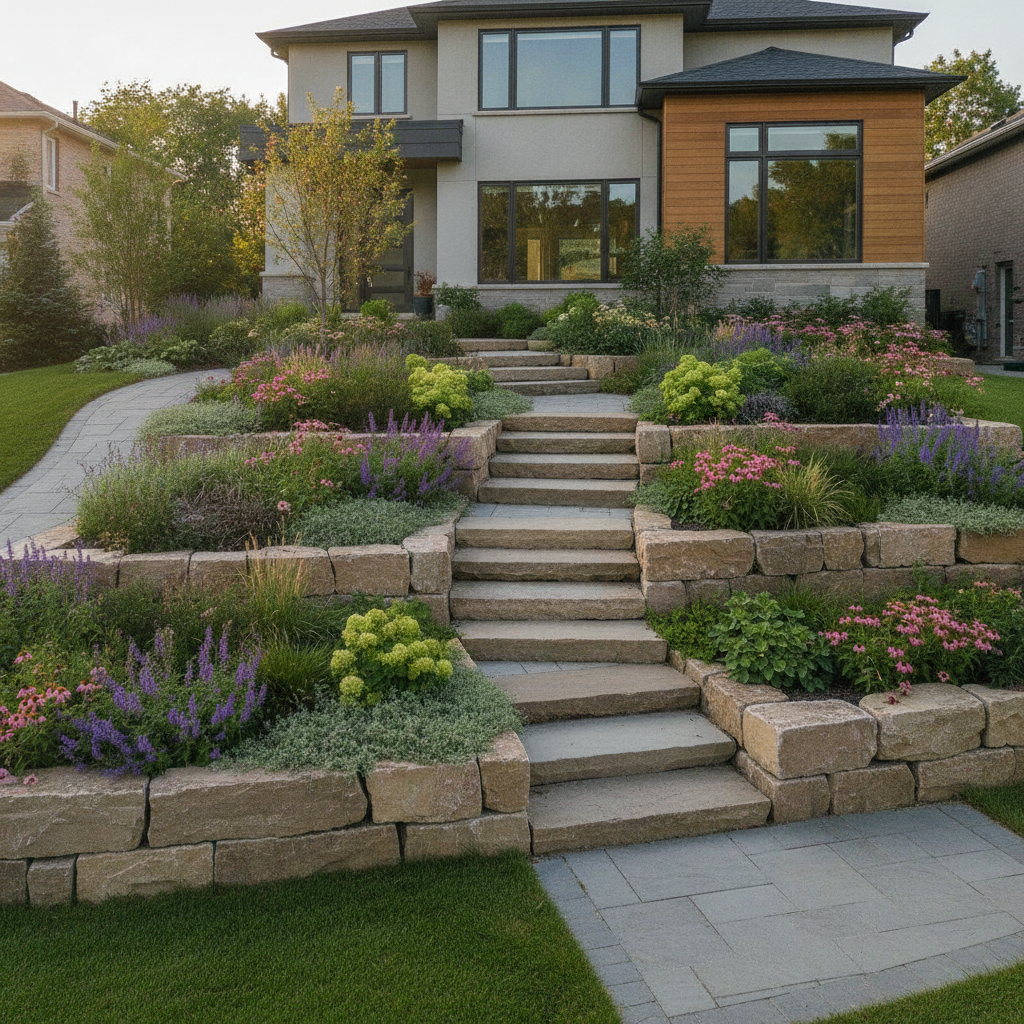
- Retaining where needed: On sloped yards, a short retaining wall can carve a level pad; review our practical lens in this retaining wall planning article.
Drainage and moisture control
- Swales and borders: Simple shallow swales and a 12–18 inch river rock band reduce splash-back and wick water away.
- Downspout strategy: Use extensions and aim flow away from the pad, never across walkways.
- Breathable perimeters: Keep shrubs off the walls. Use mulch to control weeds while allowing airflow.
Access and circulation
- Hard-surface path: Interlocking pavers keep shoes clean and carts rolling. For path layout thinking, see our GTA landscaping guide.
- Gate and fence coordination: Lessons from fence installs apply—confirm hinge side, latch side, and swing arc relative to grades.
- Night access: If you’ll enter after dark, plan a safe approach now; running wire after hardscapes is disruptive.
Good access is a daily quality-of-life upgrade. When pathways, fences, and slopes are planned together, the shed becomes easy to use in all weather.
Tools, permits, and resources
Document setbacks, call utility locates, and select tools for accurate grading and compaction. Use a plate compactor, hand tamper, laser or string level, and edge restraints. Keep a simple checklist: permissions, utilities, base, drainage, access, planting—then build with confidence.
- Basic tools: Plate compactor, hand tamper, shovel, rake, laser level, string lines, square, and PPE.
- Materials: Granular A or 3/4-inch clear stone (project-dependent), geotextile fabric, paver edge restraint, spikes, and bedding sand if using slabs.
- Permissions: Verify accessory-structure rules and setbacks before staking the site.
- Utility locates: Always confirm underground lines before digging—even for shallow bases.
- Workflow: Excavate, install fabric, place and compact lifts, screed bedding if applicable, set pavers or forms, then edge and backfill.
For broader hardscape context, these practical reads discuss pad prep and walkway considerations you’ll also face when connecting a shed path: see walkway planning advice, backyard transformation tips, and landscaping best practices. While every site differs, the core principles—stable base, drainage, and edge control—stay consistent.
If you prefer a coordinated plan, we fold sheds into our broader design-build approach so paths, sod, fences, and beds work together from day one.
Case studies: Mississauga sheds done right
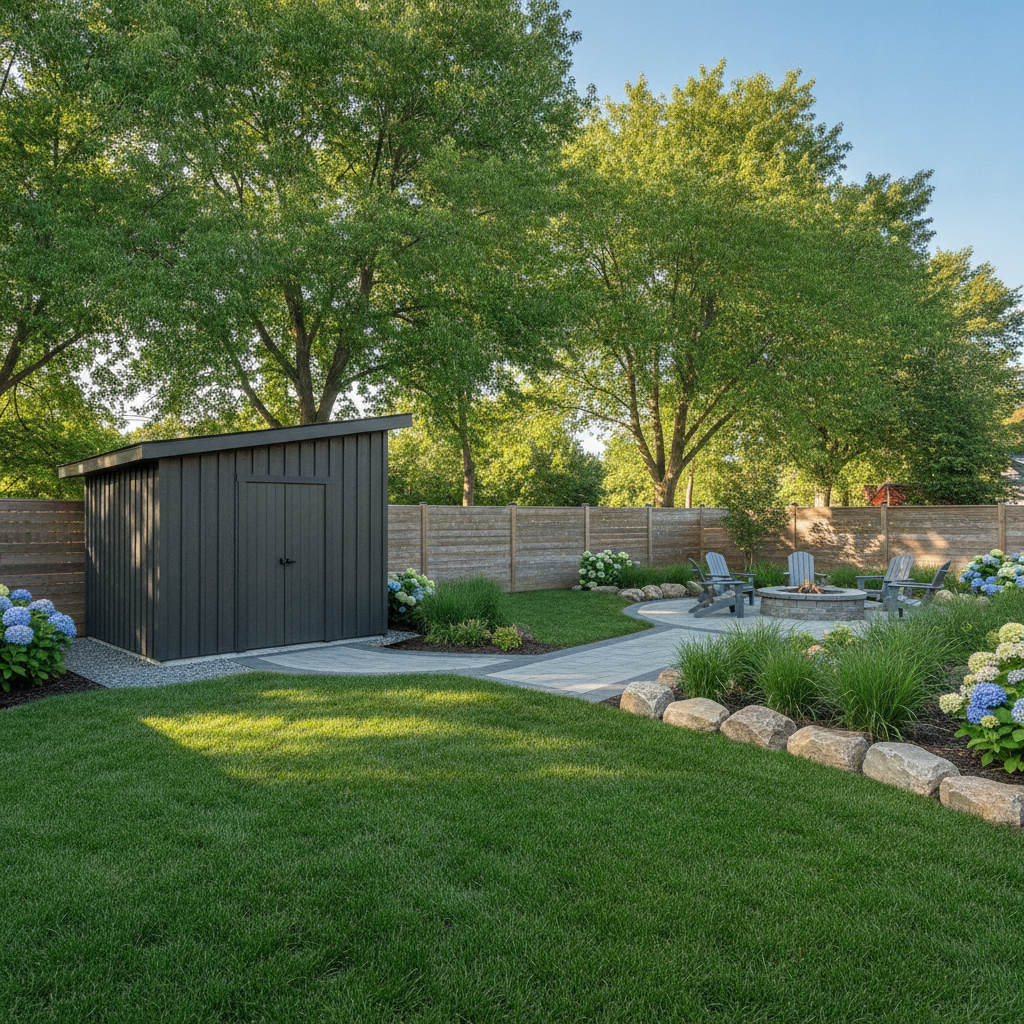
Successful Mississauga sheds combine stable pads, smart drainage, and clean access. Our projects show how a compacted base, interlocking walkways, and coordinated fences eliminate racking, mud, and crowding—so storage stays dry and daily use feels easy year-round.
Corner-yard storage with pathway tie-in (near Saigon Park)
A homeowner needed dry storage for bikes and tools. We raised the pad slightly above surrounding grade, used a 4–6 inch compacted granular base with geotextile, then tied the shed to the patio with interlocking pavers. A river rock border and downspout redirection kept splash off the walls and the floor dry after storms.
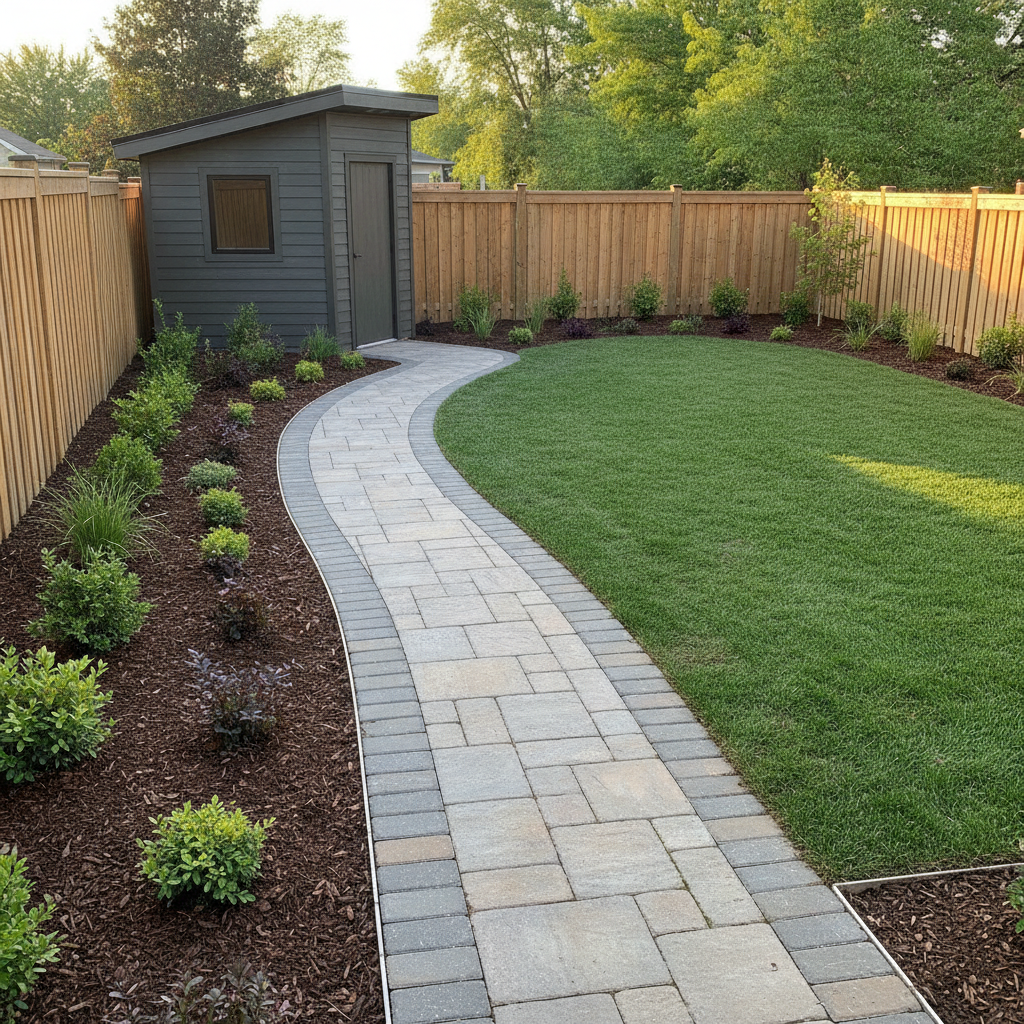
Narrow side-yard shed with fence coordination
Here, door swing clearance and gate width drove the plan. We mirrored the fence hinge side, carved a level landing, and set a straight 36-inch paver path from the driveway. The result: easy wheelbarrow runs and no grinding doors despite a subtle grade rise.
Sloped lot with small retaining step (near Lambton College)
On a gradual slope, we built a compact retaining step to form a level pad and graded out two directions to move water away. The shed sits square, doors close cleanly, and a short paver run keeps feet clean between the house and shed even in shoulder seasons.
Local considerations for Mississauga
- Favor breathable borders around shed walls and redirect downspouts—Mississauga’s shoulder seasons bring frequent wet-dry cycles that test drainage.
- Plan installs outside peak thaw periods; compacted bases set better when the ground is firm and not saturated.
- When placing near fences, confirm gate swing and route widths now—coordinating hinge sides prevents future conflicts.
Frequently Asked Questions
Homeowners ask about base types, drainage, setbacks, and access. The best answer is a stable, compacted base, positive drainage away from the shed, compliance with local setbacks, and a hard-surface path at least 30 inches wide. Plan these together to avoid rework.
What is the best base for a garden shed?
For most residential sheds, a compacted gravel pad with geotextile fabric delivers reliable drainage and frost tolerance. Where a flush, finished surface is preferred, pavers over the same granular base work well. Heavier workshops benefit from a concrete slab with proper drainage planning.
How far should a shed be from the fence or property line?
Setback requirements vary by municipality and shed size. Always verify local accessory-structure rules before staking the site. As a planning habit, maintain comfortable maintenance space around walls and coordinate gate swing arcs to avoid future conflicts.
Do I need drainage around my shed if I have a solid slab?
Yes. Even with a concrete slab, surrounding grades should pitch away on at least two sides. A river rock border reduces splash-back, and downspout extensions keep roof runoff from crossing the slab or pooling against walls.
What size path should I plan for shed access?
Plan a hard-surface path 30–36 inches wide to move bins, mowers, and wheelbarrows without catching on plantings. Interlocking pavers are durable, easy to maintain, and can visually match nearby patios or walkways.
Key takeaways and next steps
Plan the shed as part of the landscape: high-and-dry siting, stable base, smart drainage, and clean access. Verify setbacks and coordinate fences. When the shed, paths, and beds are designed together, you avoid rework and enjoy a durable, easy-to-use space.
- Pick a high spot and shape subtle slopes away from the pad.
- Build a compacted granular base (4–6 inches) with geotextile and edge restraint.
- Map roof runoff and add swales or stone borders to protect walls.
- Connect the house and shed with interlocking pavers 30–36 inches wide.
- Confirm gate swing and property setbacks before you dig.
Want a cohesive plan? We integrate sheds with design-build, placement strategy, and lessons from fence projects to deliver clean edges and stress-free access. Book an on-site consultation in Mississauga and we’ll right-size the scope for your yard.