Mississauga fence installation planning is the process of mapping bylaws, property lines, utility locates, foundations, materials, and sequencing so your fence installs safely, looks clean, and lasts. It clarifies approvals, layout, and construction details before work starts—reducing delays, neighbor disputes, and rework while aligning the fence with your yard’s grade and landscaping.
By hrgreenroot landscaping • Last updated: 2026-06-30
At a Glance
Plan a Mississauga fence by confirming bylaws, marking property lines, booking utility locates, selecting materials, and engineering solid posts below frost depth. Sequence digging, concrete, panels, and gates with drainage in mind. A clear plan prevents delays, protects utilities, and yields a straight, durable, low‑maintenance fence.
This overview primes you to plan like a pro and coordinate with an experienced crew. You’ll learn:
- What planning covers: bylaws, survey lines, utility locates, frost depth, drainage, and gate routing
- How the process works: a step-by-step sequence from layout to punch list
- Options: privacy, security, pet containment, and style choices that fit your yard
- Integration: tie fencing into interlock, sod, retaining walls, and maintenance plans
What Is Fence Planning?
Fence planning is the front-end design and due diligence for a fence project. It defines height, alignment, post depth, approvals, materials, and drainage before construction. Good planning prevents utility strikes, easement conflicts, and crooked lines, producing a cleaner build and longer service life.
In our experience building fences across Mississauga, the plan is half the job. A strong plan aligns the fence with how your family uses the yard and with what the site will do after rain or thaw. HR Greenroots Landscaping brings design-build thinking: we coordinate privacy needs, movement, and grades so the fence supports daily life, not just property lines.
Local considerations for Mississauga
- Schedule utility locates early during peak season; crews can be busy near community hubs like Saigon Park, so lead time matters.
- Spring thaw can saturate clay soils; allow extra curing time before hanging gates for smoother operation in early summer.
- Near Lambton College area streets with mature trees, plan root protection and offset posts to preserve canopies while keeping a straight run.
Why Mississauga Fence Installation Planning Matters
Planning reduces risk, speeds installation, and improves durability. By confirming bylaws, property lines, and utility locates up front, you avoid stoppages and rebuilds. Solid post engineering below frost depth, plus drainage and gate clearances, keeps the fence straight and usable through Ontario seasons.
Here’s why the prework pays off for homeowners and property managers in Mississauga:
- Fewer surprises: Utility locates and survey checks prevent mid-project pauses. Allow a week of buffer to keep schedules intact.
- Straighter lines: A stringline and batter boards hold true over 60–120 foot runs, even on uneven lawns.
- Longer life: Posts set 36–42 inches deep (below local frost) with compacted gravel and concrete resist heave through freeze-thaw cycles.
- Better drainage: A 1–2% grade away from fence lines helps soils dry faster, lowering rot risk on wood members.
- Cleaner integration: Planning gate swings and clearances around patios, sheds, and driveways reduces daily hassles.
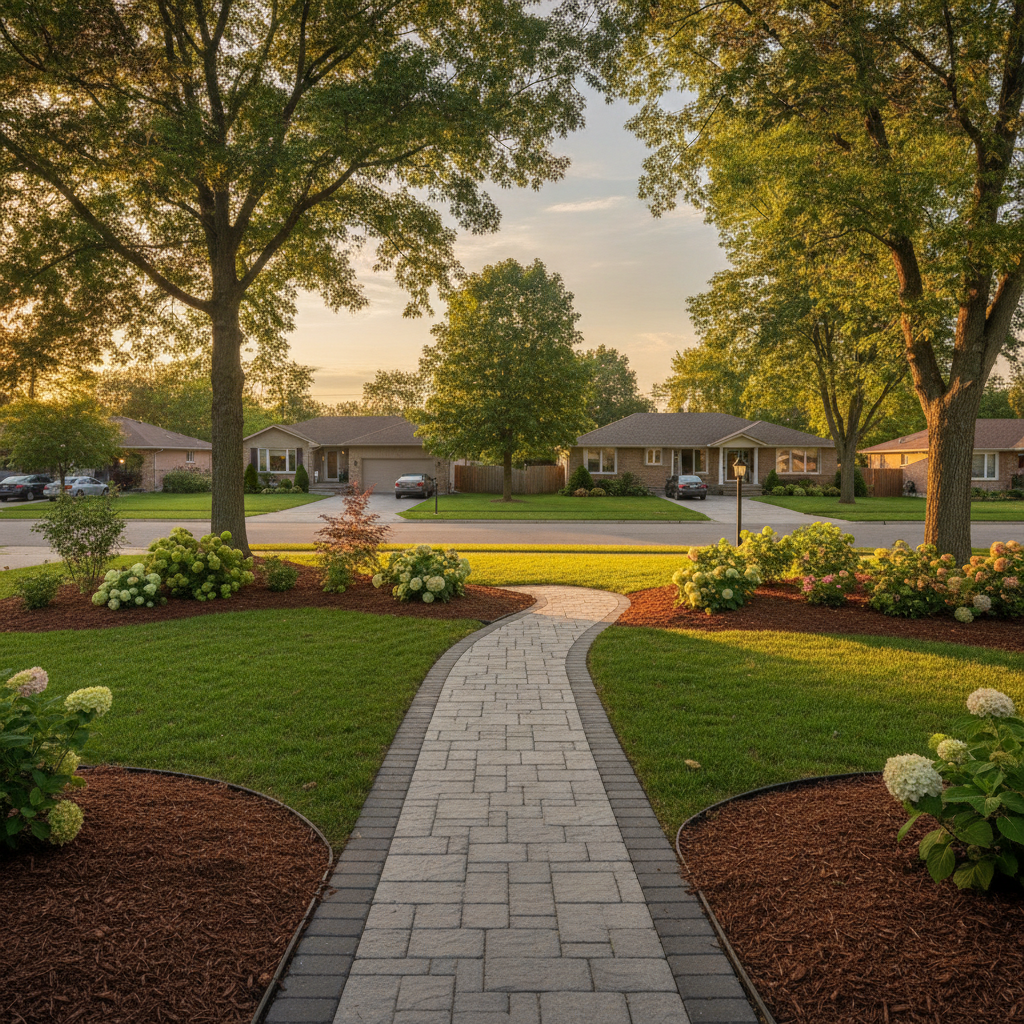
We’ve found the best projects start with a single site walk. We mark grades, discuss privacy targets, and align finishes with your other hardscapes—interlocking patios, walkways, or fresh sod—so the whole yard reads cohesive.
How Fence Planning Works: Step-by-Step
Successful fence projects follow a clear sequence: confirm rules, mark lines, call locates, select materials, set posts to frost depth, then install rails, panels, and gates. Finish with hardware tuning and a punch list. This order reduces rework and keeps timelines predictable.
Use this step-by-step plan to scope your Mississauga fence before crews arrive.
1) Confirm rules and neighbors
- Check local rules: Confirm typical residential height ranges and sightline rules. Corner lots often require added visibility near driveways and sidewalks.
- Align with neighbors: Where fences sit on a shared line, agree on height, style, and access while posts cure.
- Mind easements: Setbacks and drainage swales need clearance; avoid blocking water movement.
2) Verify property lines
- Use your survey: Find iron bars or stakes and measure offsets. For long runs, shoot a straight line every 20–30 feet.
- Mark stringlines: Pull taut string and set batter boards at corners; this keeps a true line as holes are dug.
- Account for features: Offset around trees, AC units, and sheds while maintaining consistent spacing.
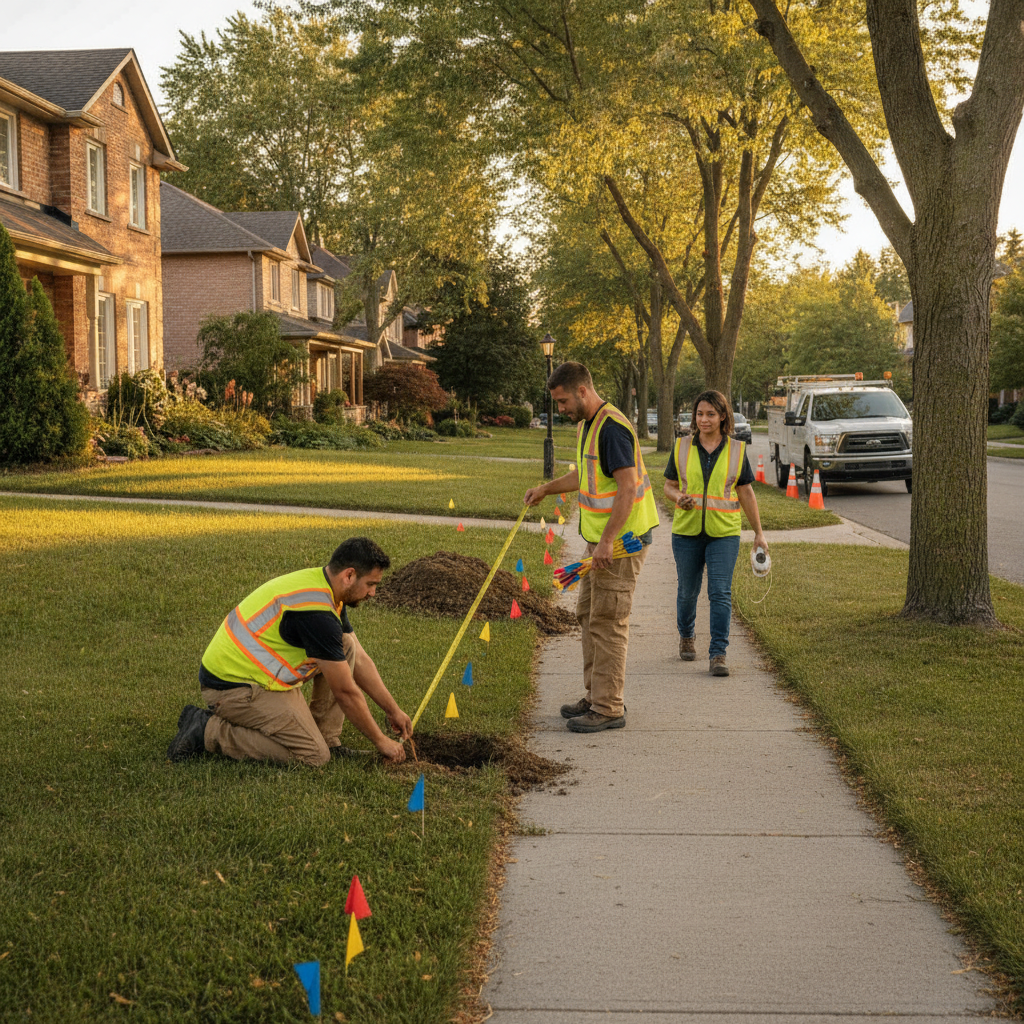
3) Book utility locates
- Flag services: Place flags for gas, hydro, telecom, and water. Treat unknown lines as live; keep augers clear.
- Sequence digging: Start holes after all locates return; this minimizes standstills.
- Maintain buffers: Keep safe distances from marked utilities and hand-dig where needed.
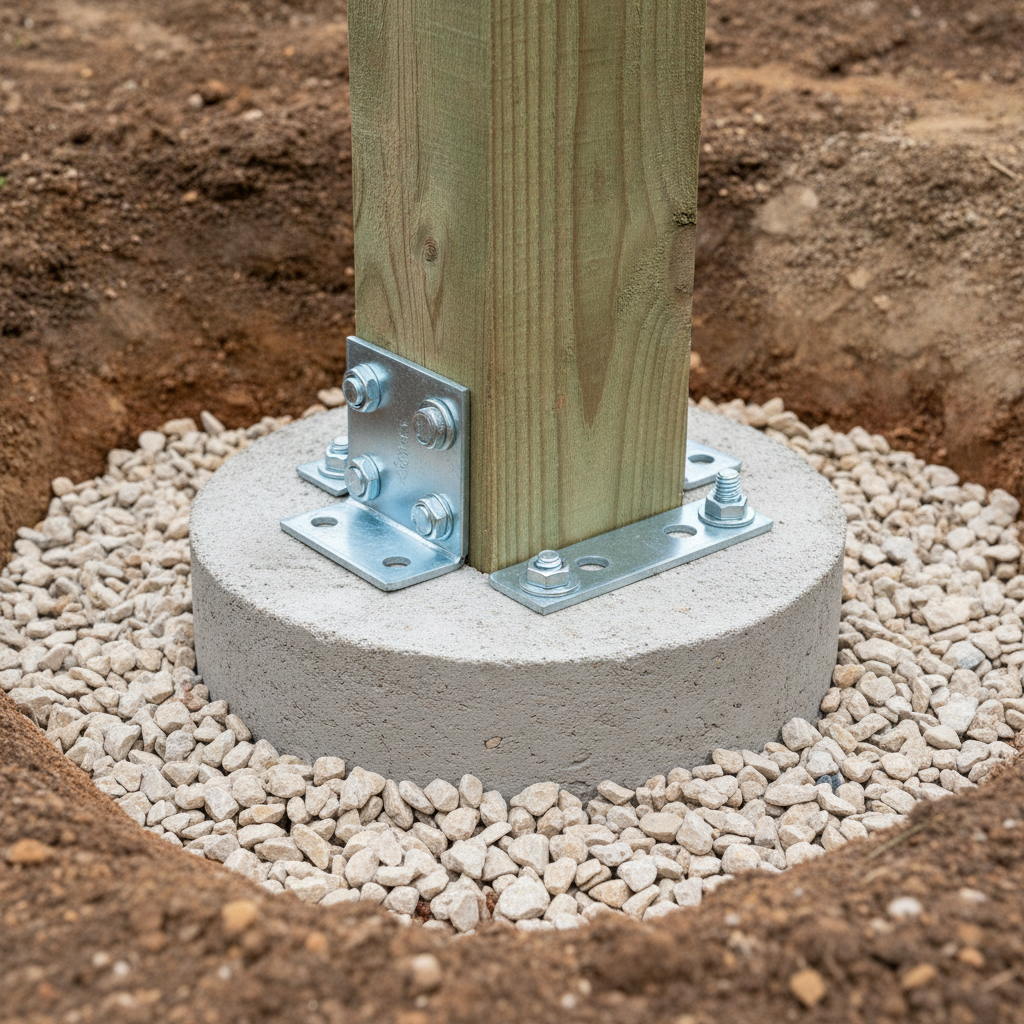
4) Engineer your posts
- Depth and diameter: Typical posts set 36–42 inches deep; widen footings for gates and corners to improve resistance.
- Base layers: 4–6 inches of compacted gravel under each footing promotes drainage below concrete.
- Alignment: Check plumb in two directions; recheck after initial concrete set.
5) Install rails, panels, and gates
- Rails first: Keep rails level across posts; minor shims protect panel fit.
- Panel rhythm: Maintain 6–8 foot spacing; consistent rhythm reads cleaner curbside.
- Gate geometry: Allow 1–2 inches of clearance from grade, plus hardware swing room on patios or pavers.
6) Finish, seal, and tune
- Hardware check: Tighten hinges and latches after 24–48 hours; posts settle as concrete cures.
- Seal wood: Wait for moisture content to drop before finishing; sealed fences weather slower.
- Punch list: Walk the line, sight along tops, and verify consistent reveals at the ground.
Want support planning the sequence or managing locates, layout, and hardware? Review our fence installation service overview to see how a coordinated crew handles each step from survey to punch list.
Fence Types, Materials, and Approaches
Choose fence materials by privacy, maintenance, and longevity. Wood is flexible and warm, vinyl reduces upkeep, and metal boosts security and airflow. Match post engineering and hardware to material weight and gate frequency to keep lines straight and latches working over time.
Material choice drives daily experience and care. Here’s a quick orientation.
Common residential options
- Pressure-treated wood: Versatile privacy styles with stainable finishes; plan for periodic sealing.
- Cedar: Premium look and lower warping; naturally rot resistant when maintained.
- Vinyl (PVC): Low-maintenance privacy; ensure sturdy posts and rails to resist wind loads.
- Ornamental metal: Open sightlines and security; consider mesh add-ons for pets.
- Hybrid designs: Wood frames with metal accents or lattice for airflow around patios.
Privacy and function fit
- Full privacy (6–7 ft): Ideal for patios and hot tubs; integrate gates near walkways to reduce detours.
- Semi-privacy: Good for front sections; balances curb appeal with enclosure.
- Open picket or metal: Best where visibility and wind relief matter; excellent near gardens.
Quick comparison
Material Privacy Maintenance Durability Notes Pressure-treated wood High Periodic sealing Good Flexible styles; watch ground contact Cedar High Light finishing Very good Stable and attractive grain Vinyl (PVC) High Low Very good Rigid panels; reinforce gates Ornamental metal Low Low Excellent Great for security and airflowNeed help picking? Our guide to choosing fencing material explains style, maintenance, and longevity trade-offs for Mississauga yards.
Best Practices for a Trouble-Free Build
Build straight, drain well, and plan gates. Use stringlines, compacted gravel bases, and frost-depth concrete footings. Maintain 6–8 foot post spacing, protect tree roots, and leave 1–2 inches of ground clearance on gates. Document everything—layout, hardware, and finishes—for smooth maintenance later.
These field-tested tips come from integrated fence-and-landscape builds:
- Start with water: Grade 1–2% away from fence lines so soils shed water, then set posts.
- Protect roots: In mature neighborhoods, use air spades or offsets to keep trees healthy.
- Mind hardware load: Wider gates need beefier posts, deeper footings, and three hinges.
- Check diagonal: Square corners with 3–4–5 triangle checks; it shortens layout time later.
- Pre-drill fasteners: Reduce splits on rails and caps for cleaner lines.
- Seal end grain: Especially on wood posts and caps; end grain wicks water fastest.
While you plan, consider adjacent projects. A fence installed before seasonal maintenance or a layout refresh can set a strong edge for new plantings and interlocking.
Tools, Resources, and Coordination
Use a simple toolkit—measuring tape, level, stringline, post-hole digger or auger, gravel, concrete, and quality hardware. Pair that with utility locates, a survey, and a one-page scope. Coordinating these pieces is what keeps fence projects on schedule.
We rely on a short, practical checklist before installation day:
- Documents: Property survey, scope sketch with lengths and gate locations, and neighbor acknowledgment for shared lines.
- Locates: Utility flags visible along entire route; mark any hand-dig zones.
- Materials: Posts, rails, panels, caps, fasteners, and hinges staged; account for 5–10% waste.
- Tools: Auger or post-hole digger, 4' level, stringline, hammer drill, and torque driver.
- Site prep: Move furniture and bins 3–5 feet clear; protect new sod or interlock with plywood paths.
Curious how planning syncs with broader yard upgrades? See our brief GTA landscaping guide for sequencing patios, sod, and retaining walls alongside fencing.
Mini Case Studies from Mississauga Yards
Smart sequencing shortens timelines and improves results. By confirming lines, setting posts below frost, and coordinating with interlock or sod, you get cleaner edges and fewer callbacks. These brief Mississauga examples show how planning choices translate to daily ease.
Backyard privacy near Saigon Park
- Challenge: Wind exposure and a sloped lawn caused leaning sections and rattling gates.
- Plan: Re-engineered corners with deeper footings and 6-foot privacy panels; added 1–2% grade away from fence.
- Result: Straighter runs with quieter hardware and a protected seating area on the patio.
Family-friendly layout by Lambton College
- Challenge: Busy side-yard path to the driveway needed a wider gate for strollers and bins.
- Plan: Upgraded to a 48-inch gate on reinforced posts, plus a landing pad of interlocking pavers.
- Result: Easier daily trips and better curb appeal at the front walk.
Pet containment with ornamental metal
- Challenge: Keep a small dog secure without blocking views to the garden.
- Plan: Ornamental panels with a low profile and discrete mesh; gates aligned to walkway.
- Result: Airy sightlines, safe play area, and simple maintenance.
For more design ideas, compare privacy fence options and browse style notes before finalizing materials.
Planning Risks and Mistakes to Avoid
Avoid shallow posts, skipped utility locates, and unclear property lines. Don’t rush gate placement or ignore drainage. Document your layout and confirm hardware load on wider gates. These errors drive most callbacks and crooked lines we see on repairs.
- Rushing posts: Posts set too shallow or without gravel under concrete tend to heave and lean.
- Unmarked lines: Missing locates stall projects and risk service damage.
- Gate pinch points: Tight swings against decks or sheds frustrate daily use.
- Skipping documentation: Without a sketch, panel counts and hardware often fall short.
We catalog common pitfalls in our rundown of fence mistakes to avoid so your project stays smooth.
Integrating Fencing with Interlock, Sod, and Retaining Walls
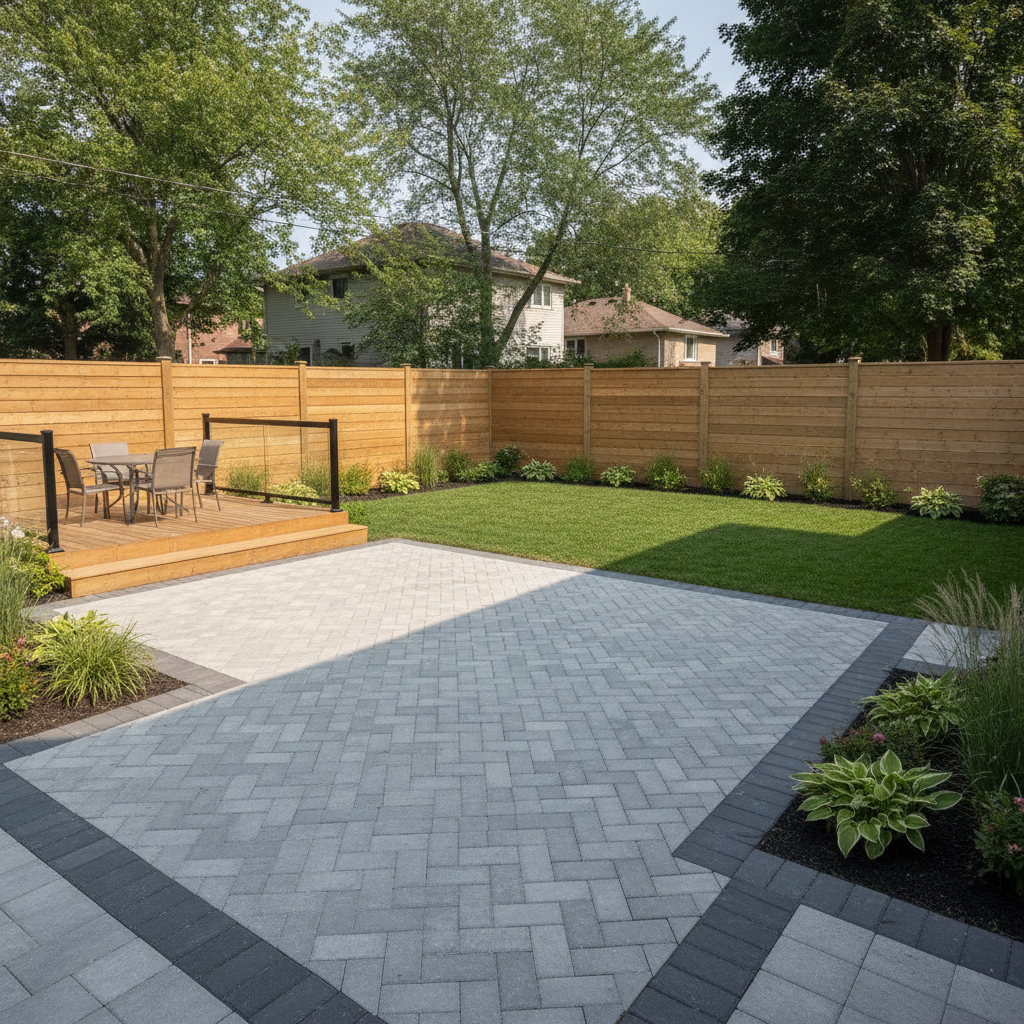
Sequence fencing with hardscapes and grading. Establish drainage and finished grades first, then set posts to the final elevation. Tie fence lines to interlock edges, shed doors, and lawn transitions so the yard feels intentional and easy to maintain.
As a full design-build team, we coordinate across services so your fence works day one and year five:
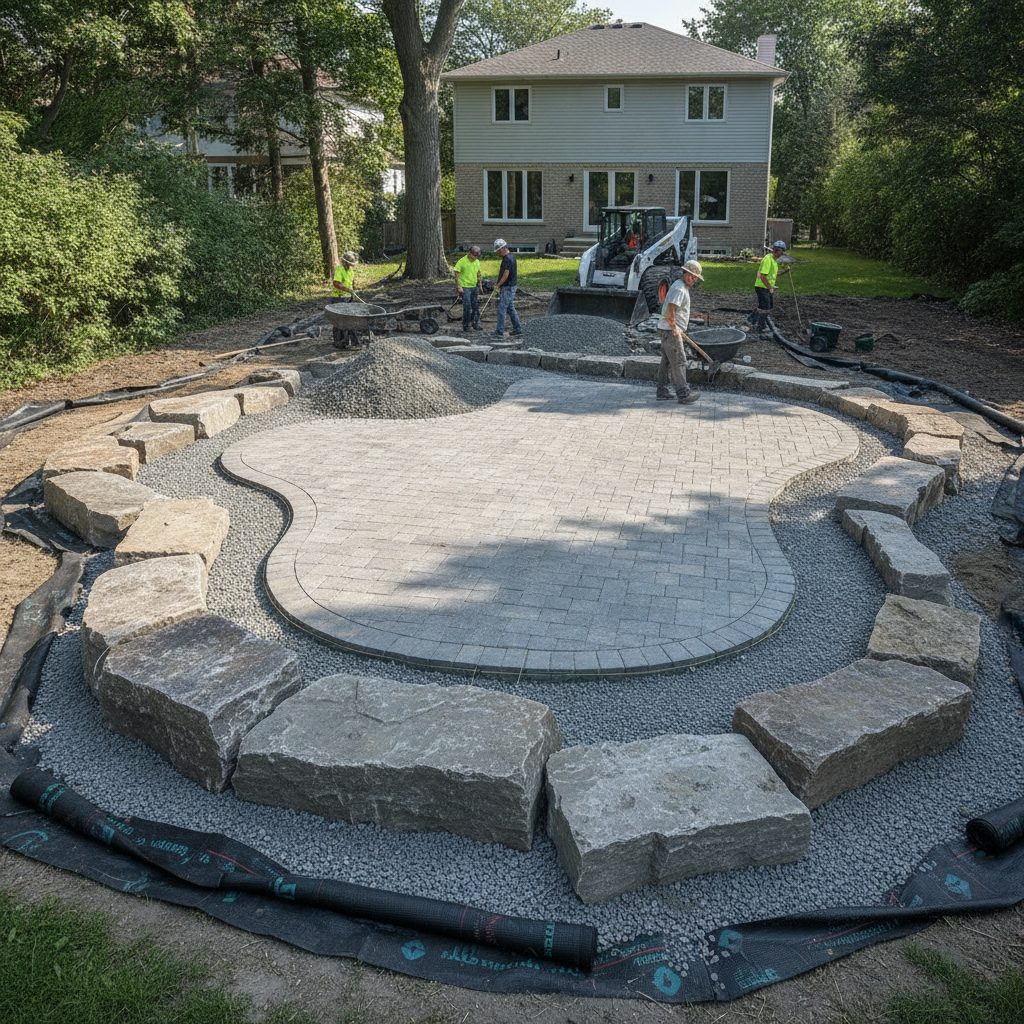
- Interlocking & pavers: Align runs to paver borders; gate pads reduce mud and ruts.
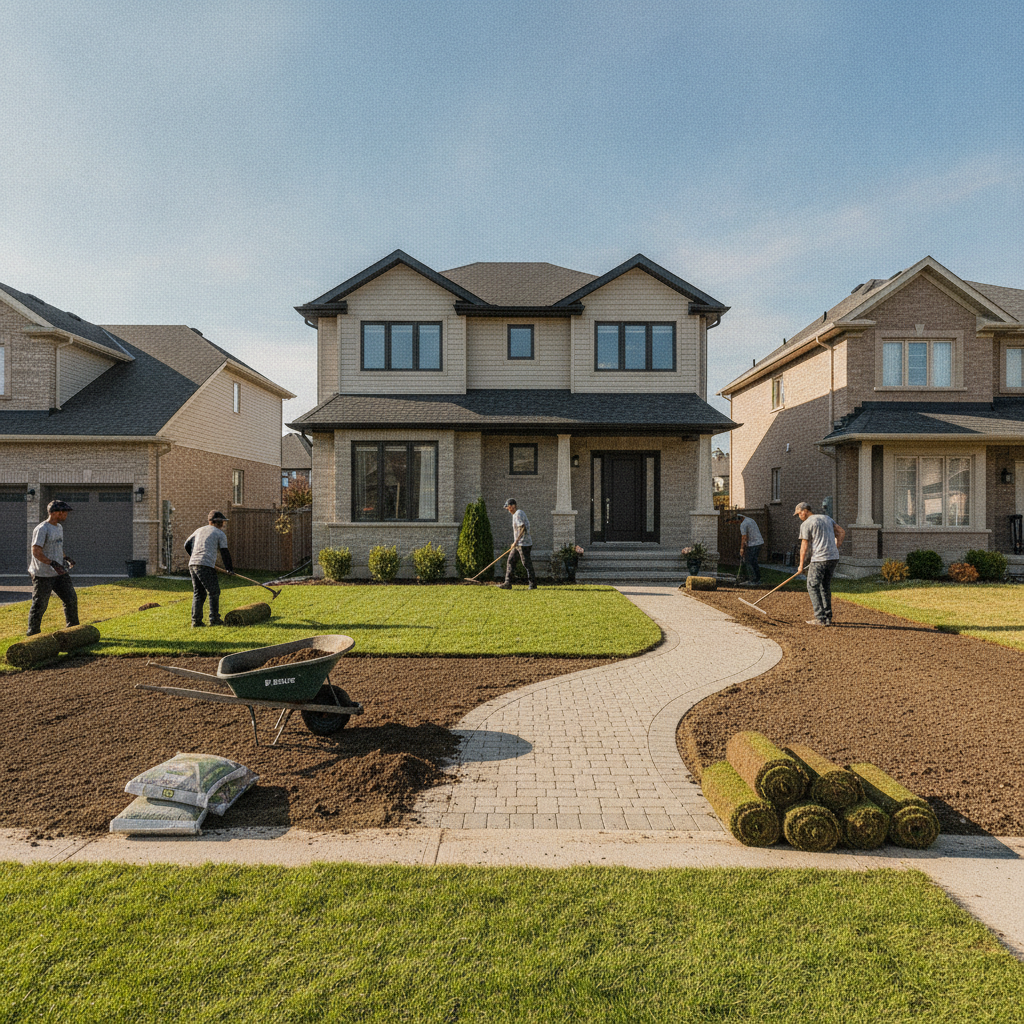
- Sod installation: Protect fresh turf with plywood; set bottom rails above mowing height.
- Retaining walls: Anchor fences with proper offsets and consider sleeve posts or brackets when mounted behind walls.
- Garden sheds: Place wider gates (42–48 inches) for mower and bin access.
Explore how edges and grades influence longevity in our notes on retaining wall planning factors and broader seasonal maintenance.
Timeline, Seasonality, and Scheduling Tips
Plan 2–3 weeks for coordination and materials, plus installation time based on length and complexity. Spring and early summer book fast; utility locates can add lead time. Build buffers for curing before hanging gates and sealing wood.
- Lead times: Material availability and locate schedules drive start dates; confirm both before digging.
- Weather windows: Freeze-thaw cycles affect curing; avoid heavy rain days for cleaner holes.
- Neighbor notices: Shared lines run smoother with simple advance notice and a one-page outline.
For a fuller overview of how fence planning fits within yard upgrades, skim our GTA landscaping guide and map the right season for each task.
Frequently Asked Questions
Homeowners ask about rules, neighbors, utility locates, gates, and maintenance. The highlights: confirm lines and locates, set posts below frost, leave clearance on gates, and plan finishes. These answers cover the essentials for Mississauga yards.
How do I confirm my property line before installing a fence?
Use your property survey to locate iron bars or corner stakes and measure offsets. Pull a tight stringline between corners and check every 20–30 feet. If the line is unclear, consult a surveyor before digging. Clear lines reduce disputes and produce straighter runs.
Do I need to call for utility locates in Mississauga?
Yes. Always book utility locates before digging fence posts. Marked gas, hydro, telecom, and water lines help you plan safe hole locations and hand-dig where needed. Waiting for all locates avoids standstills and protects both crews and services.
How deep should fence posts go for Ontario freeze-thaw?
Set posts below local frost depth, commonly around 36–42 inches for residential fences. Add 4–6 inches of compacted gravel under the concrete to promote drainage. Deeper, wider footings are smart for corner, gate, and end posts that carry more load.
Where should I place gates for everyday use?
Place gates on the most used paths—near driveways, patios, and shed doors. Allow 1–2 inches of ground clearance and confirm swing room near decks or bins. Wider gates (42–48 inches) improve access for lawn tools, strollers, and seasonal storage.
How do I pick the right fence material for my yard?
Match material to privacy, maintenance, and style goals. Wood offers flexible privacy and warm finishes, vinyl cuts upkeep, and metal secures while keeping views open. Consider how the fence meets patios or sod and how often gates will be used.
Conclusion
Great fences start with great plans. Confirm rules and lines, book locates, engineer frost-depth posts, and coordinate gates and drainage with your landscaping. This approach yields straight lines, smooth hardware, and fewer headaches through Ontario seasons.
Key takeaways:
- Plan rules, lines, locates, and sequencing before digging.
- Engineer posts to frost depth with gravel and concrete for stability.
- Place gates on real paths and leave ground clearance.
- Coordinate fences with interlock, sod, and retaining walls.
Ready to move from plan to build? Explore our fence installation service or scan privacy fence options to start shaping your yard.
What to Plan Next
After fence planning, align patios, sod, sheds, and any retaining walls. Establish a seasonal maintenance rhythm so finishes last. Coordinating these elements keeps your yard cohesive, safer to navigate, and simpler to care for year-round.
Fence edges set the rhythm for paths, lawns, and beds. As a design-build team serving Mississauga and the GTA, HR Greenroots Landscaping aligns fencing with interlocking pavers, premium sod, stone work, and sheds so your space looks intentional on day one and stays easy to maintain.