Retaining wall and drainage planning: decisions, steps, and a build-ready checklist
Retaining walls fail more from water than from weight. That’s why effective retaining wall and drainage planning should start before you ever place the first block or stone. This article shows you how to think through the critical decisions—from reading the site and mapping water paths to selecting materials and building a layered drainage system—so the wall you build is durable, safe, and low-maintenance.
What a retaining wall must do
Every successful retaining wall does three jobs at once:
- Holds back soil without sliding, overturning, or bulging.
- Lets water escape quickly instead of building up pressure behind the wall.
- Blends into the landscape’s grades, paths, and planting beds so runoff is directed to safe discharge points.
When planning, imagine soil pushing the wall outward and water trying to saturate the soil. Your design should neutralize both forces with proper geometry, granular backfill, and clear drainage paths.
Site reading and prep
Before talking materials or patterns, study how your site behaves. A careful read now prevents costly rework later.
- Identify slopes and edges. Mark the top and bottom of slope, intended finished grades, and where foot traffic or equipment will load the area.
- Track water sources. During or after rain, note roof downspouts, sump discharges, uphill runoff, and low areas where water lingers.
- Probe the soil. Dig a few test holes at different depths to see soil type (clay, loam, sand) and how quickly water drains.
- Check for utilities. Mark underground lines before any excavation.
- Define constraints. Property lines, trees and roots, access routes, and any hardscape you must tie into (driveways, patios, walkways).
Document what you see with measurements and photos. Even a simple sketch with elevations and water arrows is invaluable for design decisions.
How water moves and why it matters
Water takes the easiest path downhill and outward through soils. In fine soils like clay, water movement is slow, which allows hydrostatic pressure to build behind a wall. In coarse, well-draining stone, water moves rapidly and pressure drops. Your goal is to keep water out of the retained soil mass and provide a fast track to daylight.
- Surface water: Rainfall and runoff traveling across the ground. Manage with grading, swales, and catch points.
- Subsurface water: Moisture moving through soil layers. Manage with granular backfill, drain pipes, and filter fabrics.
- Point sources: Downspouts, sump lines, and hose bib runoff. Intercept and pipe these away from the wall zone.
Core elements of drainage behind a wall
Think in layers from the wall face backward:
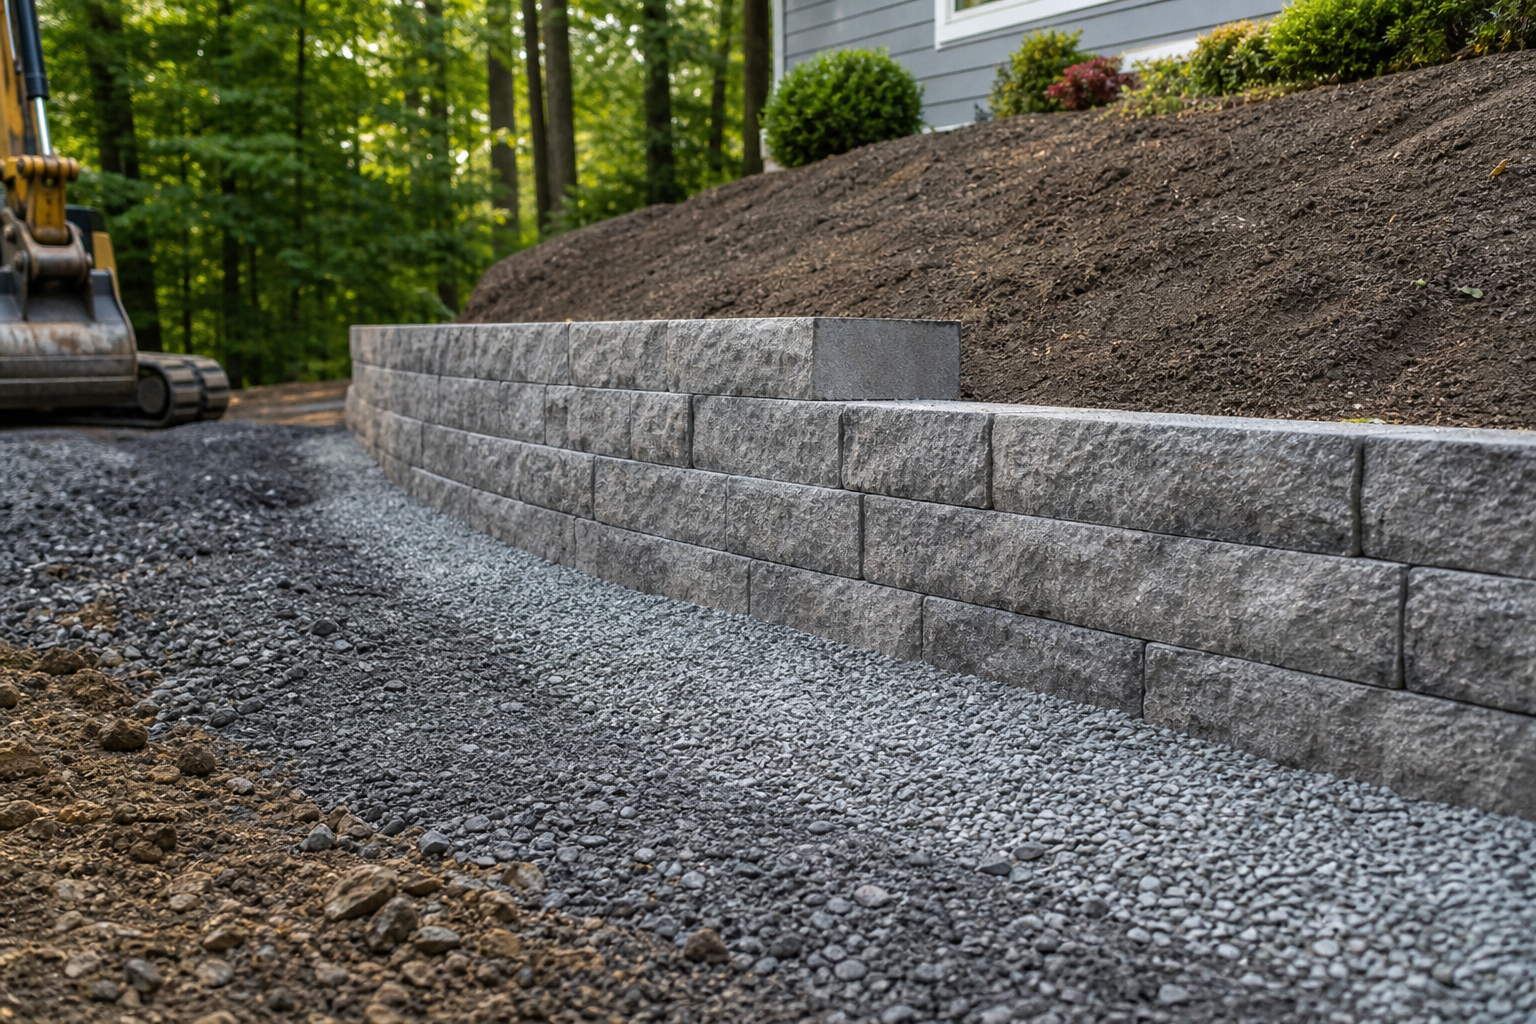
- Drainage stone: A vertical column of clean, angular gravel immediately behind the wall provides a low-resistance path for water to drop to the pipe.
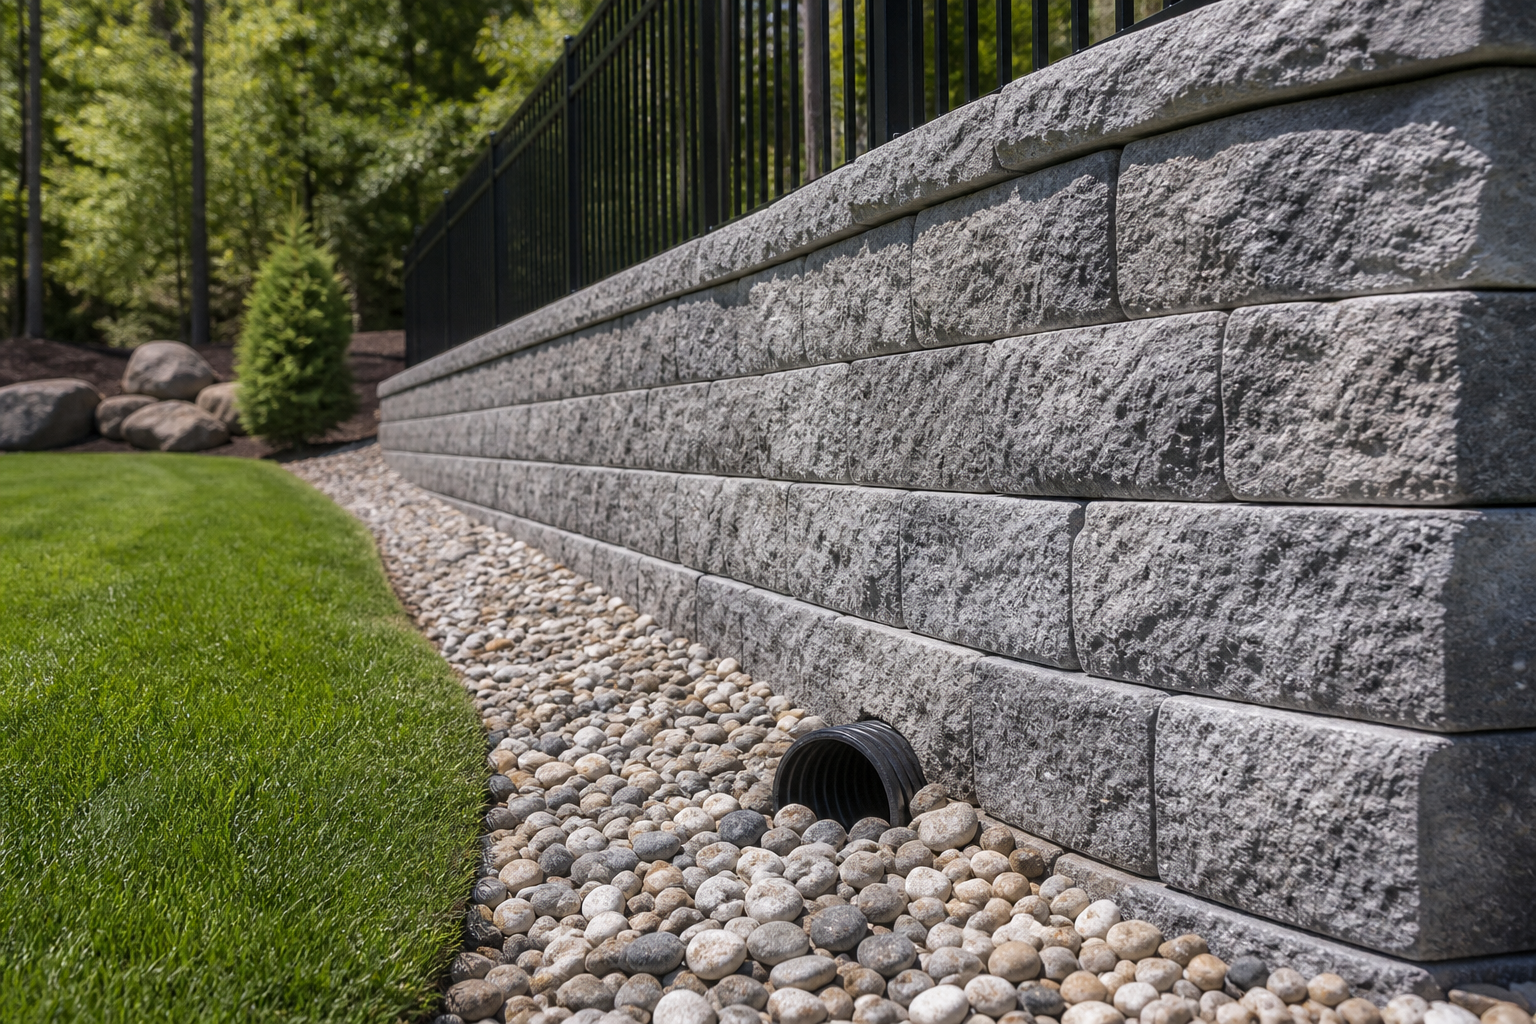
- Perforated drain pipe: Laid at the base of the wall on compacted stone, sloped to daylight or a collection point. The pipe carries water away so pressure doesn’t build.
- Backfill soil mass: Behind the drainage stone sits compacted soil (or engineered fill) in lifts, each layer compacted to reduce settlement.
- Surface cap and grade: The final grade should shed water forward or laterally—not toward the wall backfill.
Every piece works together. If one link clogs or is undersized, performance drops and the wall is stressed.
Choosing the right wall type
Your wall type shapes the installation steps and drainage details:
- Modular concrete block (segmental) walls: Interlocking blocks with a compacted base, stepped-back courses, and often geogrid reinforcement for taller walls. They pair well with consistent drainage zones.
- Natural stone (dry-stack): Heavier individual stones with careful stacking and batter. Drainage stone and pipe are still essential.
- Timber: Practical for low walls and rustic looks. Requires diligent drainage to protect wood and prevent frost heave effects.
- Cast-in-place or gravity concrete: Strong but less forgiving during settlement; drainage and weep paths remain critical.
For taller walls, complex soils, or significant loading near the top (parking pads, structures), seek a qualified professional. Engineered designs are often required for safety and longevity.
Layout geometry that works
Geometry resists movement; water relief prevents pressure buildup. Consider:
- Batter (setback): A slight backward lean adds stability. Follow your system’s recommendations.
- Step the base on slopes: On sloping ground, cut the base into steps so each course remains level.
- Embedment: Bury the bottom course below grade to lock the wall into the slope and protect against erosion at the toe.
- Curves vs. corners: Gentle curves distribute loads smoothly and are often easier to drain than tight inside corners.
- Transitions: Where a wall ends, taper the height and maintain drainage continuity so water doesn’t stall at the termination.
Backfill and compaction
Backfill is part of the wall. Poorly compacted, water-holding soils behind the wall can cause bulging and settlement. Key points:
- Use granular material in the drainage zone. Clean, angular stone drains quickly and locks in place.
- Compact in lifts. Place soil in thin layers and compact each layer uniformly, staying off the wall face to avoid pushing it outward.
Managing surface runoff above the wall
Even perfect internal drainage can be overwhelmed by surface water directed at the wall. Plan the upper landscape so water bypasses the retained zone:
- Grade away from the wall crest. A subtle crown or swale keeps sheet flow from entering the backfill.
- Capture and convey downspouts. Pipe roof water past the wall entirely and discharge on stable ground.
- Use hardscape wisely. Patios and walkways should pitch to drains or landscape areas that can safely absorb or route water.
- Stabilize soils. Mulch or groundcovers reduce erosion and sediment that might clog the drain zone.
Integrating planting with walls
Planting softens the structure and aids water management. Choose plants with root systems compatible with the wall type and backfill depth. Provide a planting bed with well-draining soil and maintain separation from the drainage stone using fabric or edging. Avoid large, water-hungry shrubs hard against the wall face; keep irrigation lines from saturating the backfill.
Retaining wall and drainage planning checklist
Use this list to confirm you’re build-ready:
- Documented site grades (existing and target), wall alignment, and height changes.
- Mapped water sources and planned routing for surface and subsurface flows.
- Selected wall system and confirmed any professional or engineered input required.
- Specified base depth, embedment, and stepped base where needed.
- Included non-woven filter fabric separating soils and drainage stone.
- Sized and sloped perforated drain pipe to daylight or approved discharge.
- Detailed backfill materials and compaction plan in lifts.
- Planned surface grading above the wall to shed water away from backfill.
- Addressed downspouts, sump lines, and other point sources.
- Integrated planting/landscape layers with maintenance access and erosion control.
- Protected tree roots and utilities; confirmed access for materials and equipment.
- Defined transitions at wall ends, steps, or corners with continuous drainage.
Common mistakes to avoid
- No drain pipe. Relying on stone alone often isn’t enough—include a perforated pipe with slope to daylight.
- Flat or negative grade at the crest. This channels water into the wall instead of away from it.
- Skipping embedment. A fully exposed first course is vulnerable to erosion and toe failure.
- Overcompaction against the face. Pushing equipment hard against the wall can bulge the lower courses.
- Forgetting point sources. Even one un-managed downspout can overwhelm a carefully built drain.
Maintenance that extends life
A well-planned wall requires little attention, but small tasks go a long way:
- Keep discharge points open and stable; clear leaves or mulch that drift over outlets.
- Re-top mulch and maintain vegetation to control erosion above the wall.
- Watch for new settlement or bulging after major storms or freeze–thaw cycles and address early.
- Redirect any new water sources created by additions or landscape changes.
FAQs
Do all retaining walls need drain pipes, or can I rely on gravel alone?
Most walls benefit from a perforated pipe because it actively collects and moves water out of the backfill. Clean, angular gravel helps, but in fine soils or heavy storms, a pipe to daylight greatly reduces hydrostatic pressure and risk.
When should geogrid or reinforcement be part of the plan?
Consider reinforcement when walls get taller, bear additional loads near the top (like driveways or slopes), or sit in challenging soils. Reinforcement ties the wall face to a stabilized soil mass behind it. For safety-critical designs, consult a qualified professional.
Where should a wall drain discharge?
Discharge to a stable, visible point at daylight where water will not undermine the wall or adjacent structures. Keep outlets clear of mulch or plant debris and avoid sending water toward foundations or walkways.
Is terracing better than one tall wall?
Multiple lower terraces can reduce load on each wall and create more, smaller drainage zones that are easier to manage. Terraces also offer planting opportunities between levels, which can help with erosion control.
How do freeze–thaw conditions affect planning?
Freeze–thaw amplifies the need for clean, well-draining base and backfill. Water that can’t escape expands as it freezes, stressing the wall and base. Proper drainage layers, fabric separation, and surface grading are your best defense.
Next step
A practical next step
To discuss the options that apply to your situation, contact HR Greenroots Landscaping and request the relevant details before moving forward.