sod installation prep checklist: a practical 20-point plan for a smooth, lasting lawn
Fresh sod can transform a yard in a day—but the quality of your prep determines whether that new lawn stays level, drains well, and roots quickly. This sod installation prep checklist gives you a structured, step-by-step way to plan the job, ready the site, and avoid the issues that typically cause seams, sinking, or weak rooting.
Why prep matters more than the rolls you buy
Even premium turf can struggle if it’s laid over compacted subsoil, uneven grades, or a surface that dries out between watering. Proper preparation ensures:
- Full soil-to-sod contact for faster rooting and fewer gaps.
- Consistent grade that prevents pooling and bumpiness after the first rains.
- Clean edges along walkways, beds, and hardscapes for a finished look.
- Watering that reaches the root zone instead of running off or puddling.
The 20-point sod installation prep checklist (overview)
- Pick a suitable weather window (not during heat spikes or heavy rain).
- Confirm site access for pallets, wheelbarrows, and crews.
- Measure square footage and add a buffer for cuts and curves.
- Mark utilities and plan around irrigation heads and valve boxes.
- Remove existing turf, debris, and roots.
- Dispose of organics and rubble responsibly.
- Rough grade for overall slope away from buildings.
- Break up compaction; loosen the top layer of soil.
- Add quality topsoil or amendments if the base is thin or poor.
- Fine grade to final height, allowing for sod thickness.
- Establish crisp borders along walks, drives, and beds.
- Set irrigation coverage and fix leaks or clogged heads.
- Plan a watering schedule for the first weeks.
- Arrange same-day delivery and staging for minimal roll time on pallets.
- Stage materials, tools, and paths to protect finished areas.
- Lay starter strips along the longest straight edge.
- Stagger seams tightly, avoiding small slivers.
- Roll or tamp lightly for contact without over-compacting.
- Water thoroughly immediately after installation.
- Inspect daily for edges lifting, dry spots, or water pooling.
Planning and measurement
Thoughtful planning reduces waste and keeps installation day smooth and efficient.
- Weather window: Choose a period without extreme heat or a forecast of prolonged rain. Overcast conditions are ideal for limiting transplant stress.
- Access and logistics: Confirm where pallets can be dropped and how materials will move across the site. Protect finished hardscapes with plywood paths if needed.
- Area measurement: Sketch your lawn areas and measure length × width for rectangles. For curves, divide into simple shapes. Add a buffer to cover trimming and odd cuts.
- Underground and surface features: Mark utilities, valve boxes, downspouts, and irrigation heads so they aren’t buried or damaged.
Site clearing and responsible disposal
Old organics left in place can decay, settle, and create low spots. Aim for a clean, uniform base.
- Remove existing lawn: Use a sod cutter or shovel to lift old turf. Pull out surface roots and persistent weeds.
- Debris sweep: Collect stones, sticks, and construction remnants that interfere with grading and rooting.
- Disposal plan: Separate clean soil and organics from rubble. Arrange green waste or landfill disposal according to local guidelines.
Grading and drainage basics
A smooth, gently sloped surface helps water move away from structures and prevents soggy patches that stress new sod.
- Rough grade: Shape the subgrade first, aiming for a gentle fall away from buildings. Avoid sharp dips or humps that telegraph through the finished lawn.
- Relieve compaction: Loosen the upper soil layer so roots can penetrate. Break up hardpan before adding any topsoil.
- Blend transitions: Where lawn meets patios, paths, or driveways, feather the grade so final sod height sits flush.
Soil conditioning for better rooting
New sod establishes fastest over a nutrient-supportive, well-structured top layer. If your site has thin or tired soil, build it up before installation.
- Topsoil: Add a uniform layer of clean, well-structured topsoil if the base is thin. Spread evenly and avoid pockets of different material that settle unevenly.
- Organic matter: Blend in quality compost to improve moisture retention and soil structure, especially in sandy or depleted areas.
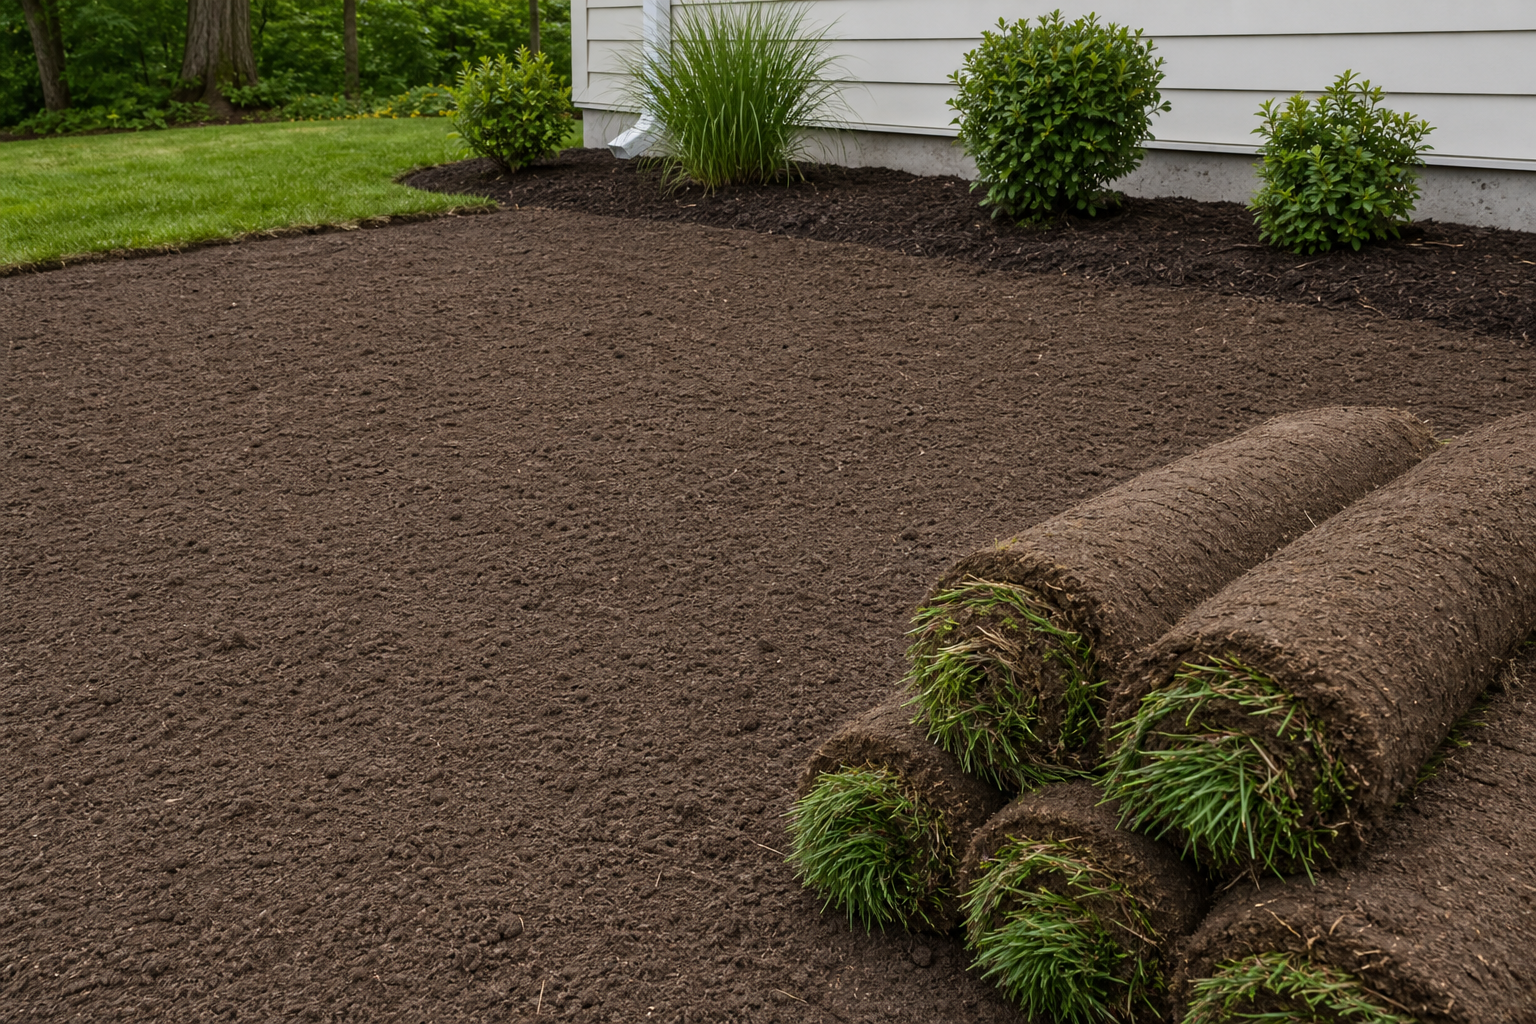
- Final grade: Rake to a fine, even surface that sits slightly below adjacent hard edges to account for sod thickness.
- Clean surface: Remove raking debris and stones larger than a few centimetres to promote even rolling and tight seams.
Edging and borders that look sharp
Crisp edges make a new lawn look intentional and simplify maintenance.
- Define lines: Snap string lines along straight walks and drives to guide your first runs of sod.
- Bed interfaces: Where sod meets garden beds, set a clear edge. If you use landscape edging, install it at final height before laying sod.
- Avoid narrow slivers: Adjust layout so you don’t end up with thin, weak strips that dry out first.
Irrigation and watering readiness
Consistent moisture is critical while sod knits to the soil. Make sure your watering plan is ready before delivery.
- Coverage check: Run sprinklers and watch for any dry zones, overspray, or blocked heads. Adjust as needed.
- Leak and clog fixes: Address issues now, not after the lawn is down.
- Water source logistics: If watering manually, stage hoses, nozzles, and timers so you can water immediately after each area is installed.
- Schedule: Plan for frequent, light watering at first, keeping the root zone evenly moist without creating puddles.
Delivery and staging on installation day
Sod is a living product that prefers cool, shaded conditions and quick installation.
- Same-day laydown: Arrange delivery for the day you’ll install. Lay sod as soon as practical after it arrives.
- Shaded staging: If possible, place pallets in a shaded, accessible spot. Do not soak pallets; water the ground as you go instead.
- Workflow map: Start farthest from the pallet and work back to avoid foot traffic over finished areas.
Installation day: technique essentials
Good technique prevents visible seams, shifting, and air pockets.
- Starter course: Begin along the longest straight edge (like a driveway) for a clean reference line.
- Tight seams: Butt edges snugly without stretching. Stagger joints in a brick-like pattern to avoid continuous seams.
- Cutting: Use a sharp knife to trim around curves and fixtures. Avoid creating narrow strips; shift the layout instead.
- Rolling/tamping: Lightly roll or tamp to seat sod against soil and remove air gaps. Don’t over-compact.
- Immediate watering: Water each completed section right away to start the bonding process.
Early care and what to inspect
Attention in the first weeks makes the difference between a lawn that thrives and one that struggles.
- Moisture management: Keep the root zone consistently moist. Reduce frequency gradually as roots develop.
- Foot traffic: Limit traffic and pet activity until the sod resists gentle tugs, indicating initial rooting.
- Edge checks: Watch borders and corners; they dry faster. Water by hand if needed.
- Puddling watch: If water collects, pause watering and correct low spots once the area can be safely lifted and adjusted.
- Mowing readiness: When the lawn is established enough to hold shape, mow with sharp blades and remove only a small portion of the leaf height.
Common pitfalls to avoid
- Laying over thatch or old turf: This can cause decay and settling, leading to uneven surfaces.
- Skipping grade work: Humps and dips show through immediately and worsen with watering.
- Ignoring irrigation coverage: Dry seams and corners are usually coverage problems, not product issues.
- Letting pallets sit in heat: Prolonged stacking can stress sod and make seams harder to close.
- Over-watering: Soggy soil suffocates roots and invites disease. Aim for even moisture, not standing water.
Tools and materials checklist
- Sod cutter or spade for removal
- Landscape rake and grading tools
- Wheelbarrow and shovels
- Topsoil and compost (as needed)
- Utility flags or marker paint
- String lines and stakes
- Sharp utility knife for trimming
- Lawn roller or hand tamper
- Hoses, sprinklers, or irrigation system
- Plywood sheets to protect finished surfaces during transit
- Sod staples for slopes and edges (as needed)
- Personal protective equipment (gloves, eye protection, boots)
FAQ: practical answers for a smooth installation
When is the best time to install sod?
Choose a period with moderate temperatures and no extended heat waves or heavy rain in the forecast. Overcast days help reduce stress. More important than the calendar is your ability to install and water consistently during the first weeks.
How much topsoil do I need under new sod?
Use enough quality topsoil to create an even, supportive layer that allows roots to penetrate and hold moisture. The final grade should account for sod thickness so finished edges sit flush with adjacent walks and drives. Focus on uniformity—thin spots often become future low spots.
How do I handle slopes?
Lay sod in runs that are perpendicular to the slope to reduce slipping. Press seams firmly and use sod staples on steeper sections or at edges as needed. Water gently so the surface doesn’t erode before roots knit.
Should I roll the lawn after installation?
Light rolling or tamping helps remove air gaps and improve contact. Avoid heavy compaction, which can limit rooting and drainage. After rolling, water thoroughly.
Why do my seams show after the first week?
Visible seams typically trace back to gaps, uneven grade, or inconsistent watering at edges and corners. Close seams tightly on day one, fine grade carefully, and spot-water any areas that dry faster. As roots develop and mowing begins, minor seams often blend in.
Clear next step
A practical next step
To discuss the options that apply to your situation, contact HR Greenroots Landscaping and request the relevant details before moving forward.