Knowing when to replace old sod is simple: do it when more than 40–50% of turf is dead or weedy, soil is compacted, or water puddles after normal rain. In Mississauga, the best windows are late spring and early fall for fast rooting. This complete guide explains how to assess, plan, and execute.
By HR Greenroots Landscaping · Last updated: 2026-07-01
Quick Summary
Replace old sod when over half the lawn is failing, soil is compacted, or grading traps water. In Mississauga, target late spring or early fall. Prepare by removing thatch, correcting grade to 1–2%, building 4–6 inches of topsoil, then install premium sod and water to keep the top 2–3 inches moist for 10–14 days.
If you’re seeing bare patches, bumpy grades, or chronic weeds, you’re not alone. We re-sod dozens of Mississauga lawns each season, and the pattern is consistent: solve soil and drainage first, then lay new turf. Expect visible transformation in 1–3 days and initial rooting in 7–14 days with disciplined watering.
Contents
- What Is Sod Replacement?
- When to Replace Old Sod: 9 Clear Signs
- Why Timing Matters in Mississauga’s Climate
- Prerequisites: Soil, Grading, and Site Readiness
- Step-by-Step: Remove and Replace Sod
- Renovate vs Replace: How to Decide
- Troubleshooting New Sod Problems
- Best Practices for Long-Lasting Lawns
- Tools and Resources
- Mini Case Studies: Mississauga Lawns
- Frequently Asked Questions
- Conclusion and Key Takeaways
Local considerations for Mississauga
- Schedule sod replacement for late May–June or late August–September when highs trend 60–75°F and nights cool—rooting often completes in 10–14 days.
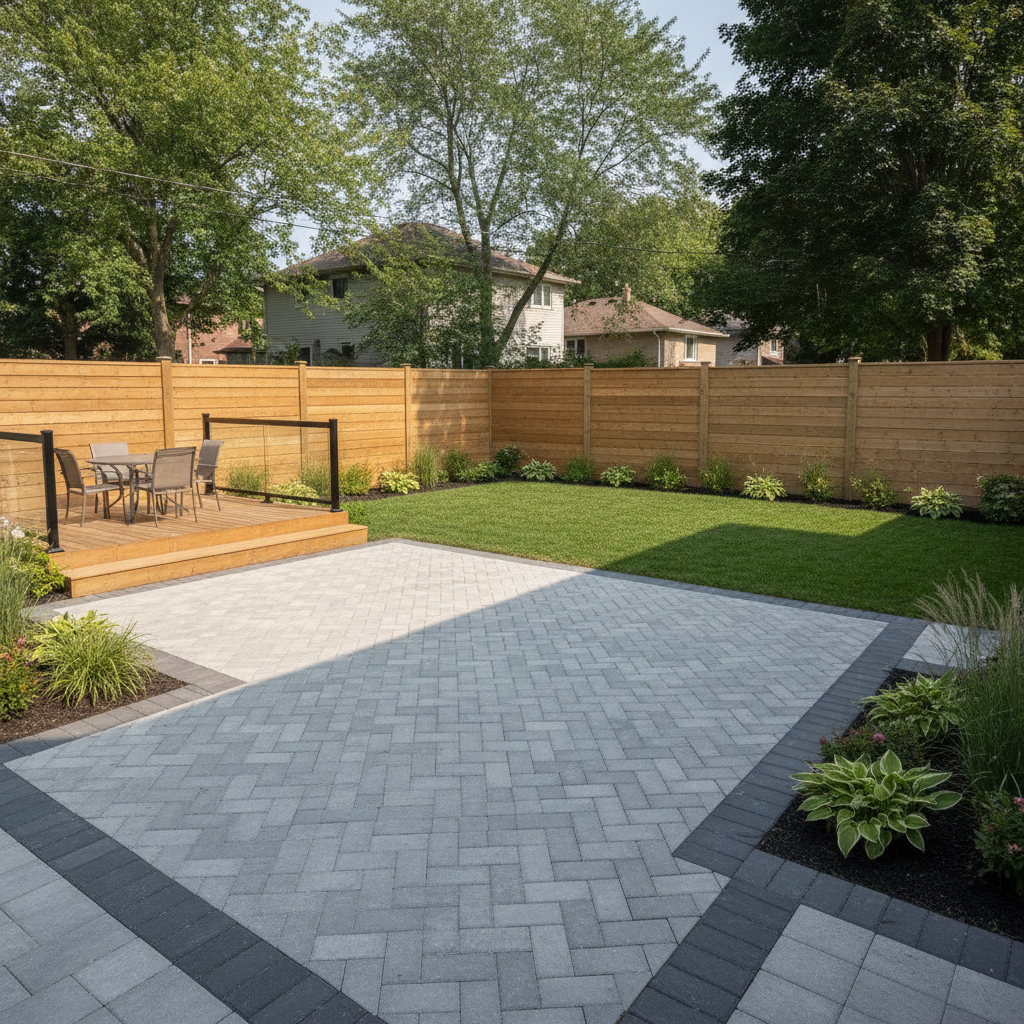
- Near Saigon Park or Lambton College, plan paver steppers to gates and sidewalks; redirecting footpaths can cut turf wear by 50% or more.
- Coordinate edges with interlocking, decks, and garden beds so mowing lines stay clean—our design-build approach minimizes trimming and scalping.
What Is Sod Replacement?
Sod replacement is a full reset: remove existing turf and thatch, correct grading and soil, and install new farm-grown sod. It delivers an instant, uniform lawn and solves chronic problems like compaction and puddling. With steady moisture, new sod typically begins rooting within 7–10 days.
In plain terms, you’re not just swapping grass. You’re rebuilding the base that grass depends on: slope, soil structure, and clean edges. Renovations like overseeding help a healthy base; replacement fixes a broken one. When we re-sod, we set the subgrade at a consistent 1–2% fall away from patios, fences, and foundations, then add 4–6 inches of friable topsoil for rooting.
For HR Greenroots Landscaping, sod installation is a core service delivered alongside interlocking and landscape design. That means we tie new turf to real-world movement—mowing routes, hose paths, kids’ play zones—so the lawn looks intentional on day one and stays sharp through the seasons.
When to Replace Old Sod: 9 Clear Signs
Replace old sod when dead or bare areas exceed 40–50%, weeds dominate despite seasonal care, or water pools after normal rain. Other triggers include grub damage, thatch thicker than 0.75 inches, bumpy grades, compaction that resists a screwdriver, and recurring disease scars.
Use these practical thresholds to decide if it’s time to replace:
- Dead coverage >40–50%: When half the lawn fails, patching rarely restores uniform color or density. A full reset is more reliable.
- Persistent puddling (24–48 hours): Standing water after a standard rainfall signals grading or drainage issues that sod alone won’t fix.
- Thatch >0.75 inches: A dense mat blocks air and water. Removing the layer and correcting soil depth beats repeated dethatching.
- Compaction: If a screwdriver can’t penetrate 2–3 inches, roots won’t either. Aeration helps, but severe cases call for soil replacement.
- Grub damage: Turf lifts like a loose rug; wildlife (skunks, raccoons) tearing at night is a giveaway. Treat and reset the base.
- Recurring disease: Snow mold or large patch scarring that reappears each year suggests a deeper soil or airflow issue.
- Uneven grade: Ankle-turning highs and lows from past fills or settles need regrade before new sod.
- Mismatched grass species: Mixed textures and colors create a blotchy look; replacement standardizes the canopy.
- Failed overseeding: If multiple overseeds never take, shade, soil, or drainage is blocking success—reset the foundation.
Here’s the thing: if the base is wrong, even premium sod will struggle. The next section covers Mississauga timing so your investment roots fast and evenly.
Why Timing Matters in Mississauga’s Climate
Late spring and early fall are best for re-sodding: daytime highs around 60–75°F and cool nights minimize stress and water demand. In these windows, rooting commonly occurs within 10–14 days. Summer installs succeed with tighter irrigation; late fall needs a 2–3 week buffer before consistent frost.
Mississauga’s shoulder seasons are ideal because soil stays warm enough for root growth while air temps stay moderate. Cooler nights reduce evapotranspiration, so the top 2–3 inches of soil remain moist between irrigations. In summer, plan for 2–3 light cycles per day in week one; in fall, you can often rely on rainfall with one supplemental cycle.
For deeper planning on dates and temperatures, see our best time for sod in Mississauga explainer and our broader Ontario timing guide. We also align sod work with interlocking or deck projects so edges cure together for clean mowing lines.
Prerequisites: Soil, Grading, and Site Readiness
Before laying new sod, correct the base: remove debris and thatch, set a 1–2% slope away from structures, and ensure 4–6 inches of quality topsoil. Address drainage, shade, and traffic routes now—sod will hide problems briefly but won’t solve them.
Think of prerequisites as insurance. A consistent slope moves water off the lawn in minutes, not hours. A 4–6 inch rooting zone supports deep, resilient roots. Defined edges make mowing faster and reduce scalping. When we handle re-sods, we also check downspout discharge, soil texture (sand/silt/clay balance), and the presence of buried debris that can cause future sinkholes.
- Soil depth: Target 4–6 inches of friable topsoil. If organic matter is low, add 1–2 inches of compost and blend.
- Grading: Aim for 1–2% fall away from homes, patios, sheds, and beds, feathering into drains and swales.
- Drainage controls: If water lingers beyond 48 hours after rain, add swales, drainage tile, or permeable borders.
- Edge planning: Align turf edges to interlocking, fences, and garden beds for clear maintenance lines.
- Traffic mapping: Add stepping stones or a walkway where footpaths concentrate—especially to gates and sheds.
- Shade realities: In dense shade, switch to bed plantings or groundcovers; even shade-tolerant turf has limits.
In our experience across Mississauga, dialing in these basics is what prevents the same problems from returning next season. When the base is right, most lawns pass a firm tug test by day 10–14.
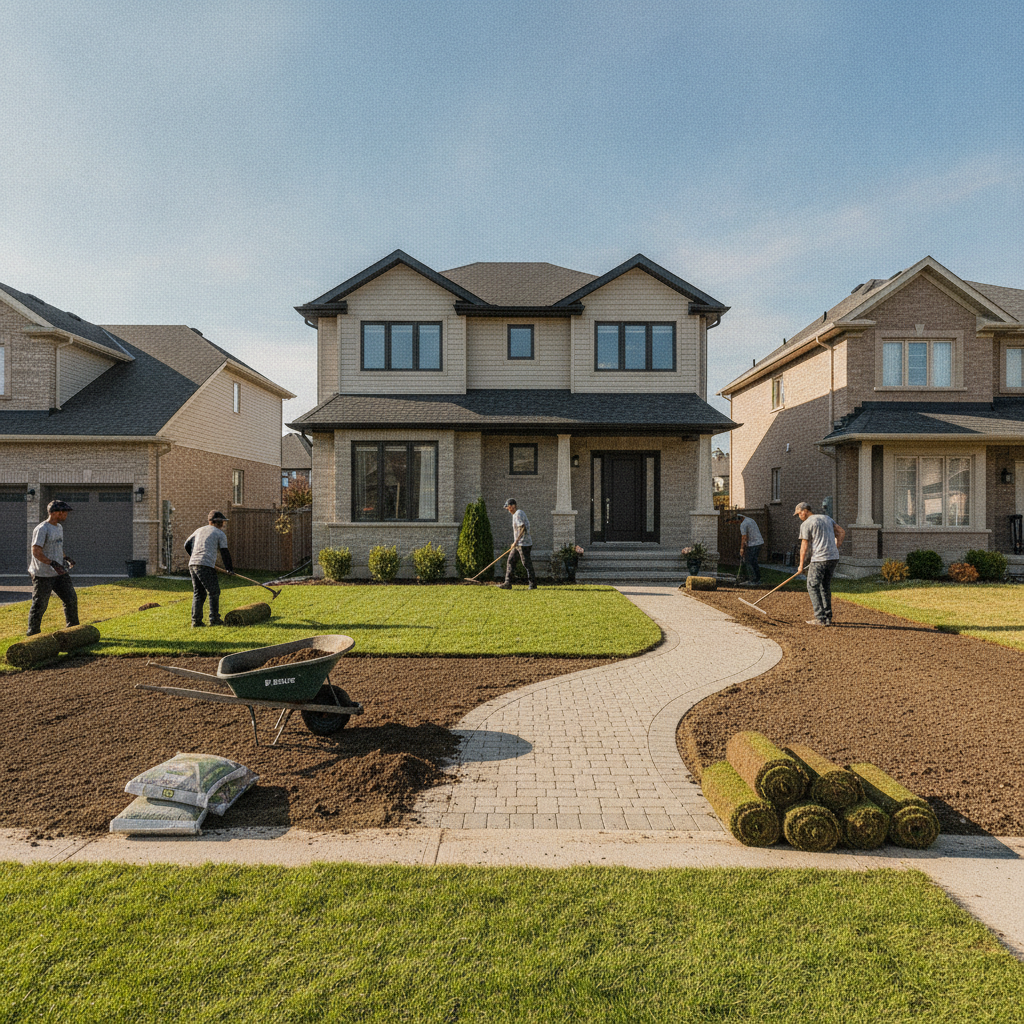
Step-by-Step: Remove and Replace Sod
The reliable sequence is simple: mark utilities, strip old turf, correct grade and soil, set edges, lay fresh sod with staggered seams, roll once, then water and protect for 2–3 weeks. Expect an instant green surface and stable rooting with consistent moisture.
Here’s our field-tested process for a clean, fast reset that pairs well with HR Greenroots’ design-build approach:
- Mark utilities: Identify private lines, irrigation, and lighting runs before cutting.
- Strip turf: Use a sod cutter to remove thatch and roots to mineral soil. Haul off debris to prevent future sinkholes.
- Rough grade: Establish a 1–2% slope away from structures; break clods; remove rocks and roots.
- Topsoil and compost: Add 2–3 inches and blend to achieve 4–6 inches total rooting depth.
- Edge setups: Set paver restraints or stone edging at final height for crisp transitions and easy mowing.
- Fine grade & pre-roll: Smooth humps/dips. A light pre-roll reveals soft pockets to top up.
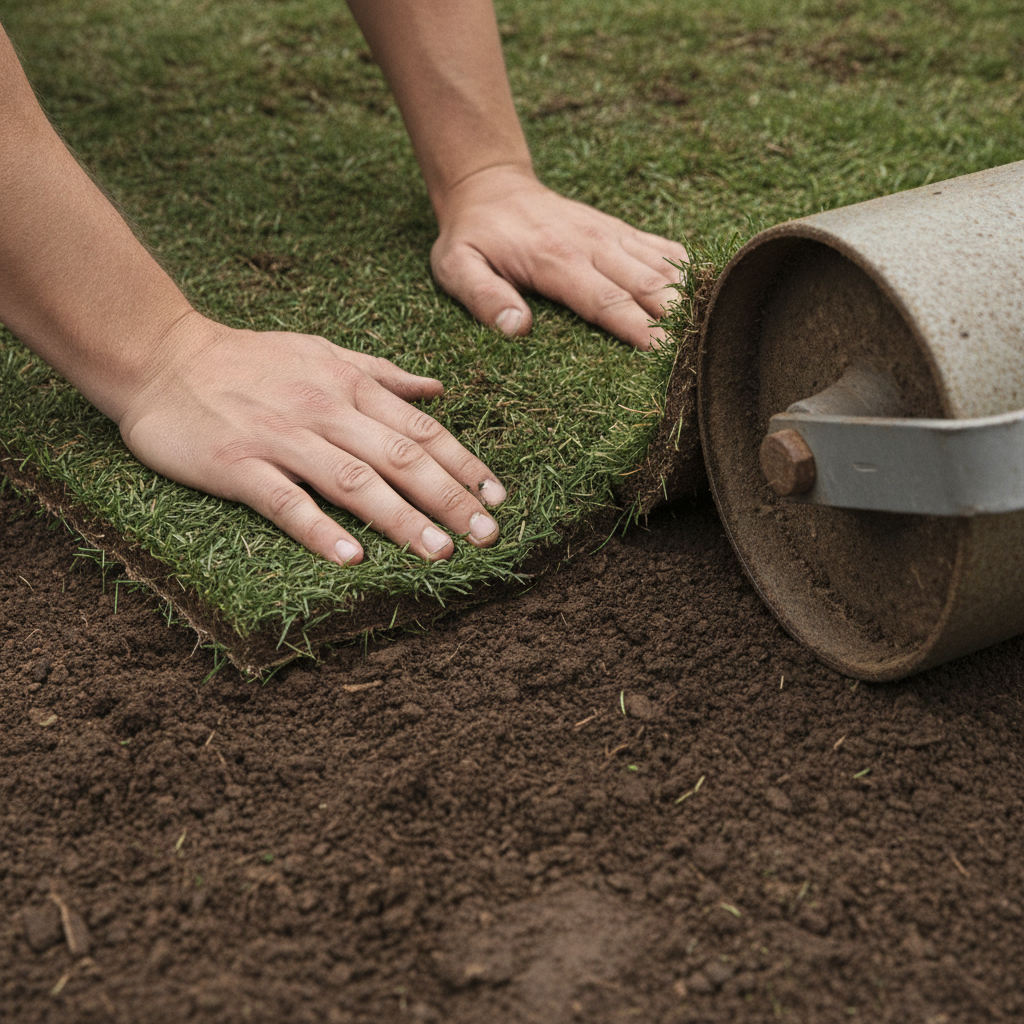
- Lay sod: Stagger joints like brickwork, butt edges snugly, and avoid overlaps or gaps.
- Roll once: A single pass ensures root-to-soil contact without over-compacting the surface.
- Water in: Soak to 4–6 inches deep on day one; keep the top 2–3 inches evenly moist for 10–14 days.
- Protect & first mow: Block heavy traffic. Mow at about 3 inches once the turf resists a gentle tug.
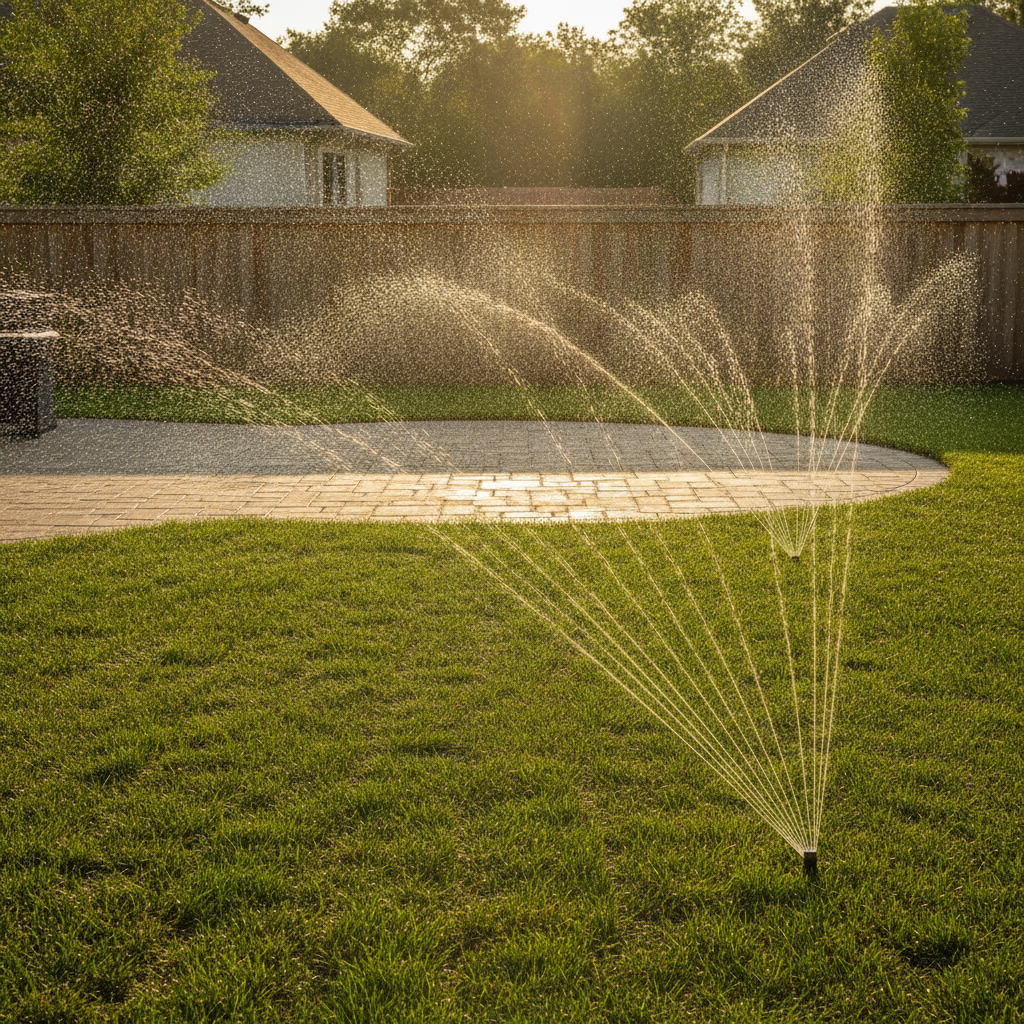
For a visual of proper watering and edge integration, this concise backyard transition overview reinforces how patios and lawns should meet with clean borders and even irrigation coverage.
Pro tip: lay sod immediately after delivery. If delays happen, unstack and mist rolls so edges don’t dry. Seams are the first place to brown in hot, dry air.
Renovate vs Replace: How to Decide
Choose renovation (aeration, overseeding, topdressing) when the base is sound and bare areas are under 30–40%. Choose replacement when failures exceed 40–50%, grading is wrong, or pests and disease recur. Replacement fixes root causes; renovation refreshes otherwise healthy lawns.
The decision hinges on coverage loss and base health. If soil drains well and grade is smooth, overseeding after core aeration may restore density in 4–8 weeks. But if puddles persist or half the canopy is gone, you’ll spend a season chasing symptoms. A full reset gets you a uniform surface in days and a durable base for years.
SituationRenovate (Overseed/Topdress)Replace (New Sod) Dead/bare percentage<= 30–40%>= 40–50% Soil/grade issuesMinor; manageableSignificant; needs reset Timeline to green4–8 weeks+1–3 days visual; 2–3 weeks rooting Weed pressureLow–moderateHigh; species reset needed Pest/disease cyclesOccasionalRecurring historyStill unsure? We often test a small, representative area with seed. If it doesn’t take evenly in 2–3 weeks, the base is the issue—and replacement is the safer path.
Troubleshooting New Sod Problems
Most new-sod issues trace to water, contact, or timing. Pale seams mean dry gaps; lingering footprints signal under-watering; squishy areas suggest overwatering. Correct fast: hand-water edges, re-roll lifted corners, and balance irrigation so the top 2–3 inches stay moist without puddling.
New lawns are resilient when you act quickly. Use these quick diagnoses and fixes:
- Edges browning: Seams dried out. Hand-water edges and close gaps; topdress lightly to seal.
- Footprints remain visible: Soil too dry. Deepen the soak until prints rebound within minutes.
- Spongy feel underfoot: Overwatering. Reduce frequency and allow short dry-backs; improve drainage if needed.
- Weeds sprouting: Often from the soil seed bank. Hand-pull early; avoid herbicides until fully established.
- Color banding: Uneven irrigation. Verify head-to-head coverage and even run times.
- Lifted corners: Poor contact. Re-roll and add a pinch of soil under edges to eliminate air gaps.
Want to avoid common pitfalls altogether? Our sod mistakes to avoid checklist pairs well with this guide and speeds up troubleshooting.
Best Practices for Long-Lasting Lawns
Durable lawns start with corrected soil and grade, then steady maintenance: mow at 3–3.5 inches, water about 1 inch weekly (including rain), and use light, balanced feedings. Keep edges defined and add pavers where foot traffic concentrates to prevent compaction and wear.
Here’s a maintenance formula we apply across Mississauga properties to keep lawns uniform through summer and tidy through fall cleanup:
- Mowing: Set height at 3–3.5 inches; never remove more than one-third of the blade. Sharp blades reduce tip burn.
- Watering: After establishment, aim for about 1 inch per week including rainfall. Use a simple rain gauge or “tuna can” test.
- Feeding: Light, balanced applications during active growth; avoid heavy nitrogen during heat waves.
- Aeration: Core-aerate compacted zones annually; topdress thin spots with screened compost to lift organic matter.
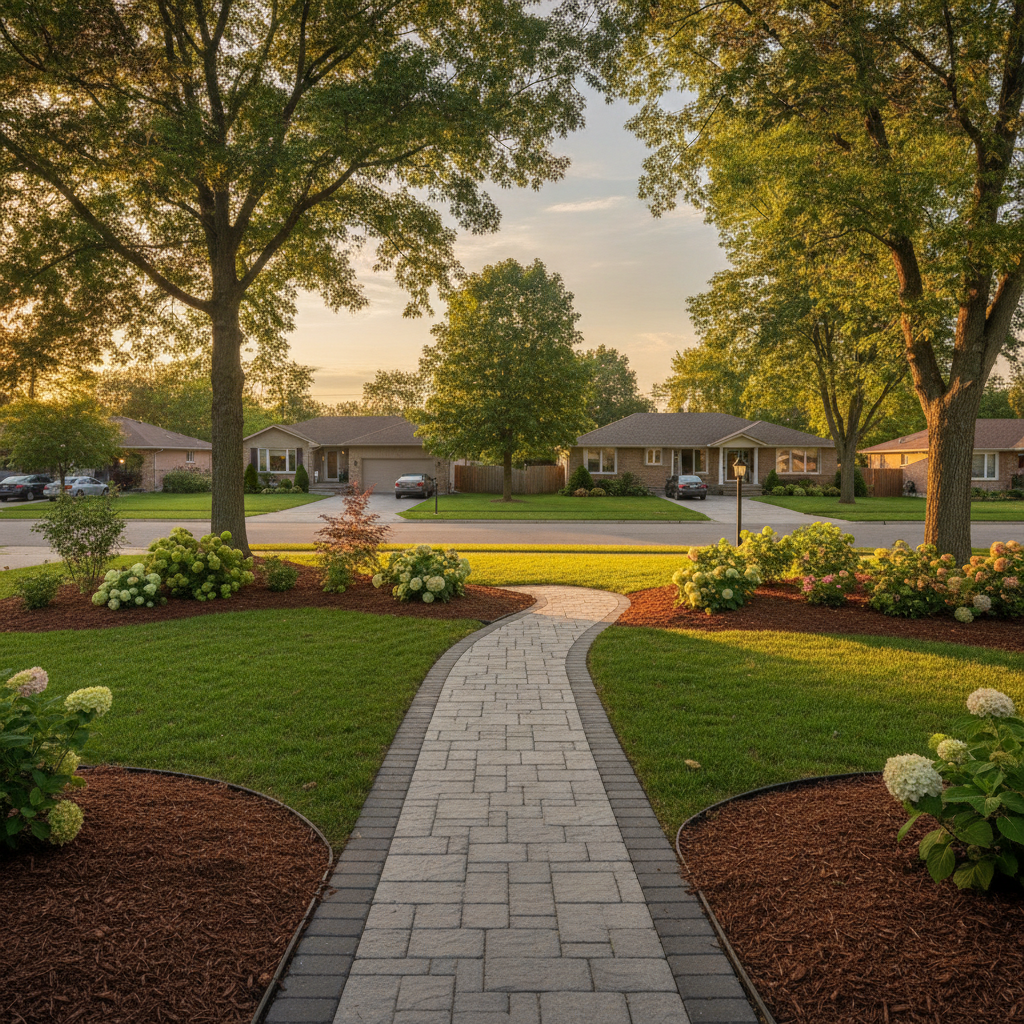
- Edges that last: Maintain crisp transitions with interlocking borders or aluminum edging to reduce scalping.
- Traffic design: Add stepping stones or a walkway to sheds and gates where daily paths compress turf.
When lawns border patios, pools, or driveways, clean edges matter even more. This patio and pool design overview shows how consistent heights and borders keep maintenance straightforward around hardscapes.
Prefer a done-for-you plan? Our crews coordinate sod with interlocking and garden bed refreshes so everything cures together—less rework, more weekends back for you.
Tools and Resources
A clean re-sod uses a sod cutter, grading rakes, a roller, irrigation tools, and soil amendments. Add a moisture meter, a simple rain gauge, and marking paint. Pro crews accelerate timelines with skid steers, compactors, and proper edge restraints for crisp borders.
Whether you’re DIY’ing or hiring, this short list covers the essentials we use daily:
- Core tools: Sod cutter, steel rake, landscape rake, wheelbarrow, and a lightweight roller.
- Soil gear: Topsoil, compost, starter fertilizer (as needed), and wetting agents for hydrophobic zones.
- Irrigation: Hose timers, multi-zone sprinklers, and a rain gauge targeting 1 inch weekly after establishment.
- Layout: Edging restraints, string lines, and marking paint for consistent curves.
- Safety: Gloves, eye protection, and hearing protection for powered tools.
For a plain-English overview of steps and expectations, see this sod services summary—it echoes the same core sequence we follow on Mississauga projects.
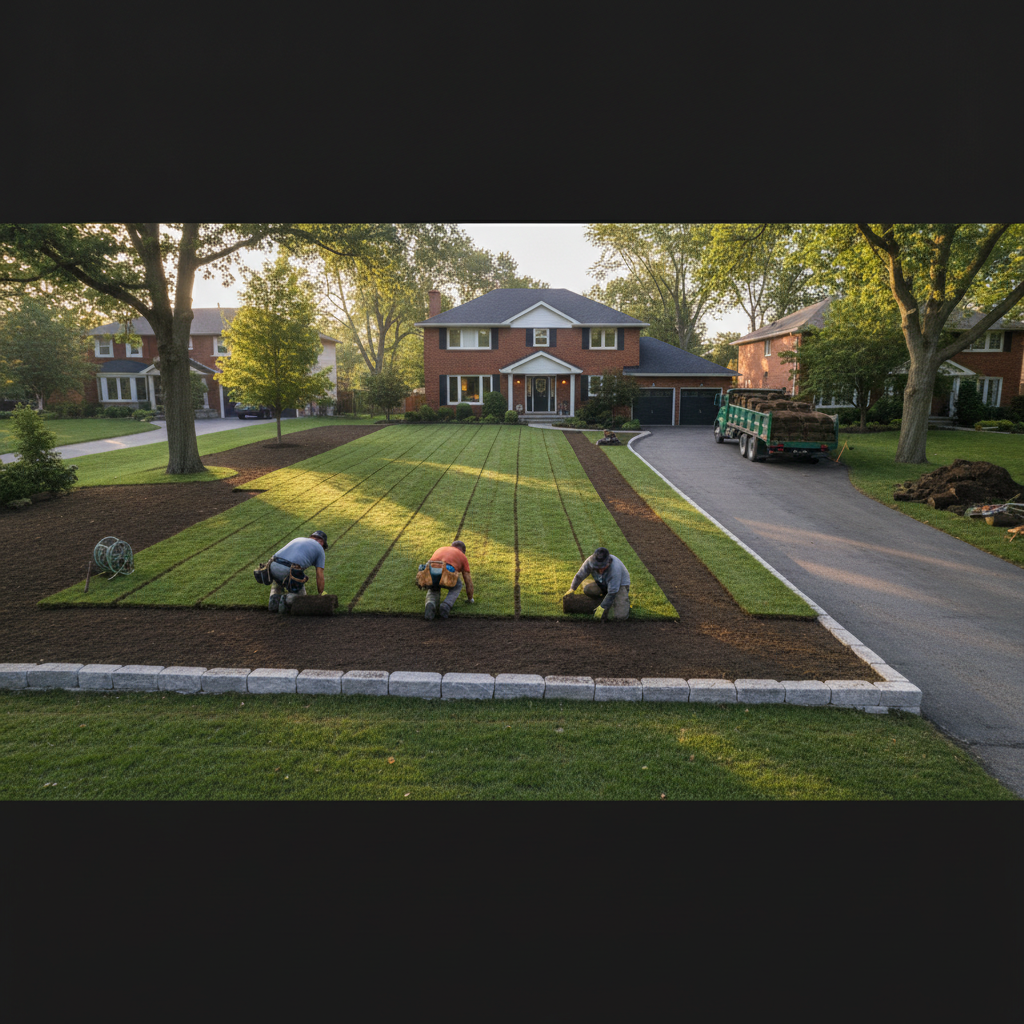
Mini Case Studies: Mississauga Lawns
Two-week transformations are common when the base is corrected. We’ve replaced failing turf, regraded for drainage, and integrated hardscape edges so mowing is simple. The consistent pattern: fix water and soil first, then new sod thrives across seasons.
In our experience, results follow a repeatable pattern when we put grading and edges first:
- Near Saigon Park: A front lawn had 60% die-off and puddling after storms. We regraded to a 1.5% slope, added 3 inches of blended topsoil, installed premium sod, and set a clean border to the walkway. The tug test passed on day 11.
- Close to Lambton College: Foot traffic to a side gate chewed a track through thin turf. We added paver steppers, pruned to lift light, then re-sodded. Traffic damage dropped to near-zero after 30 days.
- Townhome courtyard: Shade and compaction from storage bins. We converted the darkest corner to a mulch bed with shade plantings, re-sodded the sun corridor, and added a discreet drain—no standing water after rain.
These projects show why integrated planning—sod, drainage, and edges—beats tackling each item alone. It’s faster up front and easier to maintain over the long term.
Frequently Asked Questions
Homeowners ask about timing, watering, mowing, and whether to renovate or replace. In short: pick spring or fall, keep the top 2–3 inches moist for 10–14 days, mow at 3 inches once roots take, and choose replacement when failures exceed ~50% or grading is off.
How do I know if I should replace rather than overseed?
If more than about half the lawn is thin or dead, if soil stays soggy after rain, or thatch is thicker than 0.75 inches, a full reset is more reliable than overseeding. Replacement lets you correct grading, compaction, and drainage before new sod goes down.
When can I walk or mow on new sod?
Limit traffic for 10–14 days. Perform a gentle tug test; if the sod resists lifting, mow at about 3 inches with a sharp blade. Keep turns slow to avoid scuffing seams during early establishment.
How much should I water new sod?
Soak the root zone on day one to about 4–6 inches deep. Then keep the top 2–3 inches consistently moist for 10–14 days using short, more frequent cycles. After roots knit, transition to about 1 inch of water per week, including rainfall.
What happens if I install in summer?
Summer installs work but demand tighter irrigation. Expect 2–3 light waterings daily for the first week to prevent seam drying. Provide afternoon shade where possible and monitor for footprints or edge browning to adjust quickly.
Will new sod fix drainage problems?
No. Sod hides drainage issues briefly but won’t solve them. Address grading, add swales or drains, and ensure downspouts move water away before installation. A good base prevents puddling and root rot long term.
Conclusion and Key Takeaways
Replace sod when failures exceed 40–50% or the base is flawed. Correct grade and soil first, then install and water with discipline for 2–3 weeks. Plan edges and footpaths now—your lawn will stay sharp for seasons instead of months.
Ready for a fast, clean reset that actually lasts? Our Mississauga team integrates sod, interlocking, and garden beds in one coordinated plan so edges, grades, and mowing lines all align. It’s the maintenance-first approach that keeps lawns looking intentional beyond day one.
Key takeaways
- Use clear thresholds: >40–50% failure, compaction, thatch >0.75 inches, or chronic puddling.
- Choose spring or fall for fastest rooting (often 10–14 days) and lower water stress.
- Build a 4–6 inch rooting zone and set a 1–2% slope away from structures before new sod.
- Water to keep the top 2–3 inches moist at first; transition to ~1 inch weekly after rooting.
- Design edges and footpaths so mowing is simple and turf wear stays low.
Soft CTA: If you’re weighing whether and when to replace old sod, book an on-site assessment. We’ll map grading, soil depth, and edges, then schedule installation in the right Mississauga window. See our Mississauga sod installation guide for what to expect.