How much grading before sod installation does your yard need?
Quick precheck: what to confirm before you start
Before any heavy work, confirm these constraints and observations so you know whether you need minor touch-up grading or a full regrade. If more than one item is a problem, plan for a professional assessment.
- Look for visible ponding or compacted low spots after rain. If water sits more than 24 hours, you will need corrective grading and possibly drainage improvements.
- Check slope direction and high points. The finished grade should move surface water away from foundations and structures, typically a minimum fall of about 2 percent where space allows.
- Note hard obstructions and utilities. Mark buried lines and sprinkler heads before digging or moving soil.
- Estimate organic matter and topsoil depth. Many installs need screened topsoil added to reach a planting-ready bed.
- Plan irrigation coordination. For commercial-grade work irrigation must be installed and tested before laying sod, and the soil should be slightly moist the day before installation, not saturated or bone dry, to help the sod root effectively (sodding.ca).
For practical soil prep steps that contractors commonly follow, see the recommended procedures for removing old grass, clearing debris, correcting low spots, and lightly rolling the finished bed (SprinklerCompany.ca). If you want a printable scope to bring to bidders, use the sod installation prep checklist on our site sod installation prep checklist.
Step-by-step grading workflow to finish before laying sod
Follow this ordered workflow on-site. Each step ends with a simple pass or fail check so you know whether to proceed or stop and fix the issue first.
1. Clear and strip the surface
Remove old turf, persistent weeds, roots, stones larger than 25 mm, and construction debris. If the site has thick thatch or invasive grasses, remove to a depth that exposes mineral soil. The goal is a clean bed that allows good soil-to-root contact.
Pass check: no large roots, weed crowns, or rubble remain within the top 50 mm of the bed.
2. Rough grade and establish drainage lines
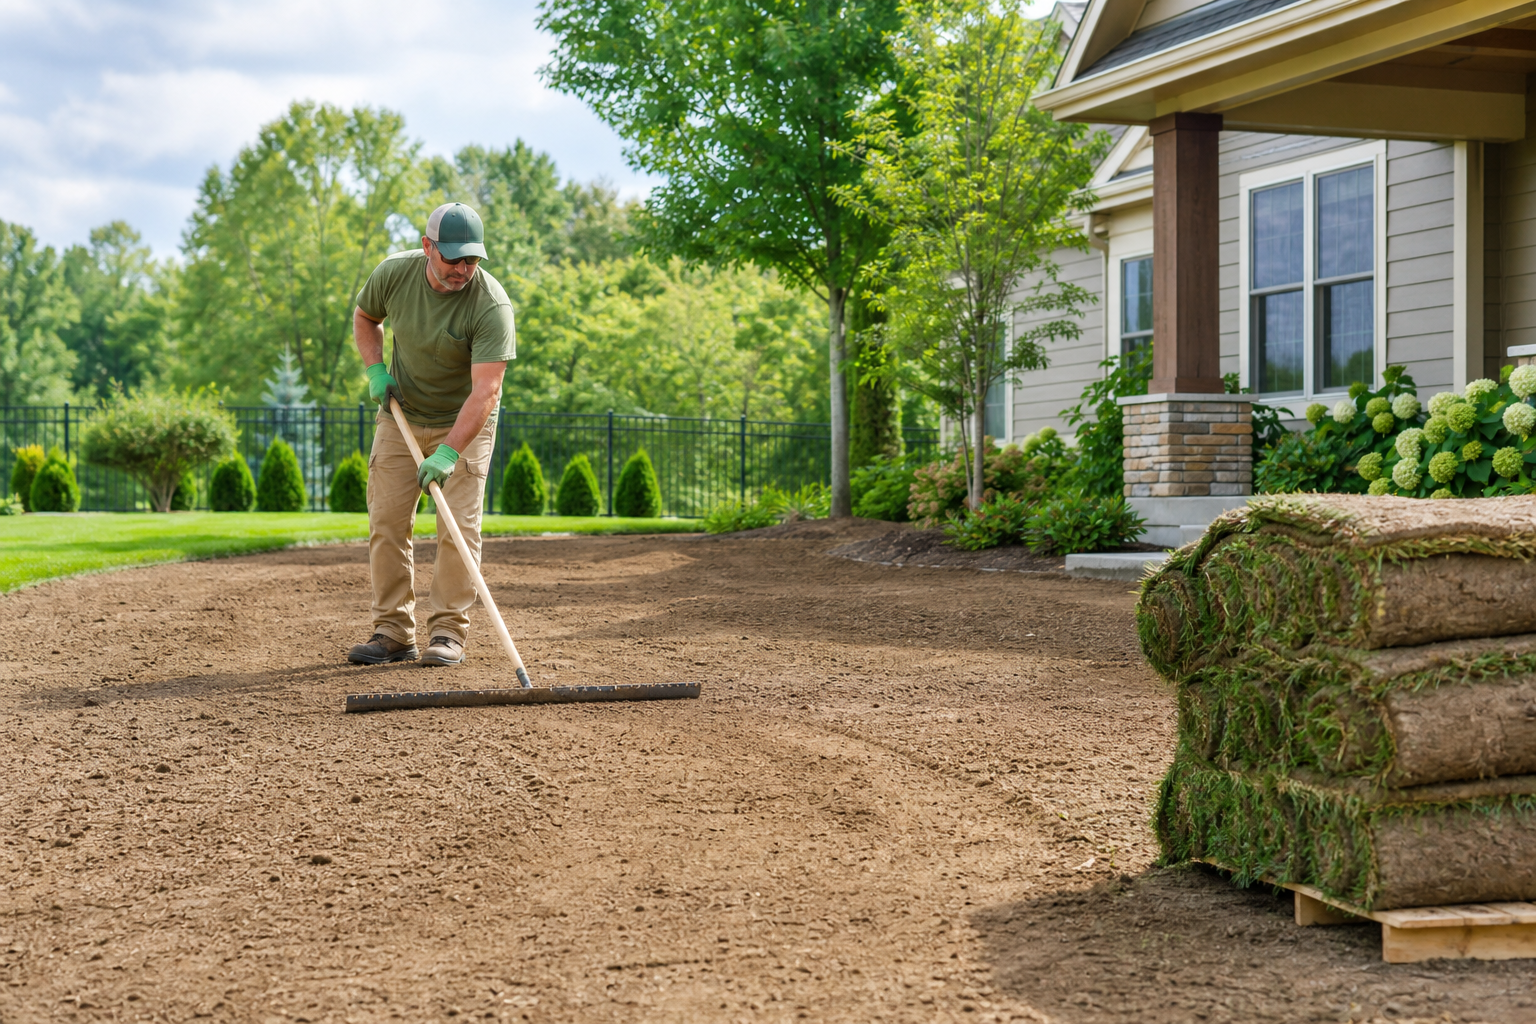
Using a skid steer, mini excavator, or hand rakes for small yards, shape the general fall so water runs away from the house. Create shallow swales to carry water to storm drains or lower-lying collection points. Aim for an even surface and a finished slope of around 2 percent away from foundations if site conditions permit.
Pass check: test with a temporary straightedge or a string line. Water poured at the high point should run toward the designated outlet without ponding inside the area.
3. Add or correct topsoil where required
Spread screened, weed-free topsoil to reach recommended planting depth for sod. Many lawns require 75 mm to 150 mm of good topsoil over subsoil, depending on existing conditions. Work the topsoil into low spots and blend with the existing bed to avoid seams that settle differently later.
Pass check: the topsoil layer is even across the lawn and contains no construction debris or large stones.
4. Fine grade and consolidate the surface
Rake to a smooth, consistent surface. Lightly compact the bed with a plate compactor or by rolling with a light lawn roller. Overcompaction is a risk, so consolidate enough to remove loose pockets but not to create a rock-hard base that prevents root penetration.
Pass check: press a carpenter pencil or screwdriver into the soil. It should penetrate with steady pressure to around 25 mm, showing the surface is firm but not rock hard.
5. Final slope verification and edge control
Confirm all grades with a line level, laser level, or straightedge. Check edges around gardens and hardscapes to ensure clean transitions. Install edging or firm borders where necessary to prevent future washout and to allow clean cutting when mowing.
Pass check: the measured fall matches design intent and surface water flows predictably to outlets when you pour a bucket of water.
6. Irrigation and final moisture conditioning
Install and test irrigation systems before the sod goes down. Repair leaks, set head coverage, and confirm run times. Lightly water the bed 24 hours before installation so the soil is moist but not saturated. For commercial best practices that recommend irrigation testing and controlled pre-watering, refer to site preparation guidelines (sodding.ca).
Pass check: irrigation runs without leaks and sprinkler heads give full coverage; soil at 50 mm depth is slightly damp when you dig a test hole.
7. Lay sod promptly and finish with rolling
Lay sod as soon as grading and moisture checks are complete. Stagger seams and butt edges tightly. Lightly roll the installed sod to remove air pockets and ensure good contact with the prepared soil. Water immediately according to installation timing and the contractor or supplier instructions.
Pass check: no large air gaps under sod, seams are tight, and the rolled surface is even.
8. Post-install inspection and follow-up
Inspect the lawn for settled low spots, irrigation coverage, and edge integrity within the first 7 to 14 days. Address any small dips with a thin topdressing and re-seaming if needed. For long-term success, follow a maintenance plan that includes watering schedules and a first mow at the supplier-recommended grass height.
Pass check: no new ponding after a normal rain event and uniform greening after two to three weeks.
How to check slopes and drainage that grading must fix
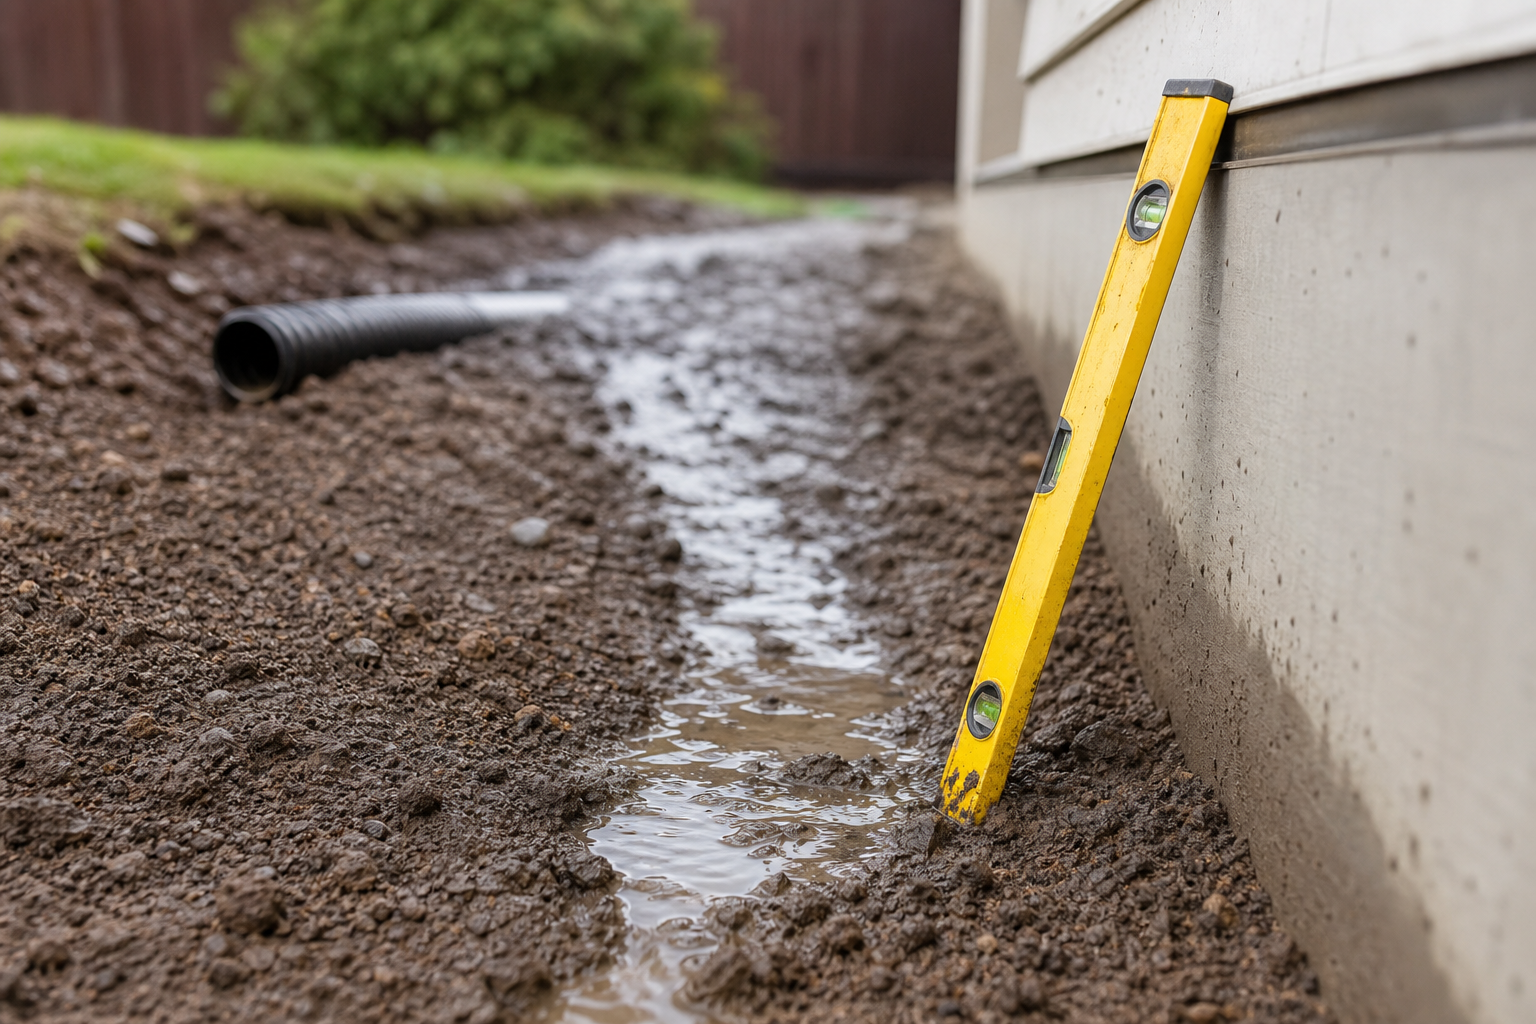
Use these practical checks to verify drainage performance. The tools are simple and the tests are immediate.
- String and line level. Run a tight string between two stakes and use a line level to measure fall across a run, or use a small laser level for faster work.
- Bucket ponding test. Pour a bucket of water where you suspect a low spot and watch how it drains over 10 to 20 minutes. Slow draining indicates compaction or an outlet problem.
- Observe downspout discharge. If downspouts dump onto shallow grades, divert or connect them to a drain so they do not create localized saturation.
- Swale capacity. Make sure swales are rounded and graded to carry expected flows without eroding the lawn edge.
If you prefer a step-by-step discussion of why leveling matters and how uneven compaction leads to settlement after sod, Right On Sod explains common failure modes and how to avoid them (RightOnSod).
Tools, materials and simple compaction tests you need
For homeowner-scale projects, gather these items. For larger or steeper sites you will also need heavier equipment and professional oversight.
- Hand tools: heavy-duty rake, shovel, wheelbarrow, garden fork, and string line with stakes.
- Power tools: plate compactor or light lawn roller, and a mini excavator for major regrades where access permits.
- Materials: screened topsoil, weed barrier if required outside planting areas, clean gravel for drainage collection points, and edging materials.
- Testing items: line level or laser level, screwdriver or rod for simple penetration tests, and a bucket for ponding checks.
Homeowner-friendly soil prep techniques and a compact equipment list are described in practical how-to notes for sod installation preparation (SprinklerCompany.ca). A simple firmness check is to press a screwdriver 25 mm into the prepared bed at several locations. If it resists excessively, run the compactor lightly and test again.
Timing in Mississauga and the GTA: frost, planting windows and irrigation timing
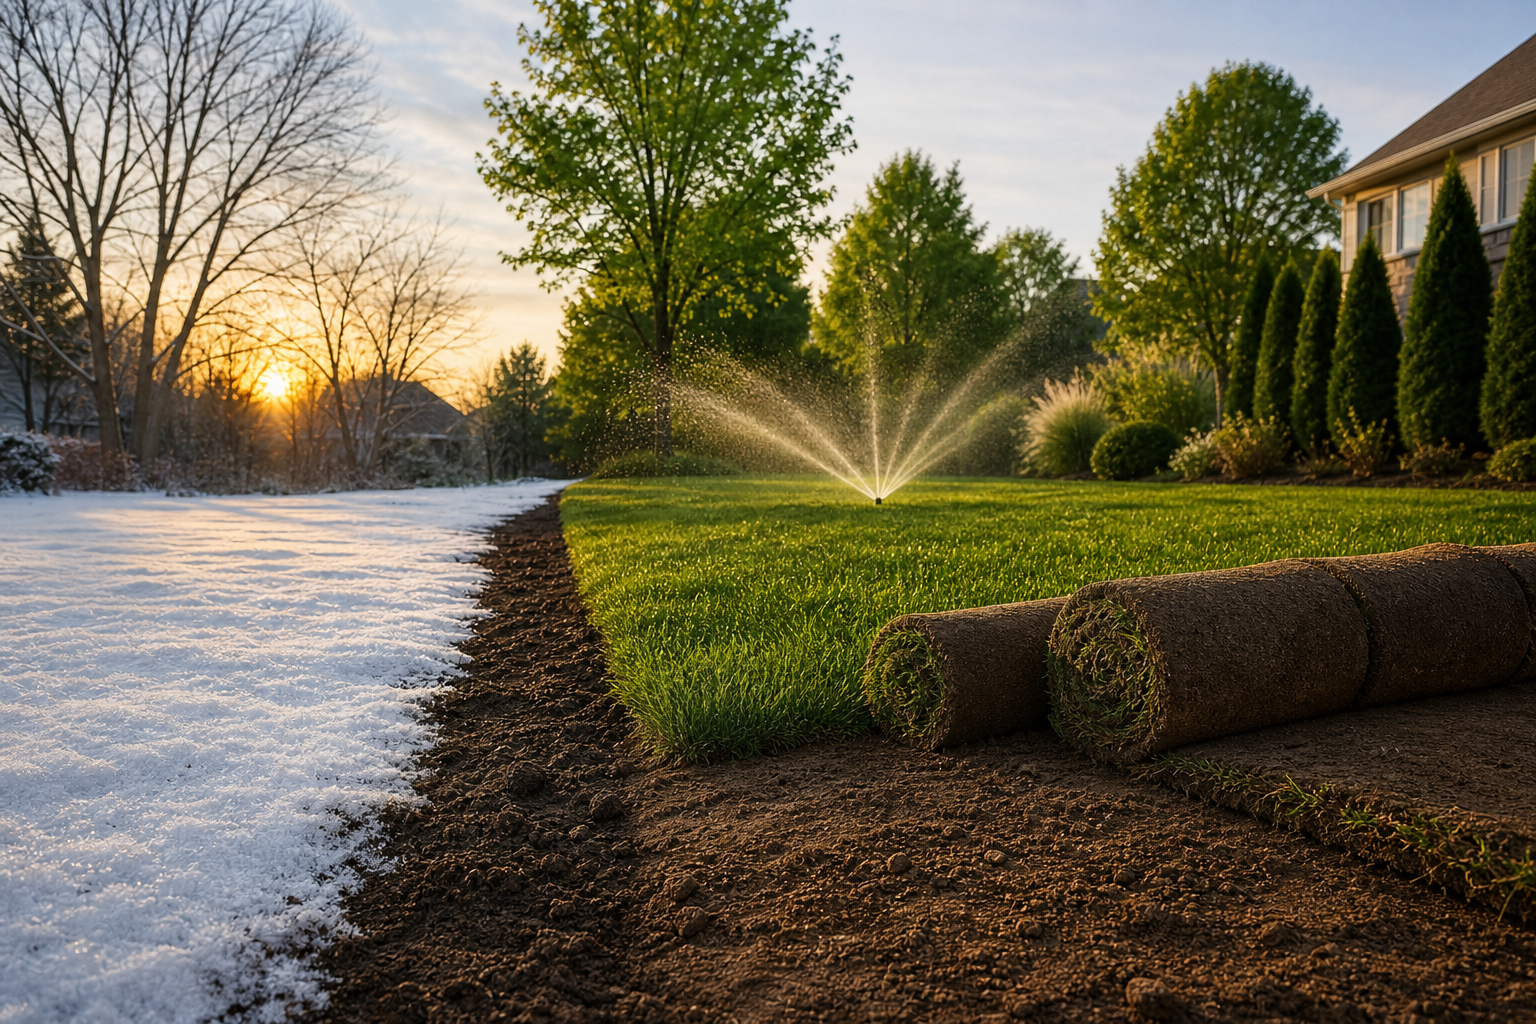
Seasonal timing matters in Southern Ontario. Government specifications advise scheduling sod installation after frost has left the ground and within recommended planting windows for best establishment. For example, some public specifications recommend installation after frost and before mid-June for certain contracts, which shows frost and planting windows are important planning constraints (buyandsell.gc.ca).
Practical steps for local timing include waiting until ground thaw is complete and soils are workable, scheduling grading and irrigation testing ahead of the planting window, and avoiding sod installation when heavy rain or freezing nights are forecast. Install irrigation and confirm coverage before the sod goes down, then use controlled watering to establish roots.
When to DIY grading and when to hire a professional
Consider these decision criteria when you choose between DIY and hiring a contractor such as HR Greenroots Landscaping.
- DIY is reasonable when the site is small, slopes are gentle, ponding is minor, and you have basic tools and time for accurate grading.
- Hire a professional when slopes are steep, drainage problems are persistent, heavy equipment is required, you need coordination with irrigation or retaining walls, or the job must meet a tight schedule.
- Complex multi-service projects that include interlocking, retaining walls, or driveway extensions are best coordinated by a design-build firm to avoid rework and to maintain clean edge control (HR Greenroots Landscaping).
Contractor-ready pre-sod checklist and what to confirm in quotes
Use this condensed list to send to bidders or to bring to an on-site estimate. It helps ensure quotes reflect the true scope of work.
- Surface cleared of turf, weeds, roots, stones larger than 25 mm, and debris.
- Topsoil added and screened to the specified depth across the entire lawn area.
- Rough and fine grading completed to specified slopes, with swales and outlets identified.
- Irrigation installed and tested, or notation that irrigation is not required.
- Compaction and firmness tests passed, and light rolling scheduled after laying sod.
- Edge control and landscape edging installed where required.
- Timing window and expected installation date noted, with a contingency plan for frost or heavy rain.
Three questions to ask every bidder before you sign:
- Do you include topsoil supply and spreading in the quoted price?
- Will irrigation be tested and adjusted before sod is delivered?
- What is your follow-up policy for addressing settled low spots or irrigation coverage issues after installation?
For a longer printable checklist and step-by-step prep items, use our sod installation prep checklist.
Frequently asked questions
How long before laying sod should grading be finished?
Finish grading and final compaction the same day or up to two days before sod delivery. This minimizes disturbance and prevents rework. If irrigation is installed, test it at least one day before the sod is scheduled to arrive so any repairs can be completed.
Can I grade my yard myself before sod installation or do I need a contractor?
You can DIY simple grading on small, accessible sites with gentle slopes using hand tools. Hire a contractor for steep slopes, large volumes of soil movement, persistent drainage problems, or when heavy equipment and coordinated trades are required.
Do I need irrigation installed before laying sod?
Yes, irrigation should be installed and tested before sod is laid for reliable establishment, especially on larger or commercial projects. Testing beforehand prevents delays and ensures even watering from day one (sodding.ca).
What are the signs that grading was done incorrectly after sod is laid?
Signs include new or increased ponding, uneven settling that creates dips or ridges, and poor rooting in high, compacted patches. If these appear, contact your installer promptly for corrective grading and topdressing.
How do frost and seasonal timing in Ontario affect grading and sod installation?
Wait until frost has left the ground and soils are workable. Some specifications advise completing sod installation within specific planting windows to avoid frost damage and poor establishment, so plan grading and irrigation to fit that window (buyandsell.gc.ca).
If you would like an on-site grading assessment or a custom quote that coordinates grading, irrigation, and sod installation, request an on-site assessment with HR Greenroots Landscaping.