A Practical Guide to Mississauga Mulch and Garden bed Cleanup
Mulch and garden bed cleanup are two high-impact tasks that quickly sharpen the look of any landscape. When done systematically—with clear edges, consistent depth, and clean lines—mulch supports healthier soil, suppresses weeds, and ties planting areas together visually. This guide walks through a practical, maintenance-minded approach you can apply in Mississauga to plan, prep, and execute a refresh that holds up through the season.
Why mulch matters
- Weed suppression: A uniform layer makes it harder for light to reach weed seeds, reducing germination.
- Moisture moderation: Mulch helps soil retain moisture between waterings and buffers temperature swings near plant roots.
- Soil health: As organic mulch breaks down, it contributes organic matter at the surface.
- Protection: A cushion layer reduces soil compaction and helps prevent erosion during heavy rain.
- Clean finish: A consistent color and depth highlight plant forms and create crisp transitions around hardscapes.
Plan your cleanup
Before you lift a rake, define the scope and order of operations. A thoughtful plan avoids rework and makes the finished beds look intentional.
- Walk the site: Note problem spots—thin mulch, matted leaves, exposed roots, or edging that has collapsed.
- Prioritize zones: Tackle the most visible or overgrown beds first to build momentum and quickly improve curb appeal.
- Sequence tasks: Do pruning and perennial cutbacks before bed cleaning, then weed removal, edging, soil touch-ups, and finally mulching.
- Estimate materials: Decide on mulch type and measure square footage so you can calculate the amount needed at your target depth.
- Stage debris handling: Identify where yard waste will go and plan for bags, bins, or a trailer to keep pathways clear.
Choosing mulch types
Select a mulch that aligns with your maintenance goals and the look of surrounding hardscapes. Consistency across beds creates a cohesive visual layer.
- Shredded bark: Interlocks well on slopes, offers a natural texture, and breaks down gradually.
- Wood chips: A chunkier profile with good coverage; useful in high-traffic side yards or utility areas.
- Composted mulch: Dark color and fine texture that integrates quickly with the soil surface.
- Stone/gravel: Low-organic option for drainage corridors and around fixed features; does not contribute organic matter.
- Rubber mulch: Long-lasting with minimal breakdown; typically used in play areas or specialty applications.
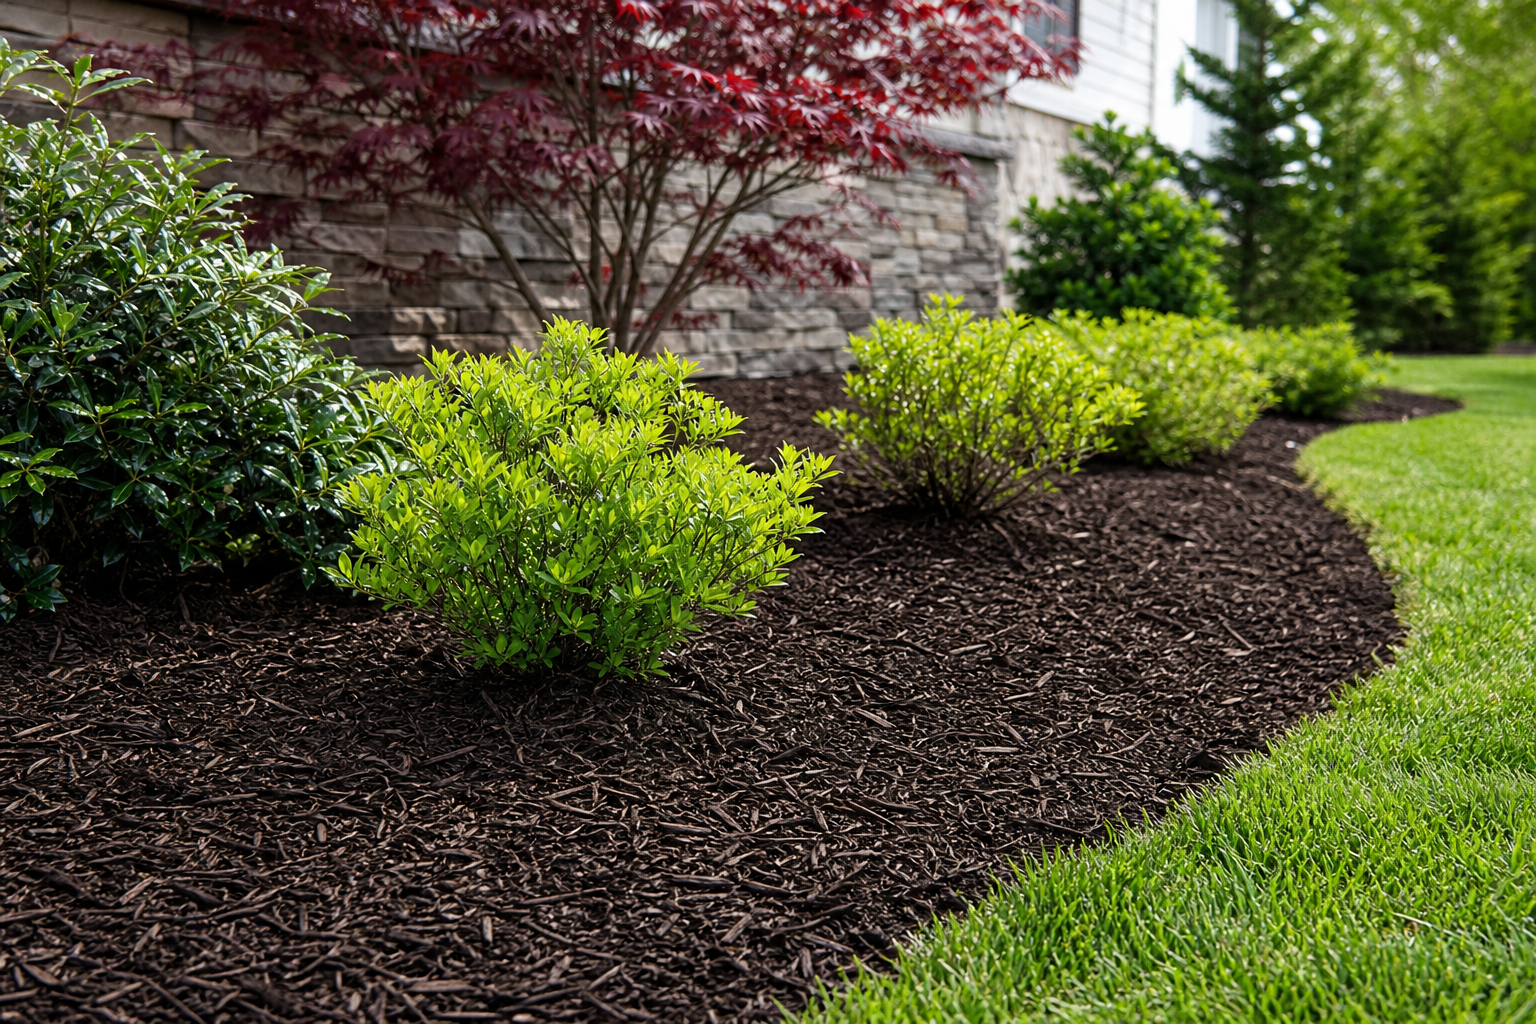
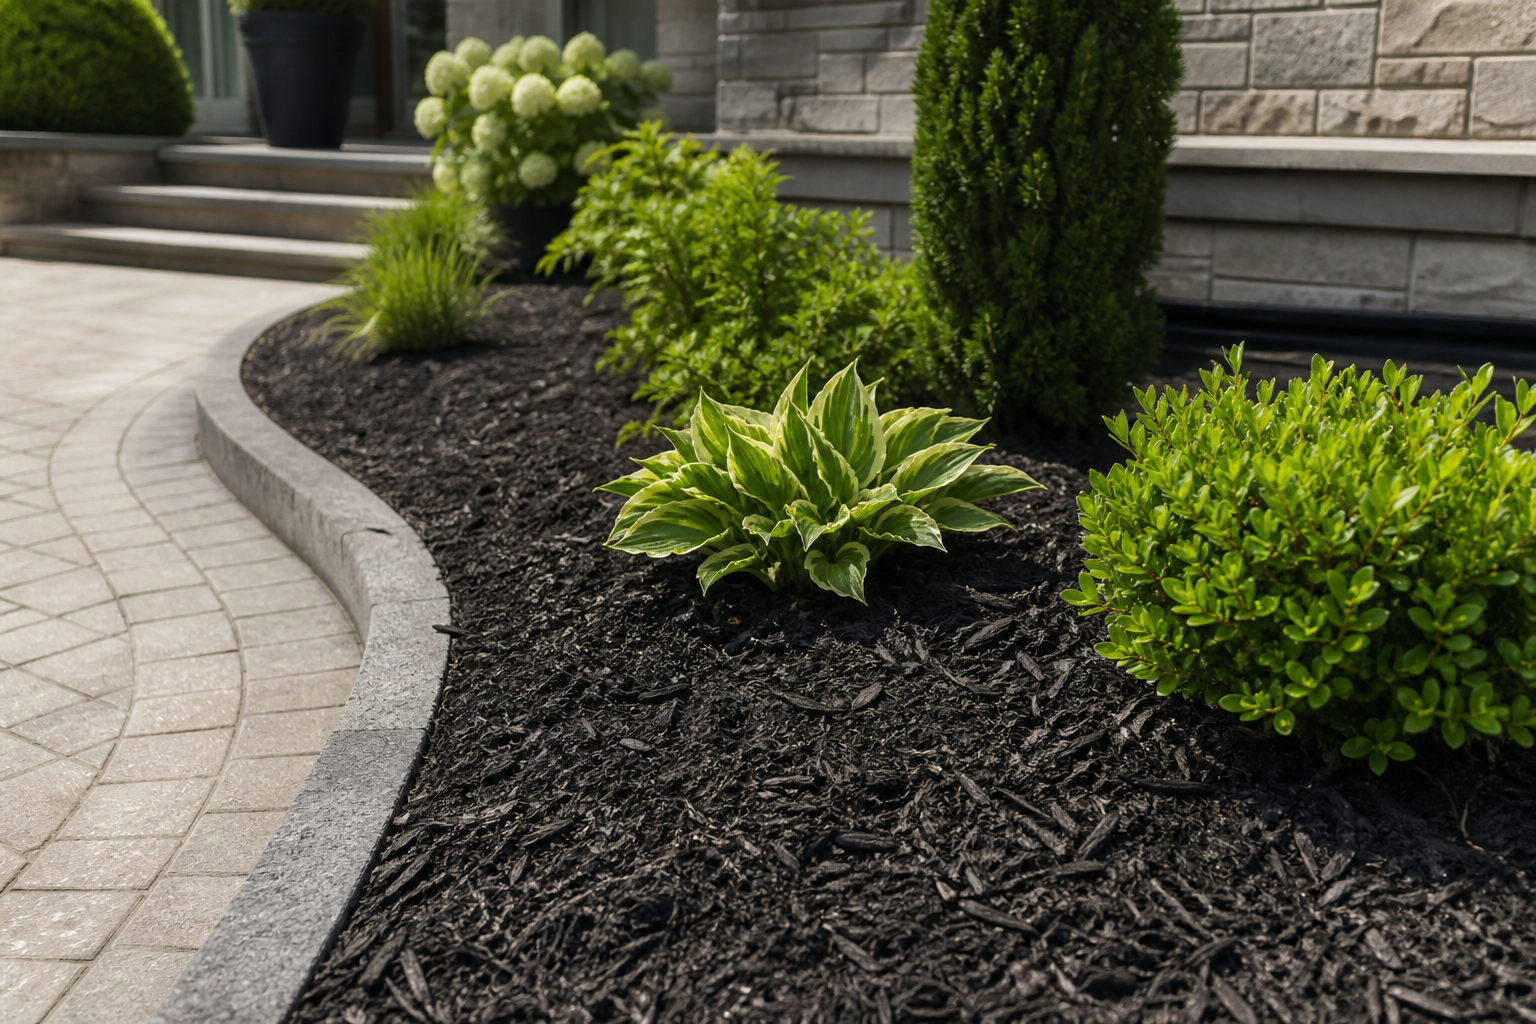
Tip: For a unified look, match mulch tone to fixed elements. Dark mulch can set off lighter stonework; lighter mulch can warm up shaded beds. Above all, keep the selection consistent across visible zones.
How much mulch do you need?
Calculate mulch volume by bed area and target depth. A practical depth for most beds is typically in the 2–3 inch range after settling. Heavier shading and known weed pressure may justify the higher end of that range; lighter refreshes can use the lower end.
- Measure each bed’s length and width (or break irregular shapes into rectangles/triangles).
- Compute square footage for each bed and add them up.
- Multiply total square feet by your chosen depth (in feet) to get cubic feet; divide by 27 to convert to cubic yards if ordering in bulk.
Example: 500 sq ft at 0.25 ft (3 in) = 125 cu ft ≈ 4.6 cu yd.
Edge definition that lasts
Crisp edges are the difference between a tidy refresh and a bed that looks unfinished. Good edge control also helps keep mulch where it belongs.
- Manual trench edge: Cut a bevelled trench 4–6 inches deep along the bed perimeter. The vertical face acts as a mulch stop.
- Spade or half-moon edger: Useful for recutting existing edges quickly and evenly.
- Rigid edging: Metal or composite edging creates a continuous line and can be helpful where traffic pushes mulch into lawns or paths.
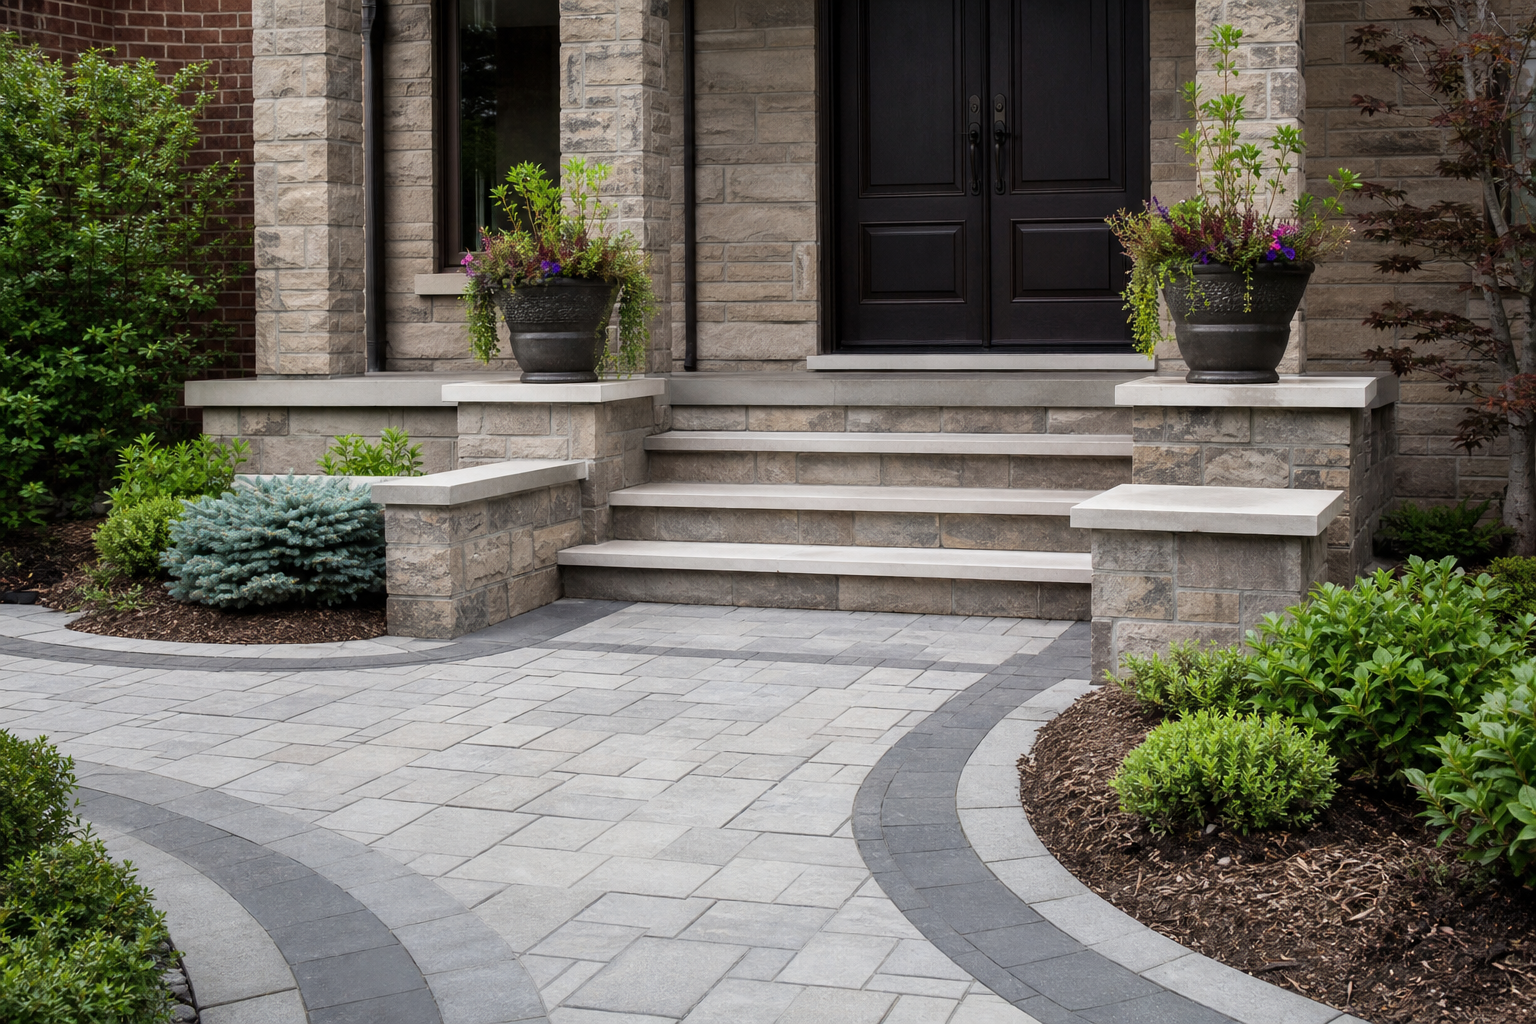
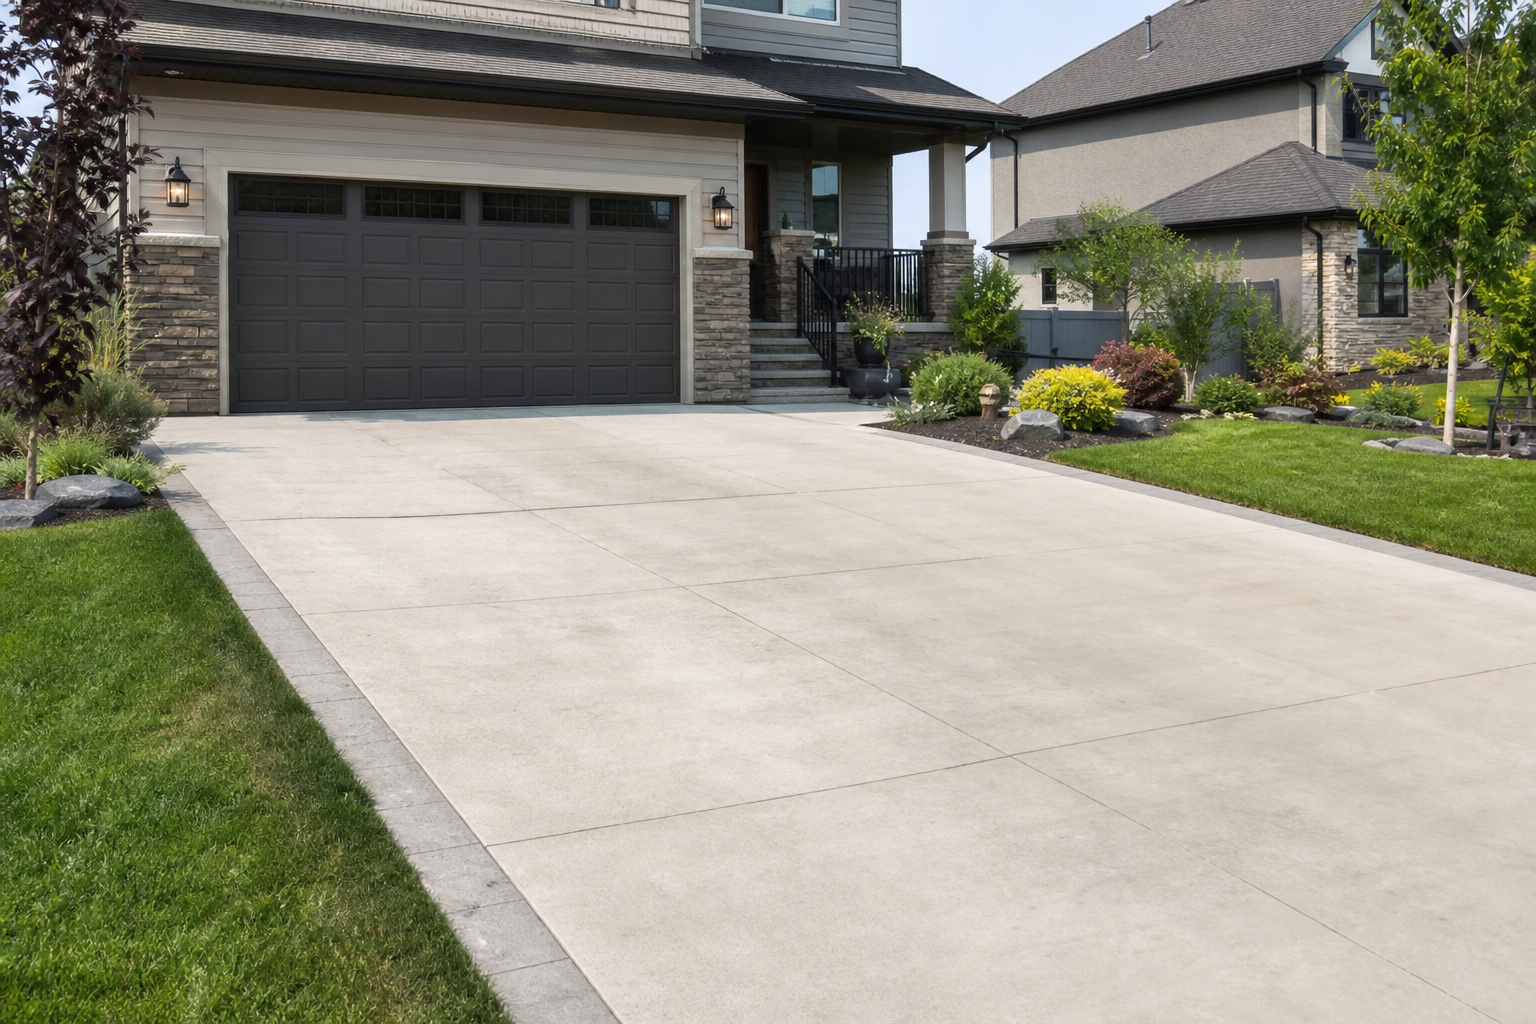
- Hardscape transitions: Where beds meet interlock or concrete, keep the mulch surface slightly below the hard edge to reduce spillover.
Step-by-step garden bed cleanup
- Prune and cut back: Remove dead or crossing branches, spent stems, and any growth blocking paths or windows. Disinfect tools between plants if you suspect disease.
- Clear debris: Rake out leaves, sticks, and matted thatch. Lift debris instead of grinding it into the soil to avoid compaction.
- Weed thoroughly: Hand-pull weeds roots and all. For taproots, use a narrow weeder to avoid disturbing plant crowns.
- Amend selectively: If the bed is low or compacted at the surface, top-dress with a thin layer of compost (about 0.5–1 inch) and lightly cultivate the top inch of soil without harming roots.
- Re-establish edges: Cut a clean line that is consistent in depth and distance from walks and lawn.
- Install fabric only where justified: Landscape fabric can block air and water in perennial beds; reserve it for under stone in utility zones or where you need a separator.
- Place mulch: Spread evenly to a uniform depth. Keep mulch off trunks and plant crowns by maintaining a mulch-free collar 2–3 inches around stems.
- Rinse and broom: Lightly rinse adjacent hardscapes and broom edges to remove stray chips and restore crisp lines.
Target depth and clearances
- General depth: Aim for 2–3 inches after settling for most ornamental beds.
- Tree rings: Maintain a visible root flare. Keep mulch pulled back 3–6 inches from trunks to avoid moisture against bark.
- Perennials and shrubs: Create a small crater around crowns so mulch cannot drift up against stems.
- Bed-to-walk transitions: Keep the finished mulch surface about 0.5–1 inch below hardscape edges to limit spill.
Weed control strategy without the mess
Mulch reduces future weeds, but a strong start is about what you do before and during application.
- Remove roots: Don’t just tear off tops—lift the whole root system, especially for dandelion and plantain.
- Disturb soil minimally: Excessive raking can bring dormant weed seeds to the surface.
- Spot treatment protocol: Where repeat offenders emerge along edges, hand-pull early while the mulch is still fluffy.
- Edge maintenance: Recut edges lightly mid-season to stop lawn runners from creeping into beds.
Tools and materials checklist
- Hand pruners, loppers, pruning saw
- Leaf rake and garden rake
- Hand weeder and narrow spade
- Half-moon edger or spade for recutting edges
- Wheelbarrow, mulch fork, and flat shovel for spreading
- Contractor bags, tarp, and broom
- Optional: rigid edging, landscape pins, marking paint
Seasonal timing and simple calendar
A predictable rhythm keeps beds looking sharp and minimizes heavy lifts.
- Early spring: Major cleanup, edge cutting, compost top-dress, and fresh mulch installation.
- Mid-season: Quick edge refresh, spot weeding, and top-up thin or high-traffic areas.
- Late fall: Light cleanup of heavy leaf mats in beds and final edge recut to keep lines visible through winter.
For newly planted areas, monitor mulch levels more frequently as settling is common in the first season.
Common mistakes to avoid
- Mulch volcanoes: Piling mulch against tree trunks can trap moisture and invite problems—always keep a clear collar.
- Uneven depths: Thin spots invite weeds; overly thick layers can smother shallow-rooted perennials.
- Skipping edges: Without a defined edge, mulch migrates into lawns and paths, increasing cleanup later.
- Mixing colors and textures: Random patchwork distracts from plant forms; standardize on one mulch per zone.
- Fabric under organic mulch in plant-rich beds: It can hinder soil-air exchange and complicate future planting.
Coordinating beds with nearby hardscapes
Mulch can visually connect planting with patios, walkways, and driveways when you manage height and lines carefully.
- Set a datum: Choose a consistent finished height relative to nearby pavers or curbs.
- Control spill zones: Use trench edges or rigid edging along high-traffic walkways.
- Frame focal points: Use mulch to draw attention to specimen plants, steps, or a change in material.
- Protect base layers: Keep organic mulch from washing onto interlock joints to reduce staining and algae growth.
Refresh or replace existing mulch?
Deciding between a top-up and a full replacement depends on coverage, contamination, and compaction.
- Top-up: If the color has faded but depth is uniform and the layer is still fluffy, add a thin layer to restore tone and coverage.
- Partial removal: If there is a thick, matted layer or mixed debris (soil, stones), skim off the top inch before adding new mulch.
- Full replacement: If depth is excessive, fabric is exposed, or weeds have colonized the layer, remove to soil level, reset edges, and start fresh.
Quick troubleshooting guide
- Mulch washing out after storms: Check slope, add a trench edge, and consider a shredded mulch that interlocks better.
- Sour smell: Overly wet or anaerobic mulch—fluff the layer to aerate and thin where too thick.
- Persistent weeds in one zone: Inspect for buried seed-rich soil or gaps in depth; address root systems directly.
- Color mismatch after top-up: Blend by raking the interface lightly; standardize future orders to the same supplier and product.
FAQ
How often should I refresh mulch in garden beds?
Most ornamental beds benefit from a light top-up annually to maintain a 2–3 inch depth after settling. High-traffic areas or steep slopes may need spot touch-ups mid-season.
Should I use landscape fabric under organic mulch?
Fabric can be useful under stone or in narrow utility strips. In plant-rich beds with perennials and shrubs, it often hinders soil-air exchange and complicates future planting. Focus on thorough weed removal, clear edges, and consistent mulch depth instead.
What’s the best way to keep mulch off walkways and lawns?
Establish a crisp trench edge along turf interfaces, keep the finished mulch surface slightly below adjacent hardscapes, and broom or blow edges after installation. Recut edges lightly mid-season to maintain clear boundaries.
Next steps
A practical next step
A practical next step
To discuss the options that apply to your situation, contact HR Greenroots Landscaping and request the relevant details before moving forward.