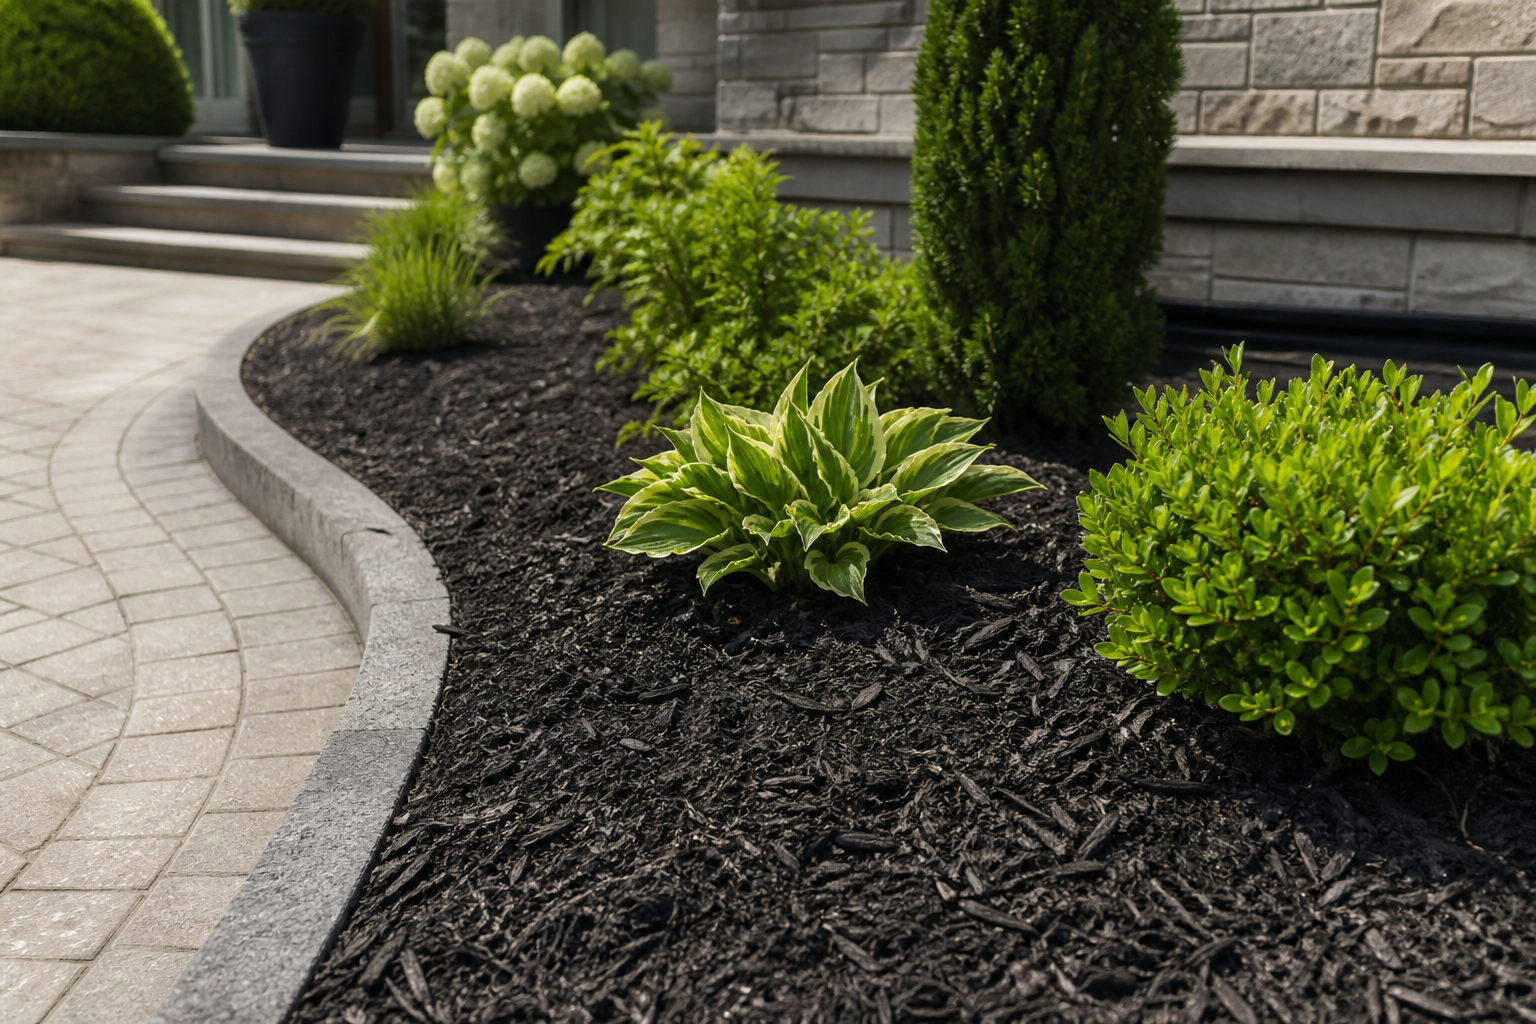
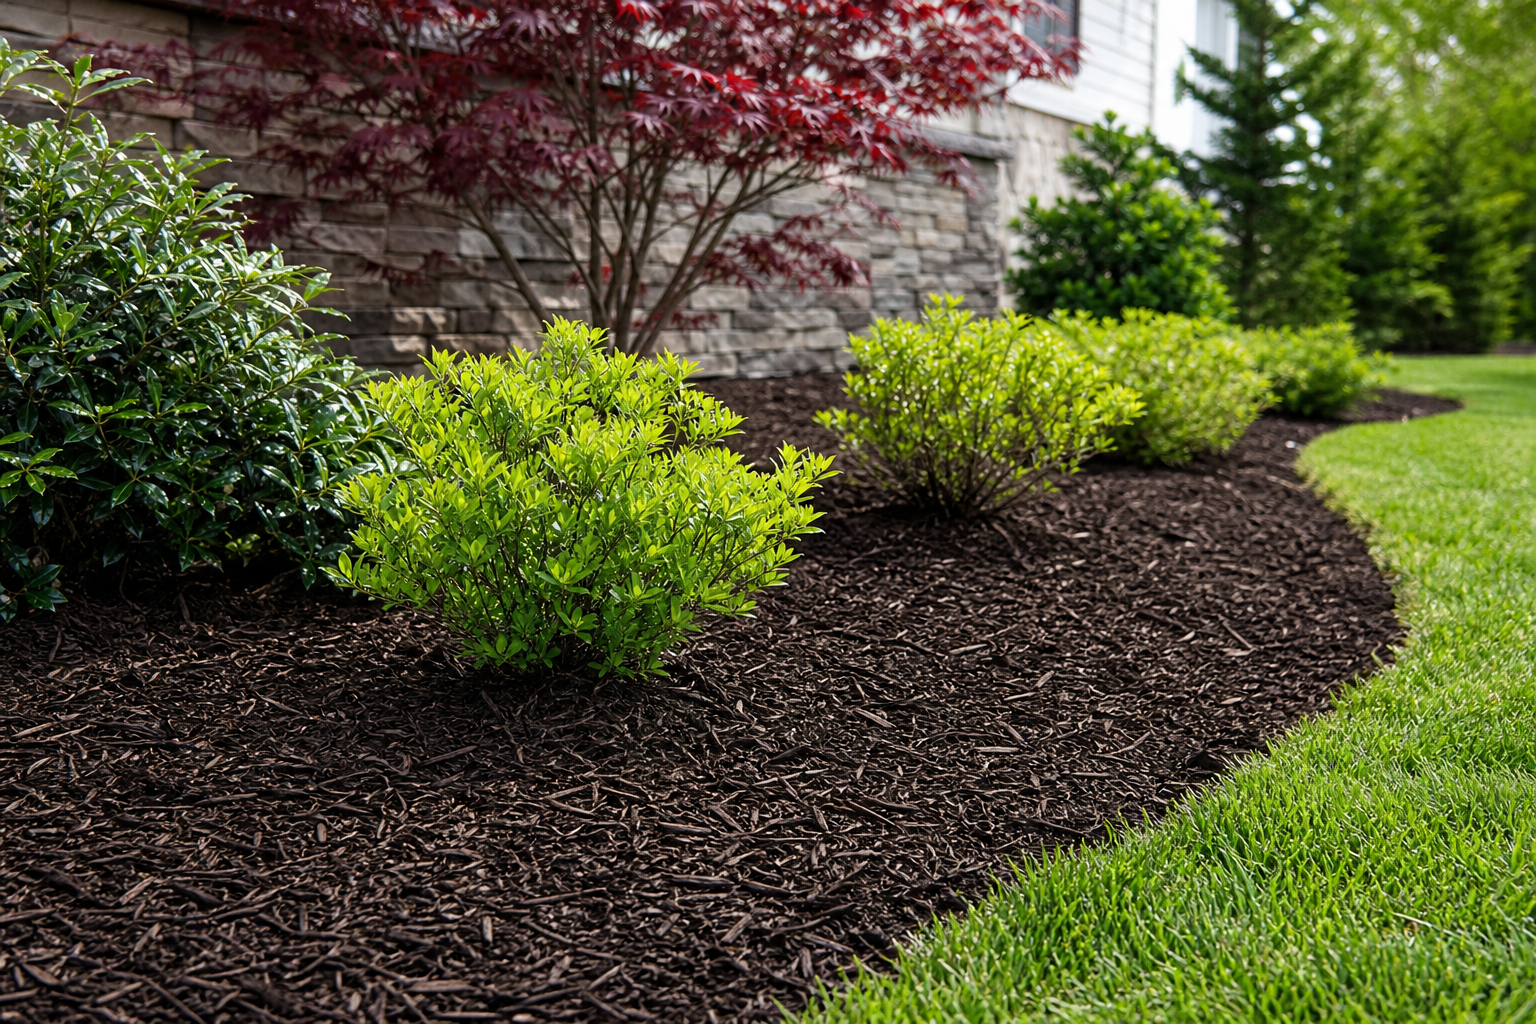
A Practical Guide to Mulch Refresh Checklist for Spring
A spring mulch refresh is one of the most efficient ways to tidy garden beds, regulate soil moisture, and create clean lines that set the tone for the rest of the season. This guide gives you a practical, step-by-step checklist you can follow, from early inspection to final grooming. You’ll find depth targets, simple calculations to size the order correctly, tool lists, and maintenance pointers so your results look consistent and last.
When to refresh mulch in spring
Timing matters for a clean, long‑lasting finish. Aim to refresh after the risk of hard frost has passed, when the soil surface is workable and mostly dry. This helps prevent compaction and allows you to shape edges accurately. If you also plan spring feeding or transplanting, complete those tasks first so you’re not disturbing new mulch afterward.
- Soil should be thawed and crumbly, not saturated.
- Finish pruning and bed cleanup before spreading mulch.
- Apply pre-emergent products (if used) according to the manufacturer’s label prior to mulching.
Pre-refresh inspection checklist
Start with a fast bed-by-bed assessment. Ten minutes of inspection prevents rework later.
- Existing depth: Probe the current mulch layer with a ruler in multiple spots. Note thin areas (<2.5 cm / 1 in) and thick matted areas (>7.5 cm / 3 in).
- Weeds: Identify live weeds and remove by the root. Spot any weed pressure points (bed edges, utility lines, drip emitters).
- Soil level and grade: Confirm soil hasn’t heaved above hard edges or siding. Ensure water will flow away from structures.
- Plant health: Locate crown and trunk flares; mark a no-mulch zone around them (keep mulch off bark and stems).
- Edging condition: Check if the edge is crisp, stable, and continuous. Plan touch-ups or re-cuts.
- Irrigation: Flag sprinklers and driplines so they aren’t buried or damaged.
Tools and materials checklist
Gather everything before you start to keep the workflow smooth.
- Wheelbarrow(s) and square-point shovel
- Hard rake (for spreading) and leaf rake (for grooming)
- Hand tools: trowel, hori-hori or weeding fork
- Metal edging spade or half-moon edger; string line for straight runs
- Measuring tape or ruler; marking paint or flags
- Landscape fabric only where specifically needed (not for general planting beds)
- Mulch of choice (see selection guidance below)
- Gloves, eye protection, dust mask as needed
Calculate how much mulch you need
Order enough to reach your target depth without excessive surplus. Most planting beds perform well at a total depth of 5–7.5 cm (2–3 in). If you already have 2.5 cm (1 in) in place and it’s in good shape, you may only need a 2.5–5 cm (1–2 in) top-up.
Use this simple approach:
- Measure the bed area in square metres (m²). For rectangles: length × width. For curves, divide into simple shapes and add them up.
- Choose your top-up depth in metres (e.g., 0.03 m for 3 cm).
- Multiply: Area (m²) × Depth (m) = Volume in cubic metres (m³).
Example: A 35 m² bed with a 0.04 m top-up needs 35 × 0.04 = 1.4 m³. If buying in bags, convert as needed based on the package volume. A small contingency (5–10%) helps account for bed undulations and compaction during spreading.
Step-by-step mulch refresh process
- Clear debris: Remove leaves, sticks, winter litter, and any surface salt or gravel tracked into beds.
- Weed thoroughly: Pull weeds by the root. For persistent species, dig out the crown and as much root as practical.
- Correct level and grade: Backfill low areas with soil or compost as appropriate. Maintain a gentle slope away from structures.
- Define or re-cut edges: Use a spade or edger to create a clean, consistent trench, typically 5–7.5 cm (2–3 in) deep on turf borders. Brush soil back into the bed to avoid a weak shoulder.
- Place mulch in lifts: Tip mulch along the edge of beds, then pull it inward with a rake to avoid burying turf. Spread evenly in two light passes rather than one heavy coat.
- Respect plant bases: Keep a mulch-free donut around trunks and stems: 7.5–15 cm (3–6 in) for perennials and shrubs; more for trees, exposing the trunk flare.
- Final grooming: Feather the surface with a leaf rake for a uniform texture. Avoid footprints by raking your way out of the bed.
- Light watering (optional): A gentle rinse can settle dust and help mulch nest into place without floating. Avoid overwatering.
Edge definition and weed control
A crisp edge is the visual frame of your mulch refresh. It also slows turf creep and helps keep mulch contained during rain.
- Depth and back-cut: Keep the trench consistent and slightly back-cut toward the bed to resist sloughing.
- Transitions: Where beds meet hardscape, use a broom and a board as a screed to keep the finish flush and tidy.
- Weed barrier strategy: In planting beds, rely on adequate mulch depth and hand-weeding. Fabric can interfere with root growth and moisture exchange in many ornamental beds; reserve it for strictly non-planted zones where appropriate.
- Top-up cadence: A light annual refresh typically maintains suppression; spot top-ups mid-season if thin areas develop.
Choosing mulch types
Select mulch based on bed use, desired appearance, and maintenance goals. Consistency across visible beds creates a cohesive look.
- Shredded or double‑shredded wood: Interlocks well, less prone to floating, and forms a neat, even carpet.
- Bark chips: Distinct texture and slower breakdown; may shift more on slopes without a defined edge.
- Composted mulch blends: Dark colour, soil‑friendly; may break down faster, requiring slightly more frequent top-ups.
- Stone/gravel (non‑organic): Low breakdown; reflects heat; best in non‑plant zones or specific design contexts. Use a stable border to contain.
For most mixed ornamental beds, a well‑processed shredded wood mulch delivers a balance of clean appearance, moisture regulation, and ease of spreading.
Maintenance after refresh
Protect your spring effort with simple, periodic touch‑ups.
- Monthly quick rake: Lightly fluff compacted zones to maintain texture and permeability.
- Spot weeding: Young weeds pull easily from fresh mulch; remove promptly before they root into soil.
- Edge checks: Recut or press back slumped edges after heavy rain.
- Irrigation review: Confirm spray heads aren’t blocked and driplines remain exposed for service.
- Top-up planning: Track thickness in high‑traffic or wind‑exposed beds; budget a thin top‑up if depth drops below ~5 cm.
Troubleshooting common issues
- Mulch volcanoes around trees: Pull mulch back to reveal the trunk flare. Keep a clear ring so bark stays dry.
- Floating after storms: Reduce depth slightly near downspouts, improve edging, and use shredded mulch that interlocks.
- Persistent weeds: Increase consistency of hand‑weeding, ensure depth is within target, and avoid leaving soil clumps on top of mulch where seeds can germinate.
- Matted, hydrophobic surface: Break the crust with a rake and top with a thin fresh layer to restore permeability.
- Sloped beds shedding mulch: Add micro‑terracing with steeper back‑cut edges, switch to a more fibrous mulch, or introduce discreet baffles within the bed.
Safety and environmental considerations
- Personal protective equipment: Wear gloves and eye protection; use a dust mask when working with dry mulch or in windy conditions.
- Load management: Move smaller wheelbarrow loads to reduce strain; maintain three‑point contact on slopes.
- Clearances: Keep mulch away from siding, fence bases, and wood steps to discourage moisture build‑up.
- Stormwater mindful: Avoid building berms that divert water toward structures; maintain positive drainage.
- Responsible sourcing: Choose clean, well‑processed mulch suitable for landscape use.
Printable checklist summary
Use this condensed list as your on‑site reference.
- Inspect beds: depth, weeds, grade, plant bases, edging, irrigation
- Measure area and calculate volume for target depth (5–7.5 cm total)
- Assemble tools: wheelbarrow, shovels, rakes, edger, measuring tape, PPE
- Clean out debris and remove weeds by root
- Correct grade; re‑cut or sharpen bed edges
- Spread mulch in two light passes; keep clear rings around trunks/stems
- Feather and groom for an even finish; rinse lightly if dusty
- Schedule monthly rake‑throughs and spot weeding
FAQ
How thick should mulch be in spring?
For most ornamental beds, maintain a total depth of roughly 5–7.5 cm (2–3 in). If a bed already has a healthy 2.5 cm (1 in) base, a 2.5–5 cm (1–2 in) top‑up is typically enough to restore coverage and weed suppression without smothering roots.
Should I remove old mulch before adding new?
Not always. If the existing layer is clean, free of weeds, and not matted, you can usually top up to reach the target depth. If it’s crusted or overly thick, break it up, rake it level, and remove excess before adding fresh material.
Is landscape fabric recommended under mulch?
In general planting beds, fabric can interfere with soil exchange and plant root development over time. A better approach is an adequate mulch depth, consistent edging, and routine hand‑weeding. Fabric can be appropriate in non‑plant zones where long‑term separation is desired.
What’s the best mulch to reduce floating during heavy rain?
Shredded or double‑shredded wood mulches interlock and tend to shift less than large, smooth chips. Pair them with a defined edge and avoid heavy build‑ups near downspouts or steep transitions.
Can fresh mulch affect soil nutrients?
Wood mulches break down gradually on the surface. Keep them a small distance away from plant stems and mix fertilizing into soil before mulching if needed. Avoid burying green material under deep layers.
A practical next step
To discuss the options that apply to your situation, contact HR Greenroots Landscaping and request the relevant details before moving forward.